Garden Care & Watering
solar garden lantern stays dark: check switch, sun and condition
Check the exact lantern model, switch, daylight exposure, dusk conditions and visible damage before seeking seller or maker support for a dark solar garden lantern.
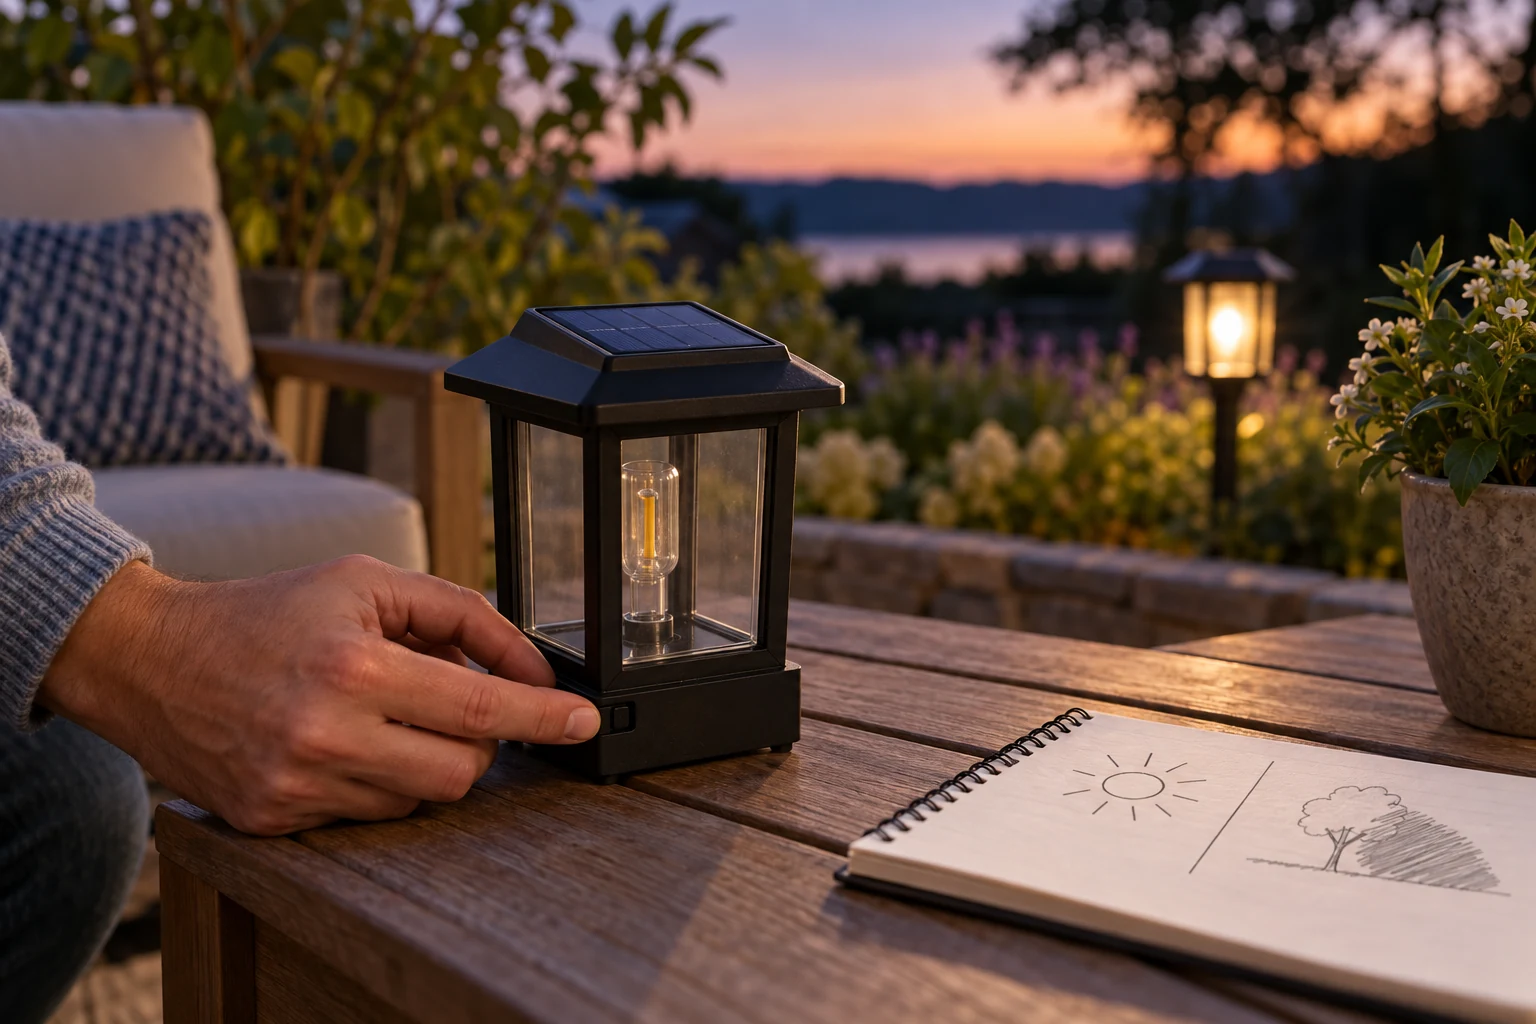
A solar garden lantern stays dark at dusk for several possible reasons. It may not have received enough daylight, its switch may still be off, a shadow may fall on the panel, or a component may have failed. The order matters: check ordinary use conditions before treating a sealed light as something to take apart. This article gives a noninvasive sequence for one exact lantern and separates observations from conclusions. It does not promise that a battery replacement, an extra charger or a new hook will fix every dark outdoor light.
Record the symptom and exact model
Start with the lantern's product page, selected variant and supplied instructions. Note whether it never turned on, used to work and then stopped, or glows briefly before going dark. Record the last sunny day, recent move, switch change and any visible damage. A unit dark after a single cloudy day presents a different question from one that fails after repeated proper charging. Do not infer a fault from its appearance next to a brighter model; the two products may have different output and controls.
Check the time and environment. A dusk sensor may not activate under nearby porch lighting or before the surroundings reach the condition expected by the maker. A lantern on a table under a roof can be bright enough to see but still have received little direct sun. Do not repeatedly cover and uncover a panel as a substitute for following the actual startup instructions. Use the model's specified test method, if one exists, and observe it through a normal day-to-evening cycle.
If the unit is cracked, has an exposed battery compartment, leaked fluid, a loose wire, a swollen cell or water inside a place the maker says must remain dry, stop using it. Do not try to charge, open or dry it with heat. Keep it away from children and combustible material while following the maker's safety and disposal guidance. A dark lamp with physical damage is not a candidate for a casual switch check. Record the condition for the seller or manufacturer instead.
Confirm the first-use settings
Locate the switch identified for the exact model. Some solar lanterns ship in an off state to conserve charge. Follow the instructions for moving it to the working position, and verify any removable shipping film is handled only as directed. Avoid scraping the panel or forcing a small weather-sealed control. If the model has a mode button, select the normal mode specified by the maker before judging it. A button press that briefly flashes an LED may not prove the panel or battery is healthy.
The live UGUCYUI hanging solar lantern listing describes automatic night operation, an 800 mAh battery and long runtime after enough sunlight. Its first gallery shows a round mesh light suspended outdoors along with promotional weather claims. Those statements establish seller expectations for that listing, not a measured result for a particular dark unit. Confirm its actual switch and setup directions rather than assuming every hanging lantern uses the same control.
The live HYTHU metal solar lantern listing shows perforated cylindrical lights on decking in its first gallery. Its title mentions hanging, but a styled surface photograph does not establish the switch position, selected mounting parts or battery service method. Check the exact received product. Do not transfer UGUCYUI's runtime or battery number to this model simply because the devices serve a similar decorative role.
Keep a short model-specific checklist: product ID, switch setting, instructions for initial charge, panel position, any removable film and the conditions under which the light is supposed to activate. If the selected page or package lacks one of these, write “unknown” and ask the seller or maker. An unknown does not become an instruction because another lantern looked similar. This is especially important for sealed weather-resistant housings that may be damaged by exploratory opening.
Give the panel a fair day
Inspect the panel in daylight. Is it shaded by a roof, branch, wall or decorative chain? Is it covered by dirt, leaves or something left from packaging? Clean only as the product maker allows. Move a portable lantern to an approved site with appropriate sun exposure for the specified initial or normal charge period. Keep it stable and within its stated weather limits. Do not put it in an unsafe location, on a road edge or beside a hot appliance merely to chase more sun.
After a fair charge, return the unit to its intended evening position if its instructions permit moving it. Note whether the light turns on and how long it remains useful for decorative purposes. A one-day result cannot certify a lifetime, but it can distinguish an obviously shaded location from a unit that remains dark under normal setup. If weather prevented useful charging, record that rather than labeling the lamp defective. Seasonal daylight changes are relevant to the observation.
If two identical lanterns bought together behave differently, compare their actual panel exposure, switch positions and physical condition before swapping locations. A side-by-side daytime placement can be informative only if both models and charge states are known. Keep each unit's identity straight. Do not switch batteries or internal electronics between them unless the manufacturer explicitly supplies that procedure. A paired product can still have separate faults, and a swap can create new uncertainty.
Separate activation from weak light
Ask whether the lamp is completely dark or merely much dimmer than expected. If it glows briefly at dusk and fades, the switch and LED may be working, while charge acquisition, storage condition or a setting remains in question. The observation does not identify which internal part failed. If it never lights after following its setup and charging directions, preserve that fact. Avoid inventing a universal voltage test or tapping a sealed housing to “wake” a battery.
Check whether another light source is shining onto the lantern at night. Porch fixtures, streetlights or a bright window may affect an automatic control on some models. Follow the exact maker's guidance for testing or positioning; do not tape over a sensor, cover the solar panel permanently or defeat the control to force night operation. The goal is to see whether the chosen site and product mode explain the symptom, not to alter the product beyond its approved use.
Look for water or dirt around accessible exterior seams, but do not open a sealed compartment casually. “Waterproof” or an IP statement on a listing is not proof that a damaged unit remains protected. If a part is loose after a storm, document it and seek support. Do not leave a questionable unit on charge in direct sun while its battery compartment is visibly compromised. A replacement decision is safer than an improvised electrical repair on a decorative outdoor product.
Some models have a user-replaceable battery; others do not. The Fenix flashlight battery guide shows why a light's exact model and power path must be identified before choosing a cell or interpreting an indicator. Its flashlight procedure does not transfer to a garden lantern. Use only the lantern maker's specified replacement type and steps if such work is authorized. If the instructions are silent, do not guess from the shape of a battery compartment or another product's online video.
Decide when to stop and seek support
After confirming the switch, a clean unobstructed panel, the recommended charge condition and an appropriate dusk observation, a persistently dark lamp has reached the limit of this noninvasive sequence. Record the exact model, purchase details, site conditions, dates and what you observed. Contact the seller or manufacturer under its support terms. Do not continue pressing controls at random or buy multiple batteries before learning whether the device was designed for replacement.
If the lamp worked before, note what changed: a new shaded location, overgrown plant, storm, winter storage, physical impact or recent cleaning. That timeline helps support distinguish a setup change from probable product failure. Do not claim a particular internal cause from timing alone. Two events can coincide without one explaining the other. Keep photographs of visible damage and the selected listing, but avoid opening the unit to create evidence the warranty may not require.
When the unit is replaced, retain the old part only as the seller directs and dispose of batteries or electronic components under local rules. A sealed battery should not be pried out to satisfy a generic disposal tip; ask the manufacturer or local program how to handle that product. Keep replacement lanterns within their intended outdoor exposure and mounting limits. A new unit in the same shaded, poorly drained or unstable spot may repeat the experience without being defective.
Consider an intermittent case separately from a fully dark unit. If the lantern turns on for a few minutes on some evenings and not others, keep a short log of sun exposure, weather, switch position and nearby artificial light. The pattern may point to a site condition, but it may also be consistent with a product fault. Do not make a precise battery diagnosis from the log alone. It is useful evidence to share with support because it describes the conditions under which the failure appears.
If a lantern is sold as a set, resist the temptation to dismantle the working one to compare parts. You can compare visible settings, panel cleanliness and placement without opening either housing. Keep each product's serial or order identity where available so support knows which unit failed. A working companion lantern is a control for your observation, not a source of spare electronics. Preserving both units' original condition makes a warranty or seller resolution easier to assess.
Do not confuse decorative performance with path safety. A solar lantern that glows again may still be too dim for stairs, gates or emergency movement. Restore its intended ambience, then use suitable fixed lighting where safe navigation requires it. If the dark lantern was the only light for a hazard, address that hazard separately while the product question is unresolved. The existence of a solar panel does not make a decorative LED a dependable safety fixture.
Solar garden lantern troubleshooting ends with a clear observation, not a forced repair. Confirm exact model settings, give the panel suitable daylight under the maker's instructions, observe the result at dusk, and stop at damage or unexplained failure. Preserve the seller's actual claims without treating them as guaranteed runtime in your yard. If the lantern remains dark, hand the evidence to the maker or seller rather than guessing at internal batteries, seals or wiring.