Home & Living
Picture frame sizes for artwork, mat openings, and wall space
Keep artwork size, visible mat opening, and assembled wall footprint separate when choosing and hanging a frame.
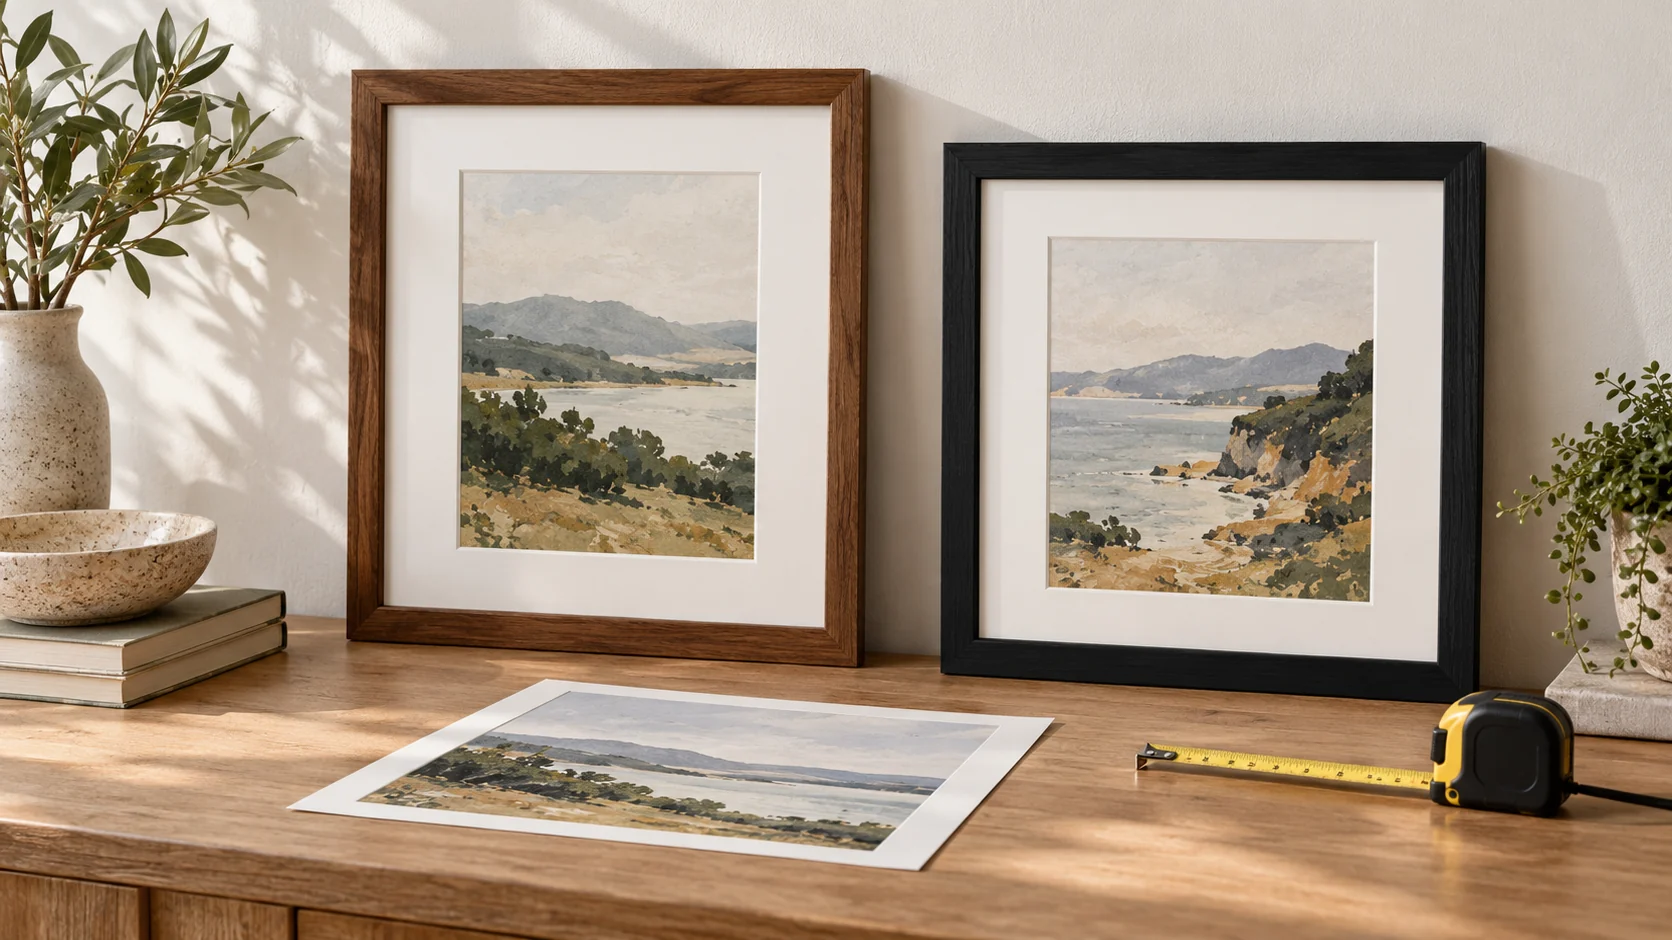
A frame can carry three useful size descriptions, and they answer different questions. Your artwork has its own width and height. A mat has an opening through which part of that artwork is visible. The outside of the assembled frame takes up space on the wall. When a listing gives one pair of numbers without saying which measurement it describes, pause before arranging a wall or cutting a print. A piece that fits behind a mat may show less of its edges than expected; a frame that accepts the artwork may still crowd a switch, shelf, or neighboring picture. The simplest way to plan is to keep the three measurements on separate lines in your notes and check each one against the object it governs.
Start with the artwork you actually have
Measure the physical sheet or panel rather than relying on the image file's crop or a size printed on a packaging sleeve. Record width first and height second, then mark which side you expect to run vertically. If the artwork has a border, decide whether that border should remain visible. A paper print with a white margin can look quite different when a mat covers most of that margin. A diamond painting or another piece with a worked edge may need its completed area considered separately from the material around it. Keep those choices as your own presentation requirements; the product listing cannot decide which part of your image you want to show.
Lay the artwork flat and measure at more than one point if its edges are uneven. A nominal size is useful for finding candidates, but your actual piece is the fit test. Write down whether it can be trimmed. An irreplaceable photograph, certificate, or original drawing should usually be planned around its existing edge rather than cut to suit a frame chosen too soon. If trimming is an option, make that a conscious decision after you know what the mat will conceal. A frame listing may mention a size for an unmatted display and a smaller size for its mat opening. Those are separate arrangements for the same frame, not two interchangeable descriptions of the visible area.
Read the two size choices on a matted frame
The Studio Décor brown Prescott frame listing describes a 16 by 20 inch display without its white mat and an 11 by 14 inch display with the mat. This is a useful example of why a single “frame size” is incomplete. The larger figure describes the no-mat artwork arrangement stated by the listing. The smaller figure tells you the matted display size stated for that arrangement. Neither figure, by itself, tells you the full outer edge-to-edge measurement of the brown moulding. If you want a print to show as an 11 by 14 image within a white border, check the mat and the print together before hanging. If you want a larger image without that border, plan the no-mat arrangement and confirm the sheet fits the frame's backing.
A mat opening can reveal less than the full sheet, and the covered margin has a practical job: it gives the mat a place to overlap the art. Do not assume that the number printed for a matted display is a promise that every millimeter of a same-sized sheet will remain visible. Check the actual opening and the desired crop with the artwork in hand. Use a paper template if the piece has a face or lettering close to an edge. Center the template over the image, move it until the composition looks right, and mark where the visible boundary falls. That quick test is more informative than judging the result from a product thumbnail, which may show sample artwork sized differently from yours.
Compare the second frame on the same terms
The unbranded black wood frame is listed as 14 by 18 inches without the mat and 12 by 16 inches with it. Its smaller change between listed display sizes may suit an image that needs more visible area inside a modest border. The Prescott and black frame are both picture frames, but their stated matted openings serve different artwork sizes. Avoid treating the 16 by 20 and 14 by 18 figures as proof that either frame's outside footprint is exactly those dimensions. The moulding extends beyond the area occupied by the art. For a close wall layout, obtain or measure the assembled outside dimensions rather than calculating a hanging grid from the display figures alone.
The black frame listing's product wording mentions diamond painting. That describes one possible display context, not a guarantee that every craft canvas or finished panel will fit under the mat and backing. Check the completed piece's physical thickness as well as its width and height. If a piece has raised material, do not press it against a front surface merely to make the backing close. The photos can help you recognize the frame, mat, and hanging parts, but they cannot establish the clearance needed for your particular project. If you cannot confirm that clearance, choose a display method whose fit you can inspect directly.
Give the frame its own wall measurement
Once you know what will appear inside the mat, measure the wall independently. Mark the width and height of the assembled frame, including its moulding. Add any breathing room you want around it. A frame near a door casing, thermostat, lamp, or shelf needs enough room for the actual outer edge, not just the print size. Masking tape or a paper rectangle cut to the measured outer dimensions can reveal an awkward fit before a hook goes into the wall. Stand back from the proposed location and look from the routes through the room, since a frame that fits the available inches may still seem squeezed between nearby objects.
For a group of frames, measure the outside of each one separately. A tidy grid is built from outer edges and the intended gaps between them. Starting from artwork sizes can produce uneven spaces when the mouldings differ. Put the paper rectangles on the floor first, with the same orientation you expect on the wall. Try a consistent gap, then transfer the overall arrangement to the wall with light marks or removable tape. The goal is to decide the composition while changes are cheap. Hanging hardware and wall attachment need their own checks after the spacing is settled; a photograph of the back cannot establish that a particular wall or fastener is suitable. If you also plan to change artwork often, the front-opening frame guide covers the separate question of how much opening access to allow.
Choose portrait or landscape before making the template
A width-by-height listing may describe an item in one orientation while the pictures show another. Turn the actual frame or a full-size paper mockup to the orientation you intend. Then repeat the artwork and mat checks in that orientation. This matters when the image has a fixed horizon, text, or a face that cannot be casually cropped. A mat opening with the right two numbers can still frame the composition poorly if the work was planned for the opposite direction. Before buying, confirm that the frame's back and hanging arrangement support the orientation you want. Do not infer a second hanging direction from a front-view gallery image alone.
Where an image has intentional empty space, the centered mat opening may not produce the balance you expected. Place the art behind a paper opening and move it slightly to test the visible crop. Keep the sheet protected while doing this. If an important mark approaches the edge, a different mat size or a no-mat presentation may serve the art better. This is an aesthetic decision grounded in the specific piece, not a universal rule about how much border a frame should show. Write down the final crop choice along with your size notes so that a later frame comparison uses the same standard.
Make a three-column fit note
A short note can prevent the common size mix-up: artwork, visible opening, and outside footprint. Under artwork, record the measured sheet and the part you refuse to cover. Under opening, record the listing's matted display size and the actual aperture once you can measure it. Under footprint, record the assembled exterior width and height or mark that measurement as still unknown. For the Prescott example, the listing supplies 16 by 20 without a mat and 11 by 14 with a mat; its outside footprint still needs a separate check. For the black wood example, the listing supplies 14 by 18 without a mat and 12 by 16 with a mat; the same separate footprint check applies.
Take this note to the wall. If the outside measurement is unknown, avoid placing neighboring frames so tightly that a small moulding difference would spoil the layout. If the visible opening is uncertain, do not commit an important edge of the artwork to the mat. If the sheet size is uncertain, measure the real piece before ordering a frame. These are three different uncertainties, and each has a direct way to resolve it. The note also makes it easier to compare another frame later without mixing its advertised display size with a measurement you took from the outside of a different product.
For an existing gallery wall, add a fourth line for the clearance around objects that must stay accessible. Measure from the nearest shelf, trim, or switch to the proposed frame edge. If you are replacing one frame with another, do not assume the new frame will cover the same wall marks merely because the prints have equal dimensions. A wider moulding may change the overall rectangle, while a different hanging point can shift where the image sits. Hold a full-size outline in the old position and look at the uncovered wall before removing the old hardware. This check turns a vague worry about whether the new piece will “fit” into a small set of distances you can compare.
Test the whole arrangement before closing the back
When the frame arrives, do a dry fit on a clean surface. Check that the artwork lies flat in the intended orientation, the mat reveals the chosen crop, and the backing closes without force. Look at the front in ordinary room light and at the distance from which you will usually view it. A tiny shift in the art may matter more than it did on the measuring table. If the mat edge covers a signature or title, reconsider the crop rather than assuming the viewer will know what is hidden. Keep any protective material and supplied parts organized while you test so that the installation can be reversed if the fit is wrong.
Finally, hold the assembled frame against the wall template. The real moulding should line up with the reserved outside footprint, and the image should sit at a comfortable height within that space. Check where the hanging point falls relative to the top of the frame before making a wall mark. The exact offset depends on the hardware and how it sits under load, so take it from the assembled item rather than a generic diagram. A frame intended to rest on a surface needs a different support check, covered in the easel-back frame guide. Once the artwork, opening, exterior, and hanging point each have a measured answer, the frame is ready for a deliberate placement.