Garden Care & Watering
Lawn roller setup for a manageable yard day
Plan a defined lawn-rolling task, test the empty-tool route, stage fill and drain points, then assess a short pass before continuing.
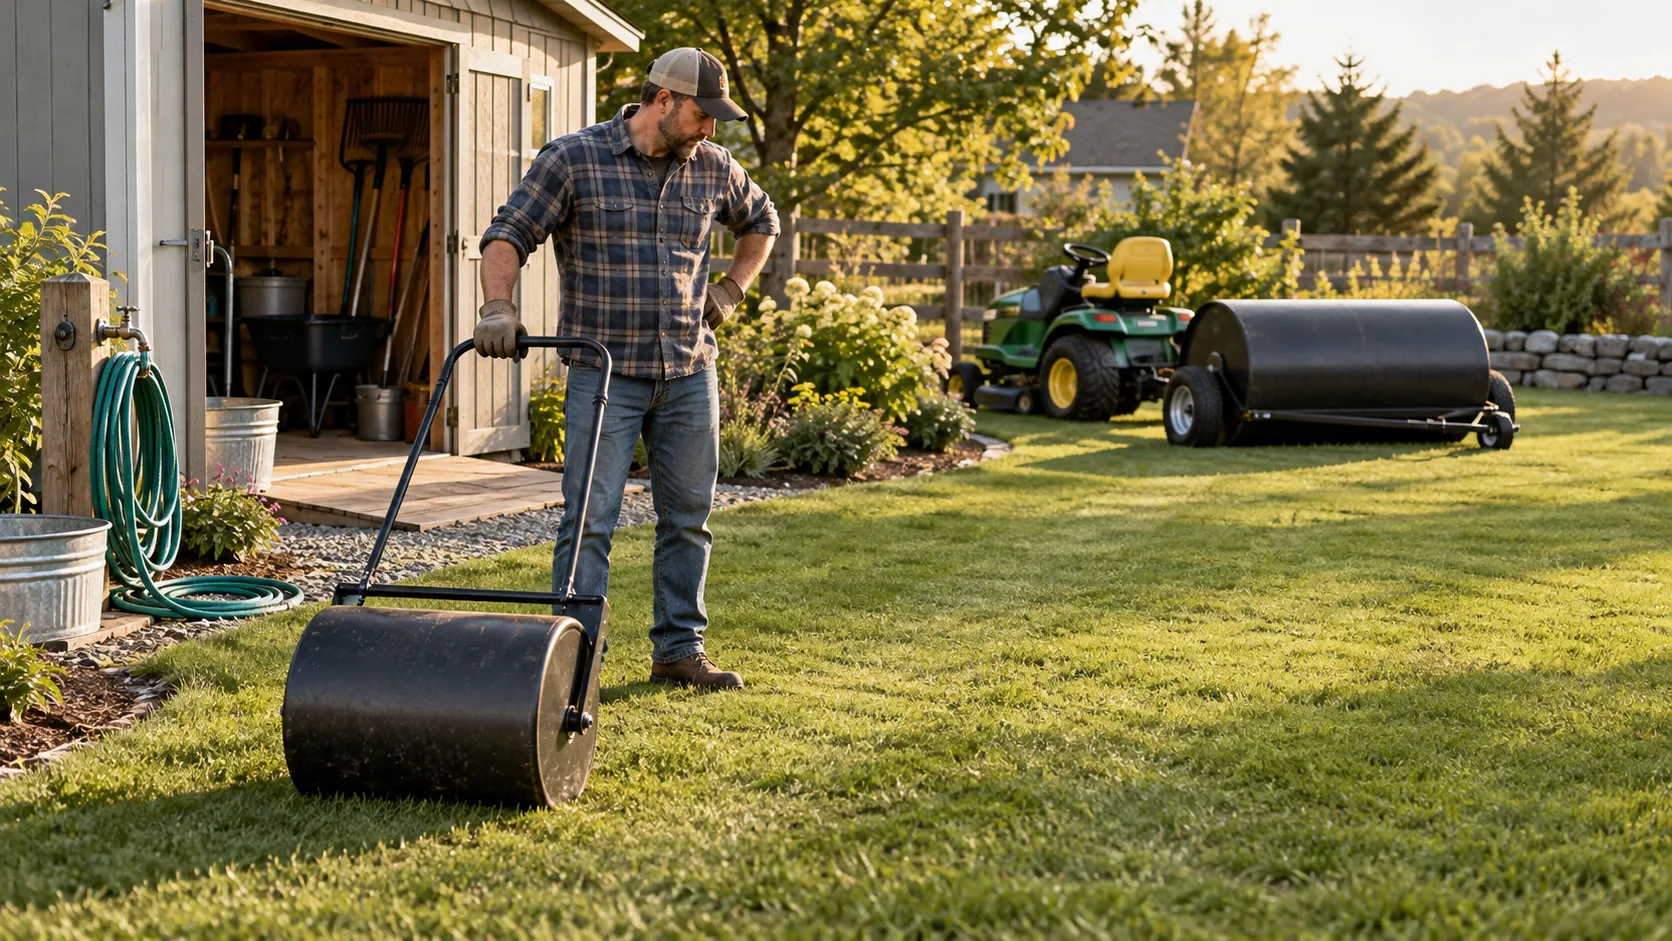
Lawn roller setup begins before the drum is filled. The route from storage to the work area, the space needed to turn, and the place where the drum will be drained all affect whether a yard session feels manageable. Walk the intended route while the roller is empty. Mark steps, narrow gates, beds, hoses, and places where a heavy filled drum would be awkward to stop. A roller can be useful for a defined surface task, but its size alone does not tell you whether it fits that route.
Two current listings show different scales of the same tool. The 10-gallon walk-behind lawn roller has a U-shaped handle and a stated water-or-sand fill option. The 30-gallon push-or-tow lawn roller has a stated detachable folding handle and a tractor-attachment option. Both native Product records say Unbranded. Their first galleries show, respectively, a compact hand-pushed drum with dimensions and a larger drum behind a riding mower. Treat these as examples of access and handling choices, not proof that either will improve a particular lawn.
Give the yard session a clear purpose
Choose the specific area you intend to work on. A small prepared patch and an open lawn create different handling problems. Sketch the start, the finish, and the route between them. If the purpose is unclear, do not make the whole yard the default project. Take a close look at the surface and decide what result you expect to observe. A roller applies weight over a route; it cannot replace a diagnosis of drainage, grade, soil condition, or a turf problem you have not identified.
Put the intended work in the context of other yard tasks. Loose debris, tools, and hoses should be moved before a drum crosses the area. The published garden-rake guide explains why leaf gathering and soil work call for different tines. Use that distinction while clearing the route, then put the rake aside where it will not be crossed. Rolling over an unseen obstacle makes the session harder to judge and can interrupt the path you planned.
Consider whether the surface is ready for any rolling. Follow local turf and tool guidance for the actual project, especially if the ground is saturated, unusually soft, newly planted, or visibly damaged. Neither product page establishes a universal soil-moisture threshold or the correct number of passes for your lawn. If those conditions are uncertain, keep the roller empty while you resolve them. A short, specific task is easier to assess than repeating a whole-yard pass because the drum is already out.
Walk the route while the drum is empty
Start at the storage spot and move the empty roller along the proposed route. Check gates at their narrowest opening, not only the wide space on either side. Give yourself room to approach and turn without steering into a border, planter, or wall. The first listing's dimensioned gallery shows a hand-pushed roller with a stated 18.9-inch drum span and 43.31-inch overall height. Those dimensions describe that offer. Measure your actual assembled tool and route before relying on a picture.
The larger listing offers push, pull, and tow arrangements. Its first gallery depicts the drum behind a riding mower, but that photograph is not a compatibility certificate for your tractor, hitch, or yard. Read the selected model's instructions and verify the connection and turning clearance before towing. A wide open run may make towing appealing; a narrow turn or crowded planting edge can change the choice. Keep the route free of people and loose objects while testing movement.
Set a place for removed leaves, twigs, and other debris before you start. The published fall garden cleanup guide covers compost-bin size and placement. That is a separate cleanup decision, but it can help keep a garden-work route clear. Do not stack a cleanup pile at the gate or next to the point where you plan to drain and store the roller. The small staging choice can save a difficult detour later.
Check the destination as carefully as the starting point. A filled roller should not need to be carried over steps or turned around in a tight shed doorway. If the route ends at a fence, plan how you will reverse or turn with the selected machine under the maker's instructions. Do a dry run in each direction. If the empty tool already brushes obstacles, change the route, use a smaller work area, or postpone the project rather than filling it and hoping the turn improves.
Plan filling around actual handling
Both listings describe drums that can be filled with water or sand. Their 10- and 30-gallon labels describe container capacity, not a safe universal fill amount or a measured result on every surface. Read the chosen roller's fill and operating instructions. Start with the minimum setup appropriate to your task and conditions, then assess how the actual assembled tool moves. Avoid assuming that more fill always gives a better outcome. The ground and the intended task matter more than the largest number on a label.
Locate the fill point before moving the roller into the work area. A hose that must cross the path can become its own obstacle. Position the empty drum so the fill opening is accessible, the roller is stable, and the hose can be put away before movement begins. Check that the cap or plug seats as instructed. If sand is the chosen material, follow the product's loading and emptying directions rather than improvising a funnel arrangement that leaves grit at the seal.
The larger listing says its handle detaches and folds for storage, and the smaller listing describes a quick-drain plug. These details affect the sequence of a yard day. Assembly and attachment checks happen before filling. Draining happens before carrying, folding, or putting the drum away, subject to the selected maker's directions. Lay out the tools needed for the actual model in a reachable place. Do not treat a gallery photograph as assembly guidance for an unseen fastener or connection.
Pause after a short test path. Notice how the handle feels, whether the drum rolls evenly, whether the scraper bar is doing its stated job, and whether the planned turn is comfortable. The listings mention scraper bars, but they do not guarantee that mud or debris will never collect. Stop and inspect if movement changes or material builds up. Do not reach toward a moving drum. A short trial keeps the decision reversible before a full route has been crossed.
Work in a route you can repeat
Use a visible edge or a simple set of landmarks to remember where you started. Keep the path orderly enough to see which area has been crossed. A lawn roller is not a precision grading instrument, and the product listings do not supply a pass pattern for every project. Follow task-specific local guidance for the surface, then watch for a result you can actually evaluate. If the surface changes unexpectedly, stop and reassess instead of continuing because the next strip is on your sketch.
Leave an exit path for the filled drum. Avoid working into a corner where you would need to pull a loaded tool backward through a narrow space. If the route crosses a hose or cleanup pile, stop and move the obstruction first. For a tow arrangement, allow enough space for the tractor and drum to turn under the equipment instructions. The larger product's first gallery gives a sense of scale, but the operator still has to confirm the real turning room in this yard.
If you are sharing the task, agree on who controls the roller and where everyone else will stand. Have one person keep the route clear; do not ask someone to hold the drum, hitch, or handle while another person moves it. The session can be organized around short sections with a pause between them. That provides a chance to check the surface, the tool, and the next turn. It also makes it easier to stop when the intended area is complete.
Keep claims about the result modest. The smaller listing promotes uses such as new-sod work and soil compaction, and the larger listing mentions lawn leveling. Those are seller descriptions, not evidence that rolling repairs deep depressions, solves drainage, or suits every lawn. If the work exposes a persistent low spot or a different underlying problem, record where it is and seek appropriate project guidance. A neat route cannot compensate for choosing the wrong treatment.
Drain, inspect, and return the roller
Decide where the drum can be emptied before the session begins. Follow local rules and the selected product's directions for water or sand; avoid creating a muddy patch at a doorway or washing material into a drain. Allow enough time for emptying and cleanup while the route remains clear. A drum that is easy to move when empty may be much less convenient when full. Draining is part of the job, not an afterthought to handle after everyone has put tools away.
Inspect the drum, fill plug, scraper, handle, and any hitch or fasteners according to the maker's care instructions. Wipe away material that would hide damage or prevent the next assembly check. The listings use broad terms about coatings and durability, but those claims do not replace inspection of the actual tool. Note any leak, loose connection, or change in rolling behavior before storing it. Do not assume a clean outer surface proves the fill opening or moving parts are sound.
Return the empty roller by the route you tested. The small listing suggests vertical or horizontal storage and the large listing describes a folding handle, but verify the actual stable storage arrangement for the model and space you have. Keep the drum from rolling into a walkway. Put attachments and instructions together so the next user can identify the intended setup. A designated storage place also keeps the next garden task from starting with a heavy obstruction in its path.
After the equipment is put away, review the original purpose. Did the short route produce the observable result you planned, or did the surface reveal a different issue? Record the area, the tool setup, and any reason you stopped. That note is more useful than saying the whole lawn was rolled. Next time you can decide whether the same route is appropriate, whether a different tool is needed, or whether the project should wait for better information about the ground.
A manageable yard day has a beginning and an end: a defined surface task, an empty-tool route check, a fill plan, a short trial, and a clean return to storage. The 10-gallon and 30-gallon offers illustrate different space and handling demands, while the actual product instructions govern their use. Choose the scale that fits the route and the work you can assess. Once the task is done, stop. The roller can wait for another clearly defined job.