Furniture & Home Organization
hookless shower liner swap: remove and attach the inner layer
Replace an already selected compatible snap-in inner liner while keeping the outer hookless curtain supported.
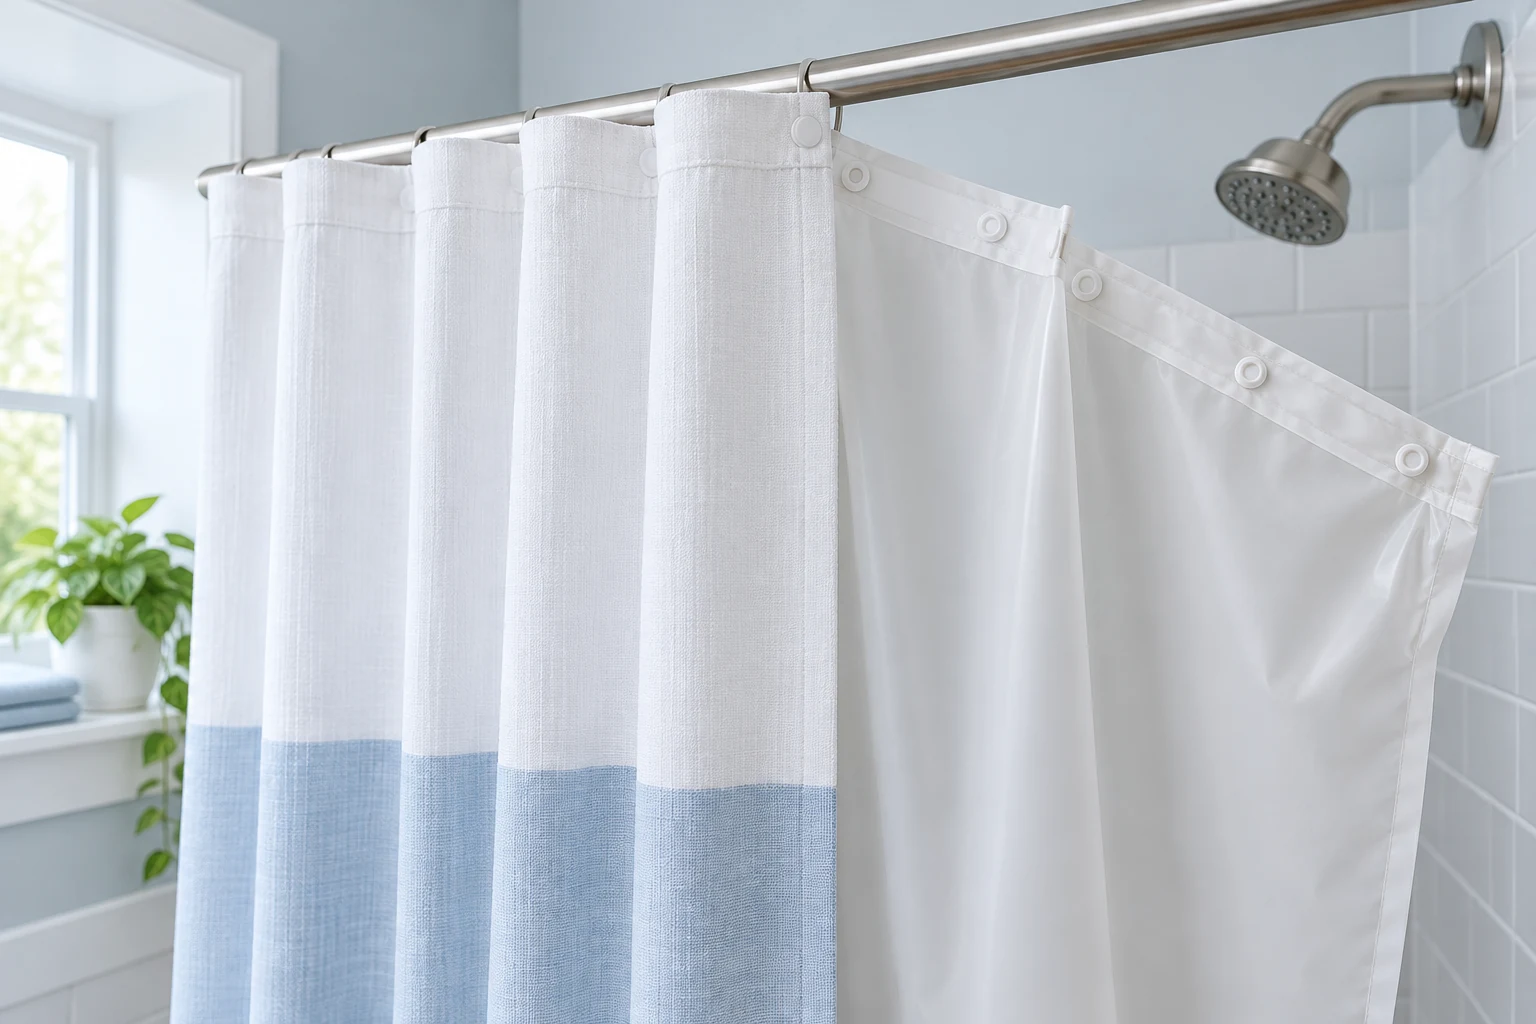
A hookless shower curtain with a snap-in inner liner is easier to manage when you treat the outer curtain and inner layer as separate parts. Once you have a replacement liner that the actual set’s instructions identify as compatible, the swap is a short household task: clear the area, support the old liner, release its fasteners, attach the new one and check its hang. This hookless shower liner swap guide explains that sequence. It does not select a replacement or promise that every snap pattern is interchangeable.
Start by confirming what needs changing. If the outer curtain is damaged, replacing only the inner liner may not solve the problem. If the liner is dirty, consult its care instructions before discarding it. The hookless liner replacement-cost guide handles that earlier choice between care, an exact inner liner and a complete set. This article begins after the household has selected a compatible replacement and is ready to put it in place.
Lay out the parts before touching the rod
Read the instructions for the existing curtain and the new liner. Identify which edge carries the snap or other attachment points and which side is intended to face the shower. Do not assume a row of visible buttons means the same connection on two products. Count the attachment positions on both pieces and compare their layout under the maker’s guidance. If the pattern or orientation is unclear, pause before removing the working liner.
Set the new liner on a clean, dry surface where it can be opened without dragging across the floor. Keep any packaging, product identifier or care label until the installation is complete. A label can answer questions about orientation and cleaning later. Put the old liner’s disposal or washing plan in a separate place so it cannot be confused with the new one halfway through the task.
Before starting, note how the current liner overlaps the outer curtain at each end. A photograph can preserve the arrangement without turning it into a measurement claim. Some households have adjusted the curtain position for a particular tub, so it helps to know what looked normal before the swap. Do not copy a poor old arrangement automatically; use the product instructions and the actual enclosure when checking the new hang.
Clear bottles and loose items from the tub edge. Dry the floor or use a stable surface appropriate for the bathroom. You should be able to reach the attachment row without leaning into the shower or standing on an unstable object. If the upper connection is too high to reach safely, get appropriate help. A liner swap is routine only when the working position is safe and the curtain rod or wall mounts do not need repair.
Check that the outer curtain is still supported by its normal rod connection. A snap-in liner may be removable while the outer layer remains in place, but follow the actual set’s instructions. Do not pull the outer curtain off the rod just because one snap resists. The rod and curtain support are different from the liner attachment. This guide keeps those roles separate so a small replacement does not become an unnecessary full-curtain removal.
Release the old liner in a controlled order
Begin at one end where you can hold both layers comfortably. Support the fabric around the first attachment point and release the fastener according to its design. Avoid tugging on the liner’s middle; that can concentrate force at a single snap and stress the outer curtain. Move across the row one connection at a time. A second person can support a long liner if it becomes awkward, but the task should not require force.
As each point comes free, fold or gather the old liner toward the center so it does not drop into the tub or catch on a faucet. Keep wet or soiled material away from the new liner. If a fastener has corrosion, cracking or a missing part, stop and inspect the set’s instructions rather than pulling harder. A damaged attachment may change the replacement decision. Do not invent a repair from the appearance of one broken snap.
Once the liner is free, inspect the inner side of the outer curtain and the attachment row. Remove ordinary residue only by methods permitted for that material. Let the contact area dry if the instructions require it before fitting a new liner. Check that the outer layer hangs straight and its support on the rod has not shifted. This is a brief condition check, not a reason to scrub or disassemble every bathroom component.
Do not use a new liner to conceal a serious rod or mounting problem. If the rod is loose or the curtain drops at one end, solve that support issue first. The shower rod accessory-fit guide discusses a different decision about rings, hooks and mounts. Here, the outer hookless curtain should already be securely supported so the liner can be handled independently.
Attach the new liner without stretching it
Find the top of the new liner and the intended shower-facing side from its actual instructions. Hold one end next to the corresponding end of the outer curtain. If the liner’s attachment points do not line up naturally, do not pull it across the full width to make the first one close. Recheck the orientation and compatibility. A correct replacement should match the intended connection pattern without forcing the material or skipping a point.
Fasten the first point while supporting the layers immediately around it. Move to the next point and continue across the row. Keep the liner’s weight in your hand or on a clean surface as you work, rather than letting one attachment carry the whole sheet. Smooth only enough to see the next connection. Do not stretch the liner tight; it needs to hang naturally when the curtain is drawn.
After the final point is attached, look back along the row. Confirm that each connection is fully seated according to its design and that no portion of the liner is trapped above the outer curtain. A skipped fastener can create a sag or let the layers separate during use. Do not close a stubborn snap with a tool unless the maker specifically calls for one. Protect the attachment and your fingers by working gently.
If the liner seems longer on one side, do not immediately pull the opposite edge. Look for a twisted section or an attachment that was connected to the wrong point. Release and correct only the affected area under the maker’s method. Working back across the whole row can make the mismatch harder to locate. A brief pause to find the first misalignment is usually clearer than stretching both layers until they appear even.
The floral hookless curtain set listing is one exact example sold with a snap-in liner. It illustrates the two-layer product role, not a claim that a separately purchased liner fits every version of that set. Use its actual model and maker instructions if it is the set in your bathroom. The color or floral pattern is not a compatibility test.
A second hookless curtain and liner set listing likewise names a snap-in inner layer. Two similar retail descriptions do not prove their attachment rows, widths or replacement parts are interchangeable. This article’s steps apply only after the exact replacement has been established for the existing set. Never use the presence of snaps in a product photograph as the sole evidence of fit.
Check the hang before the shower is used
Draw the curtain across the tub or shower opening slowly. Watch the liner as the outer curtain moves. It should hang on the intended shower side and have enough room to fall inside the wet area as its instructions describe. If it bunches, twists or pulls at the attachments, stop and check orientation and fastener alignment. A liner that looks fine while gathered may behave differently when the curtain is fully extended.
Look at the lower edge without making a universal length rule. Different tubs and shower enclosures need different coverage, and the product’s own size matters. The liner should not be stretched down from the attachment row or pooled in a way its instructions discourage. Do not trim a new liner merely because the bottom looks long in one position. Verify the set’s specified dimensions and the bathroom’s actual geometry first.
Move the curtain open and closed once more under normal hand pressure. Check that nothing catches on the shower head, handle, shelf or door frame. The liner should move with the outer curtain rather than lagging behind a missed connection. This is a simple functional check, not a test of water containment or mold resistance. Those outcomes depend on more than the attachment row and cannot be certified by one dry movement.
If the new liner has care or drying instructions, keep them where the household can find them. Follow the maker’s guidance for cleaning and airing the liner after use. Do not assume a material can be machine washed, bleached or heat dried because an older liner tolerated it. The replacement may have a different composition or coating. Preserving its care information helps the next decision remain tied to the actual product.
Close out the small repair
Handle the old liner according to its material and condition. If it can be cleaned and retained for a specific purpose, store it dry and clearly labeled; if it is discarded, follow local disposal practice. Do not keep a damaged liner in an unmarked pile where it might be mistaken for a usable spare. Clear the bathroom floor and put away any cleaning supplies. The shower should be ready for ordinary use without a loose sheet draped over the tub.
Write down the replacement liner’s exact identifier and the date you fitted it. A quick photo of its care label and attachment row can save time later. The record does not prove future products will fit, but it gives you a reliable starting point when the liner needs attention again. Keep the outer curtain’s identifier too if it differs from the replacement part’s name.
A hookless shower liner swap works best as one controlled sequence: establish the exact compatible inner layer, support the old one while releasing attachments, connect the new one without stretching, then check its full hang. The two linked sets show why “snap-in” is a product role rather than a universal pattern. With the outer curtain still securely on the rod, the household can replace the inner layer as intended while leaving unrelated rod and purchase decisions to their own checks.