Skills & Planning
Hand sewing kit checklist: prepare for one planned task
Build a task-specific readiness record that separates required supplies, actual kit contents and verified suitability without inventing a sewing procedure or relying on a piece count.
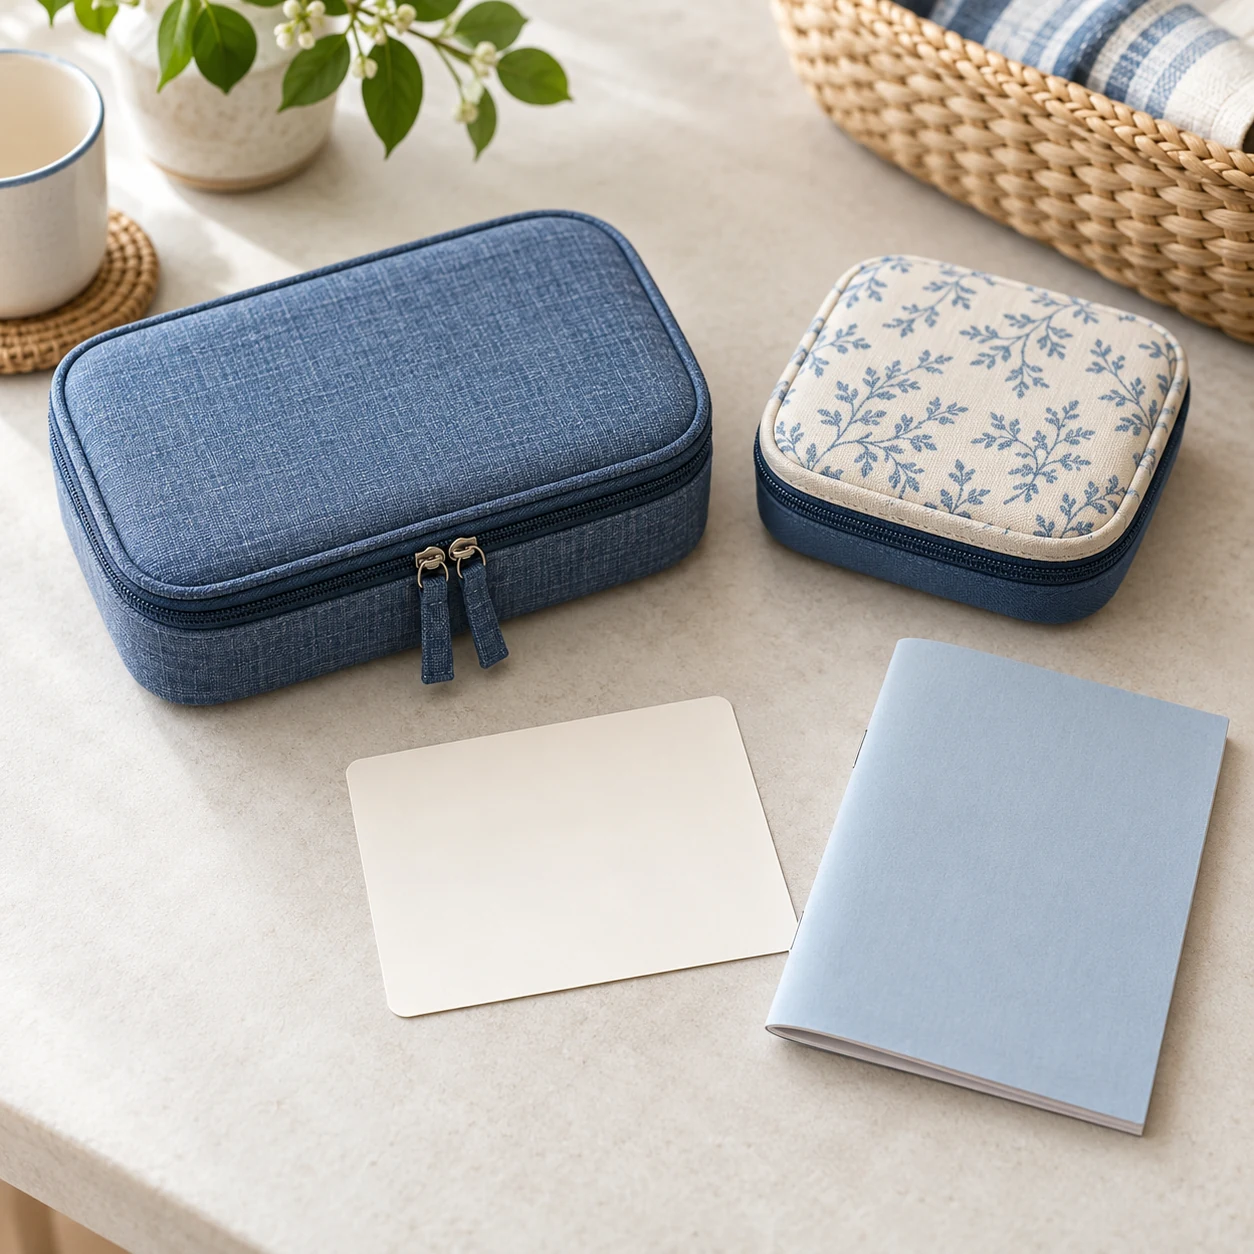
Hand sewing kit checklist preparation starts with one planned task, not with the largest number printed on a case. Name what you intend to do, find the applicable instructions and identify the supplies that task actually requires. Then compare those requirements with what you have. A full-looking kit can contain familiar objects while leaving a decisive material or instruction question unanswered.
This tutorial develops an original readiness record before practical sewing begins. It gives no stitch, knot, threading, cutting, adhesive or garment-repair procedure. It selects no needle, thread or fabric combination. Those choices need the actual project's applicable information. The record helps keep a missing supply separate from a present item whose suitability has not yet been established.
1. Name one task and its intended result
Write the task in ordinary words and identify the actual item it concerns. Keep the intended result specific enough that you can look for the relevant instructions. “Do some sewing” leaves the required work undefined. A task involving a garment and a decorative paper project can raise different questions, even when both begin beside the same notions case.
Do not let the kit choose the project merely because an object is visible through its lid. A supplied tool can have a role without being needed for the task you have chosen. Conversely, your task may require something the case does not establish. Keep the desired result visible while checking the supplies so a large assortment does not quietly replace the original intention.
Record the limits of the task too. You might be preparing to ask a knowledgeable person about a project, rather than planning to perform it yourself immediately. That is a valid next step. The readiness note should say which decision is pending. It should not present a request for guidance as a completed assessment of the materials or a promise that the work can proceed.
2. Keep the applicable instructions with the task
Identify the instructions that actually cover the intended work and materials. Retain their title, source or other reference so you can find the same information again. A leaflet from another kit is not automatically applicable because it uses a similar illustration. If you cannot establish what the instructions cover, make that your next question before choosing supplies from the case.
Distinguish a contents list from a method. A list can tell you that a package offers needles or scissors without specifying which item belongs in a particular operation. A photograph can help identify a form without supplying a safe handling sequence. Keep the actual method separate from the seller's package description, and avoid completing an absent step from an image of another product.
If the planned work changes, revisit the instruction reference. A different fabric, intended finish or repair question may need different information. Preserve what changed instead of carrying every earlier answer forward. This article supplies no universal material substitution or permission to apply a familiar sewing method to a different item merely because the same kit remains on the table.
3. Read the two kit offers as starting references
The SINGER 01511 Survival Sew Kit offer identifies a pack of eight. Its whole gallery shows a SINGER-branded blue notions case with a sixty-four-piece label. Keep the package unit and that visible label separate. This article does not multiply them into an independently verified contents total or establish which pictured supply suits your planned task.
The DDI 2347839 travel sewing kit offer describes a case of twenty-four in assorted colours. Its whole gallery shows three example pouches with manual sewing notions. Those pictured examples do not turn the case into a three-kit package or establish the colour allocation in a received order. The brief native account gives no task-specific needle or thread specification here.
Both examples are manual sewing kits, rather than sewing machines. Their package counts describe offered supplies, not completed projects. A kit name also does not certify every object required by your intended work. Keep the exact offer available when asking about contents, while leaving practical material selection with the information that actually covers the task.
4. Record the requirement before the available item
Use a separate line for each supply role named in the applicable task information. Preserve its actual description rather than replacing it with the nearest familiar object in the case. If a requirement includes a specific qualification, retain that qualification. This tutorial invents no required size, strength, fibre, length or point type for the project you have in mind.
Next identify the item you believe could answer that requirement. Record the actual label or reference you can establish, not a brand inferred from a loose object's colour. Keep any uncertainty visible. The purpose is to connect a requirement with identifiable evidence, rather than making an unnamed supply look suitable by placing it beside a tidy project card.
Keep present and suitable as separate findings. A thread supply might be present while its relevant specification remains unknown. A tool may be identifiable while the applicable instructions do not establish its use for the proposed material. Leave that line unresolved until the needed answer is available. A higher piece count elsewhere in the kit does not supply the missing specification.
5. Separate absent supplies from unanswered questions
An item not found in the inventory you can appropriately establish is a different issue from an unidentified item already present. Describe which situation you mean. “Required supply not yet located” is not the same as “this identified supply is unsuitable.” Avoid turning an incomplete search or missing label into a compatibility conclusion. The next enquiry should address the actual gap.
Do not create a new handling method merely to complete the list. Follow the actual case and tool instructions when identifying contents, including their requirements for sharp items. If a detail cannot be checked within those limits, record the limitation. This article supplies no instruction to open a needle container, expose a cutting edge or examine a pointed tool by an improvised test.
For an original fictional example, imagine a person preparing one small project whose instructions name a particular supply requirement. They can identify a relevant-looking item in their kit but cannot establish its specification. Their record marks the item present and the match unresolved. This is a planning example with no actual garment, recommended material pairing, physical test or completed repair behind it.
6. Ask the narrow question that prevents readiness
Take the task reference, actual requirement and identified available item together when seeking clarification. Ask whether that specific item meets the stated requirement, or ask which specification must be checked. A broad request for the best kit may leave the original question unanswered. Retain the reply with its actual scope instead of treating it as approval of every object in the case.
If the answer concerns another product or project, keep it attached to that reference. Ask about the remaining difference before adopting it. A familiar maker name does not prove that two supplies have the same specification. Likewise, an answer about what a package contains does not necessarily establish how an item should be used. Contents and practical instructions remain separate parts of the readiness record.
A new purchase is only one possible outcome of the enquiry. You might find an identified suitable supply you already own, obtain the missing instruction or decide to leave the task pending. Record the actual outcome. Buying a larger assortment without resolving the requirement can leave the same uncertainty inside a new case, while adding another inventory to identify.
7. Keep the neighbouring guides with their actual questions
The hand-sewing needle-threader guide examines the actual eye, thread and tool mechanism. That is a separate physical fit and use question. This readiness record does not perform its alignment checks or supply a threading sequence. A note saying that an aid is available does not establish that it works with the needle and thread intended for a task.
The sewing-machine feature guide explains labels attached to actual machine offers. Its free-arm and buttonhole descriptions give no operating instruction for these manual kits. If your task actually requires a machine, retain that requirement explicitly rather than counting a hand-sewing case as the machine or transferring a machine accessory's role to a similarly named loose notion.
8. Finish with a truthful readiness state
Return to the one task you named at the beginning. Check which requirements have identified supplies and applicable information, and list the questions that remain. A completed document can honestly say the task is not yet ready. Do not use a check mark merely to make every line look finished, or relabel an unverified item as suitable because another person is waiting.
Keep the selected instruction references and actual supply identities together for the next stage. If someone else continues the preparation, explain which questions are still open. This is a task-readiness record, not a transfer of ownership or an agreement that another person will complete a project for you. Any such arrangement needs its own clear discussion.
When a supply or the project changes, retain the earlier note and update the affected requirement. A previously established match should remain tied to the combination it covered. Readiness for one task does not certify every future use of the case. The useful record is narrow enough that a later reader can understand what was actually checked and what still needs an answer.
Keep any kit purchase tied to its exact order
Both captured product offers list cryptocurrency among accepted payment methods in structured data. That supports checking the current checkout if you decide to purchase. It does not establish which assets, networks or wallet services a later transaction will support. Payment availability also cannot supply a missing material specification, establish a compatible needle or make the task ready to begin.
Before payment, retain the exact offer, selected option and stated supplied contents. Keep any written answer to an inventory question with that order reference. The SINGER pack and DDI case have different stated units, so do not transfer one quantity basis to the other. A substituted kit needs its own contents review and a fresh check against the actual task requirements you recorded.
If cryptocurrency is chosen, read the amount, asset and network instructions presented for that transaction. Confirm receiving details in the actual payment flow. This article gives no wallet address, transfer procedure, exchange rate, fee estimate or network recommendation. Ask the merchant or payment provider when an essential detail is missing. Save the dated instructions so a later enquiry can identify the same order and attempt.
Check merchant order status as well as payment confirmation. Reconcile an uncertain existing attempt before sending another payment. Read current cancellation, return and refund conditions for the selected order, including cryptocurrency terms where relevant. Retain confirmation and payment reference together. An acknowledged payment does not confirm a delivered inventory or approve a sewing method; those questions retain their own actual evidence and applicable instructions.
Hand sewing kit checklist work ends with one named task, its applicable information and the available supplies clearly connected. Keep absent items and unresolved suitability separate. Continue into practical sewing only through the instructions that actually cover the task, rather than treating a large case, a piece count or a completed-looking checklist as a substitute for that information.