Garden Care & Watering
Garden watering nozzle setup: choose reach and control
Choose the watering tool from the reach and angle of the task, confirm the hose-end fit, and test the spray before watering.
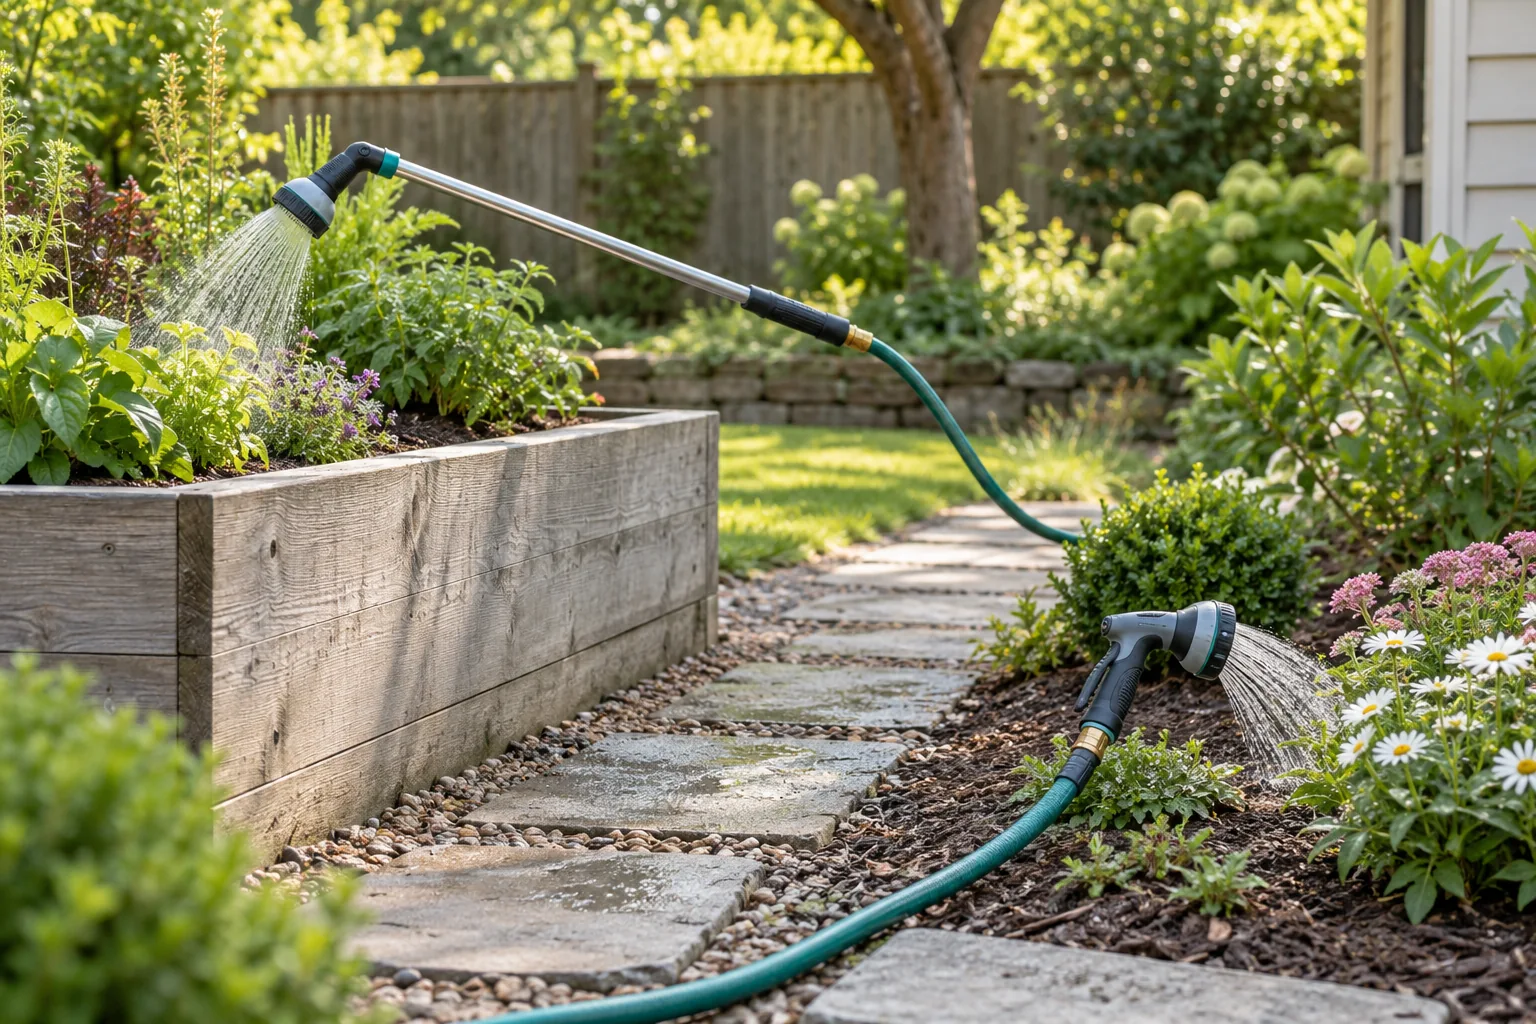
Garden watering nozzle setup begins at the place you want to reach. A hanging basket above shoulder height asks for a different hand position from a bed beside the path. Before attaching a tool, stand where you can keep your feet off the planting area. Note the distance from that point to the soil and whether you can aim water without soaking leaves, a wall, or the path.
Two current tools illustrate the choice. The FLORIAX 24-inch watering wand lists a long body, a rotating ratcheting head, six spray patterns, a flow knob, and a trigger lock. The short metal garden spray nozzle lists a brass tip, aluminum-alloy body, and rubberized handle. These descriptions identify different tool shapes. Neither listing establishes how the nozzle will mate with the hose you own or how its spray will behave at your tap.
Mark the watering position first
Walk the route with the hose turned off. Put the hose end where you can hold it without pulling across stems, sharp corners, or a walkway used by other people. Reach toward each target from that safe standing position. A long wand may let you direct water past an outer row of plants or into a hanging basket. A short nozzle keeps the hand near the spray head, which can be easier to manage when the target is close and unobstructed.
Measure reach from your actual stance, rather than from the edge of a product photograph. The FLORIAX listing calls its wand 24 inches long, but your working reach also depends on your arm, the hose path, and the angle of the head. Its gallery shows one angled head at the end of a long tube. That image supports the general shape; it does not show a person watering a particular planter or prove the wand reaches every hanging basket.
For a bed at ground level, consider how close you can stand and where the water should land. The short nozzle's gallery shows a hand-held body and tip without a long extension. It may suit a nearby target if your hose can reach the edge without dragging over plants. If you need to reach behind a dense border from a path, the wand's extra length and adjustable head are relevant. The choice is about the geometry of your space, not a claim that one tool waters plants better in every setting.
Make a quick route note: source tap, hose path, standing point, and watering targets. Include the highest basket and the farthest soil patch. You can use that note to decide whether a long tool changes your reach enough to matter. Do not count on a nozzle to make a hose longer. If the hose itself cannot reach the standing point without strain, solve that separate reach problem before choosing the hand tool.
Check where excess water can go during the first test. A paved edge can become slippery, and a spray aimed across a shared path can catch someone walking through. Set the first test where you can observe the pattern without directing it at a person or fragile surface. This also makes it easier to see whether changing the head angle or your standing point fixes a miss before you water the planting area.
Read the two native tool descriptions
The FLORIAX listing names six spray patterns: cone, flat, jet, soaker, shower, and mist. It also names a flow knob, trigger, and locking clip, and describes a rotating ratcheting head. Those controls give you options to inspect during setup. The listing says no assembly is required, but you still need to verify the actual hose-end connection and follow the delivered instructions before turning on water.
The short nozzle listing describes a metal brass tip, aluminum-alloy body, and rubberized handle. Its gallery shows two exterior views of the same hand nozzle, with additional pictured pieces. The product description does not establish the exact mating thread or quick-connect size for every hose. Treat the extra pictured parts as items to check against the current package list, not as proof that your particular hose connection is included.
Read the maker's current instructions and package list for whichever tool you choose. Record the hose model and the connector currently on its end. A brand or material name does not specify the mating interface. If the tool requires an adapter, identify both actual ends before buying it. The garden hose adapter compatibility guide works through that separate interface decision. This setup guide assumes you have confirmed parts that fit.
Do not infer a measured pressure or guaranteed watering result from the words “high pressure” in a product title. The source describes the tool, while actual spray depends on the water supply, hose, connection, and selected setting. The FLORIAX listing names patterns and controls; the short nozzle listing names construction and broad uses. Neither captured gallery is a test of flow at your tap or a measurement of how water lands on soil.
Connect one tool with the water off
Turn the tap off and release any remaining water at the hose end before changing attachments. Look for damage, dirt, or a missing seal at the connection you plan to use. Follow the tool and hose makers' instructions for their specific connector. Align the pieces and start the connection gently by hand. If they cross, bind, or stop abruptly, back off and check the interface instead of forcing a tighter seal.
Set out only the parts needed for the chosen tool. A pile of adapters can hide the point where a leak begins. If you are using the FLORIAX wand, locate its trigger, flow knob, angle adjustment, and any lock before the first wet test. If you are using the short nozzle, locate its trigger and tip adjustment shown on the delivered unit. The galleries depict exterior shapes, but they cannot substitute for the instructions supplied with your particular item.
Point the outlet away from people, electrical equipment, and delicate objects. Open the tap gradually while keeping a hand on the tool. Watch the hose end and the tool connection before directing water at a plant. If water leaks at a joint, turn the tap off, release pressure, and inspect the joint. Do not solve an uncertain fit by overtightening or adding an unverified connector.
Begin with a gentle setting over bare ground or a container where the spray is easy to observe. Check whether the stream reaches the intended soil without washing it away or bouncing onto a walkway. Then move to the first planting target. The test is a practical check of your assembled setup, not evidence that the seller's broad performance language applies to every tap or hose.
Set reach, angle, and spray at the target
For a high basket, hold the wand from a stable standing place and adjust the head while water is off or as the maker directs. The FLORIAX listing describes a ratcheting, rotating head that can hold an angle. Aim toward the growing medium rather than relying on a long jet from below. Recheck where the water lands when you change your stance; an angle that works for one basket may miss the next.
For a near bed, keep the short nozzle within comfortable arm's reach and direct water toward the soil. The short body brings your hand close to the outlet, so small wrist movements can change the spray direction quickly. Start gently and observe the soil surface before changing the tip. Use the setting that reaches your target without disturbing the soil or sending water onto a path. A product title cannot choose that setting for your plants.
The FLORIAX wand's six named patterns are choices to test, not prescriptions for particular species. A shower or soaker pattern may look appropriate for a broad area, while mist can drift under some conditions. Observe the result on your own site. Its flow knob and trigger can help you change or stop the water while moving between targets. If you use the trigger lock, know how to release it before walking away from the hose.
With either tool, move target by target. Stop the flow while repositioning the hose so the spray does not sweep across people or surfaces you did not intend to wet. If the hose pulls the tool out of position, change the hose route or standing point. Do not lean farther into a bed to make up for a poor path. The purpose of the longer wand is useful reach from a safer position, provided the rest of the setup fits.
Keep the connection and watering result separate in your notes. A secure joint that does not leak tells you the attachment is working at that joint during the test. It does not prove a spray pattern is right for a particular plant. Conversely, a weak-looking spray may come from the tap, hose, or chosen setting. Check each part of the path before blaming the hand tool.
If you share the hose with someone else, label or photograph the confirmed attachment and any small connector pieces before putting them away. That simple record can prevent a future setup from quietly substituting a similar-looking adapter. It also helps you explain a connection problem without claiming the nozzle is defective before checking the hose end and the parts actually used.
Finish the session and keep the setup repeatable
When finished, release the trigger, turn off the tap, and relieve pressure according to the hose and tool instructions. Let remaining water drain where it will not make the path slippery. Disconnect the attachment only after pressure is released. Check for a loose seal or damage before storing it. Keep the small parts together so the next setup begins with the same confirmed connection.
Store the hose and tool where they will not be crushed or create a trip hazard. This article covers the hand tool and the immediate hose-end setup. The garden hose holder setup guide covers where to put a wall or ground holder and how the hose coil fits there. Follow the storage instructions for your actual hose and nozzle; the product galleries do not show a tested storage arrangement.
Keep a small record of the working arrangement: which hose end fits the attachment, the standing point for the high basket, and the spray setting that landed water where intended. If you change the hose or add a quick-connect part later, verify the new connection again. The original successful test applies to the parts used in that test, not to a different connector that merely looks similar.
Choose the FLORIAX wand when the 24-inch body and adjustable head solve a real angle or reach problem in your space. Choose a short hand nozzle when you can stand near the target and prefer a compact tool. In either case, the useful first setup is the same: confirm the hose-end fit, start water gradually, observe the spray at the soil, and shut down without leaving the line under pressure.