Cooking & Food Prep
food processor pulse control for a small batch: check each stage
Use model-specific pulse stages to inspect small-batch texture before processing further.
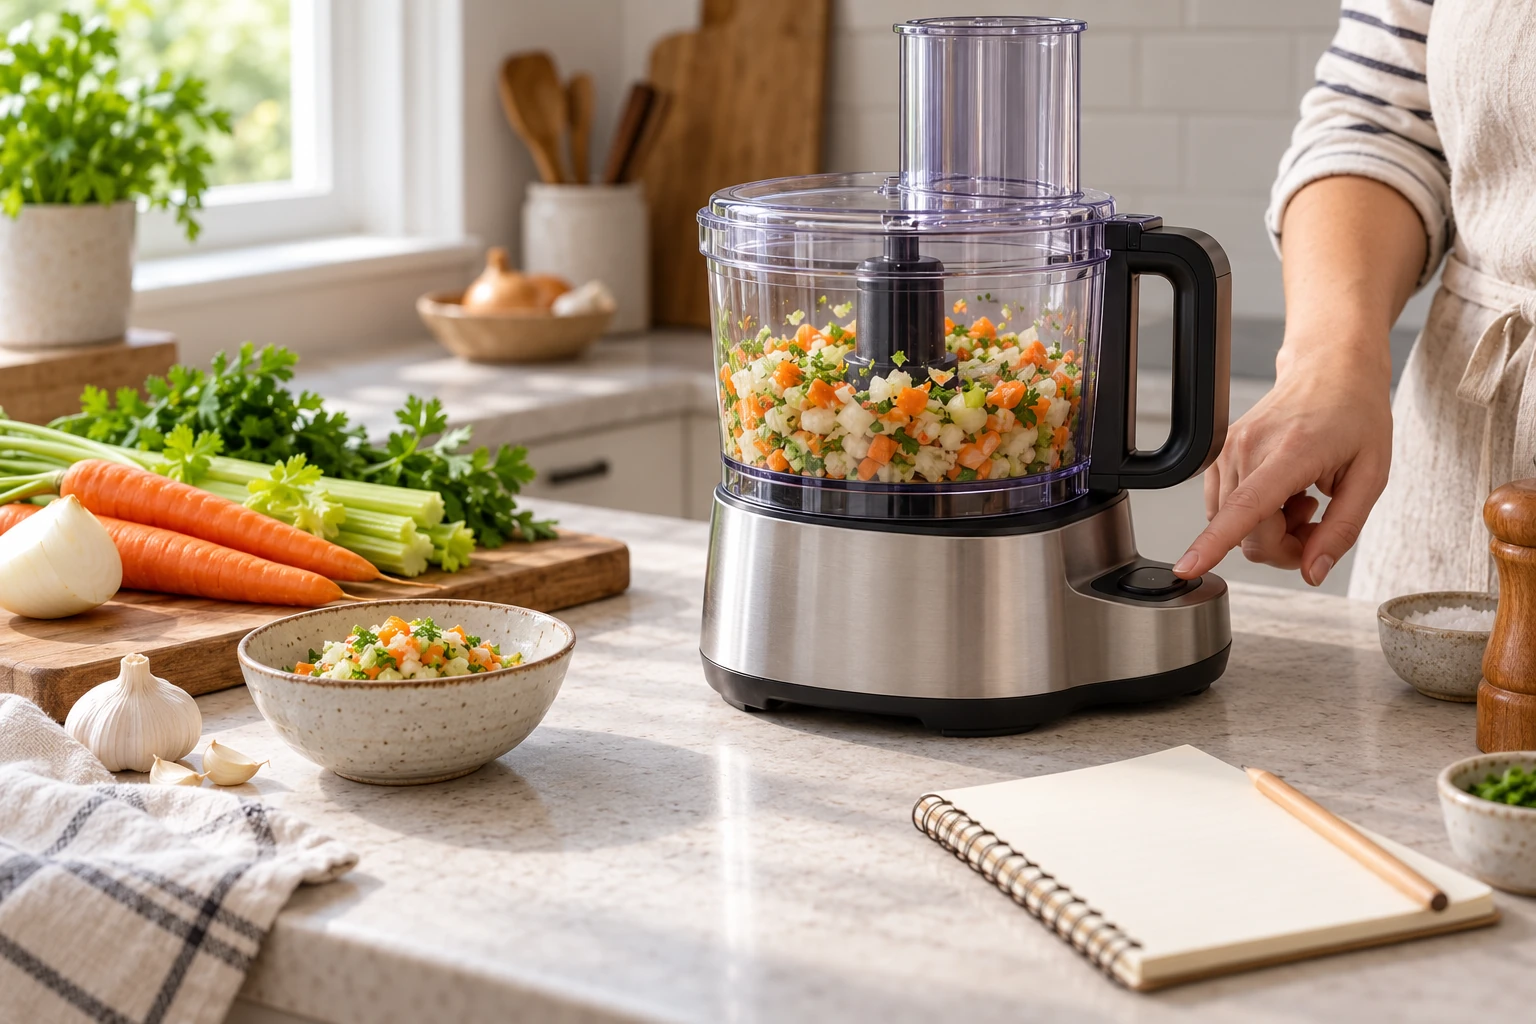
A food processor can change a small batch quickly. The useful control is not simply whether the machine has a powerful motor; it is whether you can stop, inspect the result and continue only if the food still needs work. Food processor pulse control gives you that staged approach when the exact model and recipe call for it. Begin with the processor's manual and the recipe's intended texture, then treat each short run as one checkable step rather than an automatic route to a particular result.
Both examples here list a pulse control. The Cuisinart FP-9CF food processor describes high, low and pulse buttons with a nine-cup bowl and a universal blade. The KitchenAid KFP0920QWH food processor also lists high, low and pulse controls, a nine-cup bowl and a multipurpose blade. Their listings do not supply one universal pulse length for every food or recipe. Use each model's instructions to identify the correct assembly and control behavior.
Start with the recipe's target result
Before loading the bowl, decide what the recipe means by the desired result. It may ask for a coarse chop, a finer mixture or a dough-like mass. Those are different stopping points. Note the amount of food you intend to process and whether the recipe calls for all ingredients together or for stages. A pulse workflow can help you observe change, but it cannot correct an unclear recipe or an ingredient quantity that does not match the chosen batch.
Use the recipe and machine manual to decide whether the selected amount belongs in the processor's work bowl. A nine-cup bowl description is not permission to fill it to the rim for every ingredient. Dry pieces, wet mixtures and expanding or aerated foods can have different working limits. Look for the maker's fill marks and any recipe-specific conditions. If you are halving or otherwise scaling a recipe, settle that calculation first; the recipe-quantity guide covers checking those numbers on paper.
Write a short texture target where you can see it. For example, describe what you expect to observe after a stage: distinct pieces, a mixture that still holds visible texture, or a smoother result specified by the recipe. Do not translate that description into a fixed number of pulses without a tested instruction for the exact food and model. The first batch is useful evidence about how this recipe behaves in your processor. Keep notes if you expect to repeat it, but do not turn one batch's timing into a rule for unrelated ingredients.
Choose the model-specific bowl and blade
Read the delivered machine's manual for the bowl, blade, lid and pusher arrangement required for the task. The Cuisinart page names a universal blade and separate shredding or slicing discs. The KitchenAid page names a multipurpose blade plus other blades and discs. A disc is not interchangeable with a chopping blade merely because it fits the same general appliance category. The exact recipe and manual tell you which attachment is intended for a chopped small batch.
Check that the work bowl and lid are assembled as the maker illustrates. Do not defeat a latch, interlock or guard to make the machine run. If a part does not seat normally, stop and identify the exact accessory and model before pressing a button. This article is about control of a properly assembled processor, not a workaround for a mismatched bowl or damaged lid. The presence of multiple discs in a product listing does not change the assembly requirements of the delivered unit.
Prepare ingredients as the recipe and manual require before loading. That may include removing packaging, cutting pieces to a permitted size, or measuring a liquid separately. Follow the exact appliance guidance for the feed tube and pusher; keep hands and loose tools away from moving parts. Do not use the pusher as a way to force more material into an overloaded bowl. If the ingredients do not fit the stated preparation limits, divide the work under the maker's guidance instead of treating pulse mode as extra capacity.
Keep the first load simple enough to inspect. When several ingredients have different textures, the recipe may call for adding them at different times. Record that sequence rather than dumping everything into the bowl and hoping pulse mode sorts it out. A wet ingredient can change how dry pieces move, and a soft ingredient can break down while a hard one remains large. The goal is to preserve the recipe's intended order of operations, not to claim a universal ingredient sequence for food processors.
Pulse in stages and inspect between them
Find the pulse control on the exact machine and read how the maker defines it. Some controls operate only while held; others may have different timing behavior. Do not infer the button's behavior from a different brand's panel. The two example product listings establish that pulse is offered, while their manuals and control labels determine how to use it. With the bowl and lid correctly assembled, follow the model's operation steps for one bounded stage.
After a stage, stop the machine as directed and wait until moving parts have stopped before opening or inspecting it. Compare the visible result with the recipe's target. If pieces are still much larger than intended, decide whether another stage is appropriate under the manual. If the texture is already where you want it, stop. This sequence is more useful than holding the high or low button simply because the machine offers those speeds. It keeps the decision tied to the actual food in the bowl.
Look at the mixture as a whole, not only at a piece on top. Ingredients can move unevenly inside a work bowl. If the manual permits a pause to redistribute food, follow its specific procedure with the unit stopped and power handled as instructed. Do not put a utensil into a moving bowl or reach under the lid. If the machine stalls or behaves abnormally, use its manual's stop-and-recovery guidance rather than repeating the same pulse. A stalled motor is not a sign that more force or a longer button hold will solve the problem.
Keep pulse and continuous controls separate in your notes. High and low modes may be useful for other tasks, but the chosen small-batch workflow uses inspection points. A product listing's three-button inventory does not say which mode a particular recipe requires. If the recipe explicitly directs a continuous run, evaluate that instruction against the model manual rather than silently converting it to pulses. If it directs pulses, do not replace them with an uninterrupted run just to finish sooner. Each mode changes how much opportunity you have to observe texture.
Stop at the recipe's result
Once the intended texture is reached, stop processing. Extra running can change a coarse preparation into a much finer one, but the amount of change depends on the food and equipment. You do not need a universal “perfect pulse count” to make the decision. Compare the actual pieces or mixture with the recipe description and your first-stage notes. If the outcome differs, record what happened for a later attempt rather than asserting that the processor or recipe was at fault without more evidence.
Remove the bowl and blade only under the maker's handling instructions. A sharp attachment remains sharp when the motor is off, and the location of the blade inside the bowl can affect how food is transferred. Use the supplied tool or recommended method where the manual calls for one. Do not reach around a blade to scrape out the last bit of a batch. Keep the exact attachment's cleaning instructions with the unit so the next user knows what can be washed and what must stay dry.
Decide separately what happens to the processed food. A pulse-control article ends when the food reaches the recipe's intended processor-stage result. The small-batch freezer-storage guide addresses a later storage plan when that is relevant. Do not assume that processing, sealing or freezing makes a food safe or extends its life without recipe-specific and food-safety guidance. Follow the relevant recipe and authoritative handling instructions for the ingredients used.
Keep a useful record for the next batch
Write down the exact processor model, attachment, approximate batch amount, ingredient condition and the observation after each stage. Note the final texture in the recipe's own terms. A record like “large pieces remained after the first stage, then the next stage reached the coarse chop” is more transferable to your next attempt than a bare count with no description. It also makes clear when a later change came from a smaller load or a different attachment rather than from a mysterious change in the machine.
If the first result is finer than wanted, do not try to reverse it with another setting. Use the result only where the recipe permits, or start a new batch with a revised plan. On the next attempt, inspect earlier and use the manual's permitted control method. If the first result is still too coarse, check that the correct blade and amount were used before extending processing. This is a measured adjustment to a specific recipe, not an instruction to exceed the machine's operating limits.
For two cooks sharing one appliance, keep the model-specific manual and the note about the chosen attachment near the kitchen, away from the moving or hot parts. One person may remember a different processor's pulse behavior. The written record should identify the actual control and the observed texture, not merely “pulse three times.” If the processor is replaced or a different blade is used, treat the next batch as a new setup and read its instructions. A familiar recipe can behave differently with changed equipment.
Clean and store the parts under the delivered model's instructions once the food has been transferred. The listings for these two processors describe different included accessories, so keep their parts organized by exact model. Do not treat this article as an accessory inventory guide; BG-0129 owns the separate question of which discs belong to a given processor and how its bowl stores them. For the small-batch workflow, record only the attachment actually used, its condition and the result it produced.
The final decision is straightforward: use pulse only when the recipe and the exact processor support that method; stop and inspect at each appropriate stage; finish when the food reaches the recipe's target. If a part does not fit, a control behaves unexpectedly or the manual's batch limit is unclear, pause the operation and resolve that point with the maker's instructions. A processor's pulse button is a useful control, but the evidence of success is the actual bounded result in the bowl.