How-To Guides & Tutorials
Vacuum sealing for freezer storage: plan a small batch
Prepare freezer space, portions and clear labels before a manageable vacuum-packing session, keeping food handling and model instructions distinct.
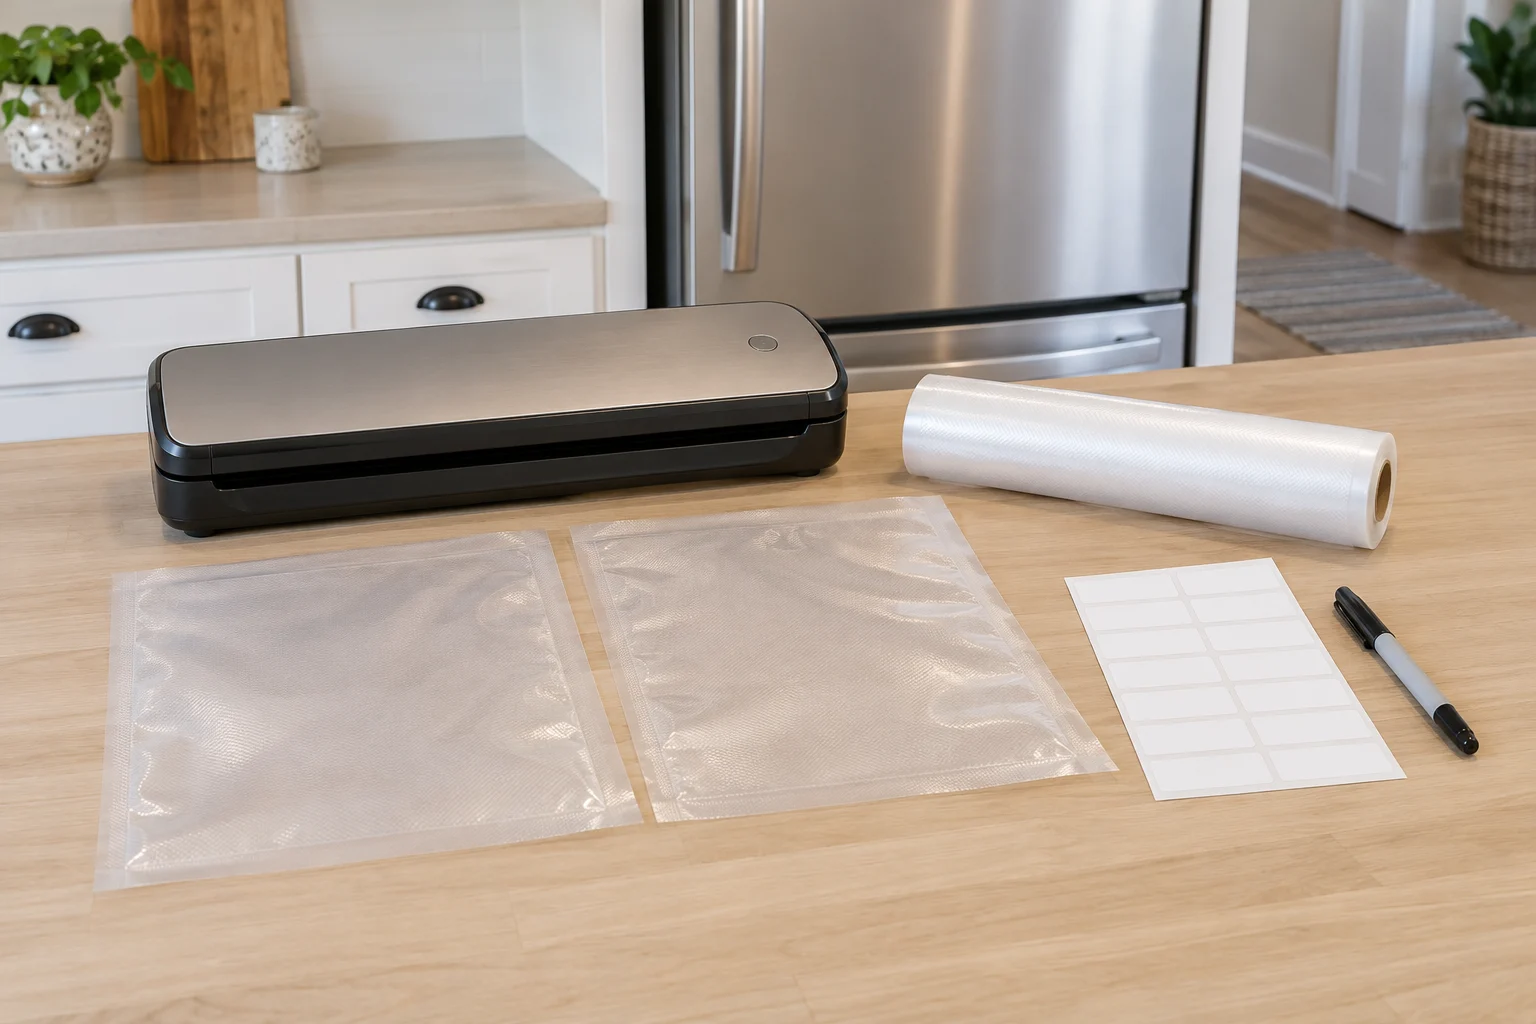
Prepare for vacuum sealing for freezer storage by checking the food's handling history, the freezer temperature and the portions you expect to use. Have the applicable sealer instructions and suitable packaging ready before bringing perishable food out of refrigeration. Start with a batch you can manage while the remaining food stays appropriately stored.
This guide covers the preparation and storage plan around a household sealer. FDA's public guidance, Are You Storing Food Safely?, supplies the temperature and food-handling advice below. The selected NESCO offers illustrate purchase questions; their descriptions do not establish a storage life for a meal or a substitute operating method for your actual machine.
Check the freezer before preparing a batch
FDA recommends a freezer temperature of 0°F, or -18°C, and a refrigerator temperature at or below 40°F, or 4°C. Check appliance thermometers periodically. FDA recommends placing a thermometer toward the front in an easy-to-read location and checking it at least weekly. The appliance's chosen setting and the temperature you observe are separate information.
Look at the space where the prepared packages will go. FDA advises against crowding a refrigerator or freezer so tightly that air cannot circulate. Clear an accessible place before beginning, keeping the actual appliance instructions in view. If fitting another package would block circulation, choose a different arrangement.
Make the first batch fit the space you already have. You can postpone another packing session while its food remains appropriately stored. Buying a larger machine does not add freezer capacity, and a bag that looks compact on the counter may still be awkward beside an existing stack of containers.
Check whether you can retrieve a package without unloading unrelated food onto the counter. If the only open space is at the back beneath several containers, choose another arrangement before making more packages. This is an access decision as well as a space decision: your later meal should be easy to identify and reach.
Choose a portion that matches a real meal
Decide what one package will be used for before cutting bag material or dividing food. A portion intended for a solo lunch may differ from one meant for a household dinner. Start with what you actually cook and the amount you usually need, without treating a generic bag size as a serving recommendation.
For a hypothetical meal plan, a household might want one package for a particular dinner and another for a later recipe. Write those destinations on the plan while the food is still identifiable. If the second recipe is undecided, use a clear contents description rather than inventing a preparation instruction to fill the label.
Avoid grouping different foods into one package merely because there is spare room. Their cooking and handling directions may differ. Keep the original package information available when deciding how to divide the contents, and use guidance appropriate to the actual food. This article supplies no recipe, cooking temperature or universal preparation treatment.
Keep any uncertainty about the food separate from the equipment task. A missing ingredient identity or unclear storage direction will not be answered by a successful sealing cycle. Resolve that question before committing the food to a package whose appearance may make the uncertainty harder to notice later.
Plan freezer portion labels before filling bags
For freezer portion labels, choose information that will still make sense when the food is frozen. Write the contents clearly, note whether they are raw or cooked, and record the actual packing date. A short description of an intended meal can help, provided it remains distinct from cooking instructions or a food-safety deadline.
Keep an original product label when it contains information you will need later. This may include ingredients or handling directions that a short handwritten description cannot reproduce. Decide where that information will live, such as beside the meal plan, so the package does not become disconnected from the food you purchased.
Give similar-looking packages different names when their contents differ. “Chicken” may be insufficient if one package is raw and another is a prepared dish. Use the description you can verify while filling it. Do not rely on remembering the difference from the package's shape after everything is frozen.
A packing date records an event. It does not establish how long the food was stored beforehand, whether it remained at the required temperature or how long a particular recipe should be kept. Retain the relevant earlier information instead of presenting the new date as the beginning of an entirely new food history.
Leave a readable area for the information and follow the packaging supplier's directions for any label or marker used on it. Check the completed label before the package leaves your work area. If the writing is unclear now, replace the unclear information while you still know exactly what belongs inside.
Prepare the workspace and keep perishables cold
FDA advises refrigerating or freezing perishables promptly. Its room-temperature limit is two hours for foods requiring refrigeration, reduced to one hour when the air temperature exceeds 90°F. These limits apply to the food's handling, including time before it reached your packing station. Sealing does not erase earlier time outside appropriate storage.
Set out the ordinary non-food supplies first. Find the applicable instructions, suitable bags and labels, and decide which package is being prepared next. Keep the remaining perishable food appropriately refrigerated while you work on the manageable batch. If you need to search for a manual or reorganize the freezer, address that before bringing more food out.
Follow FDA's wider food-handling advice: clean hands and surfaces, keep raw food separate from food ready to eat, and use appropriate cooking guidance. A clear bag does not create a clean preparation area. Keep the equipment's own care requirements separate from the cleaning instructions for food-contact utensils and surfaces.
The glass salad spinner preparation guide discusses produce labels and the separation of raw-food utensils from produce eaten uncooked. It is useful when planning a kitchen session involving those ingredients. Its spinner sequence supplies no vacuum-sealer operation or treatment for food destined for the freezer.
Vacuum sealer bag preparation starts with the model
For vacuum sealer bag preparation, establish the machine's model and obtain its applicable instructions before preparing packaging. Check what bag material the manufacturer permits and how it must be used. Pre-cut bags and material from a roll involve different starting pieces, so identify which you have before following the relevant section.
Read the instructions through before starting the batch. Locate the directions for the food and packaging you intend to use, the permitted operating pace and the equipment's care. If a required accessory is missing or the illustrated machine differs from yours, resolve the mismatch before proceeding with that procedure.
Keep food-preparation guidance attached to the actual ingredient too. A retail claim that equipment is useful for freezer meals does not supply every ingredient's preparation requirements. Vegetables, raw meat and a cooked dish should not receive one improvised treatment simply because all might eventually be stored in a freezer.
When ready, use the matching machine and packaging directions for the actual cycle. Watch the result as those instructions require, and keep an unfinished or questionable package identifiable. This guide does not add a button sequence, bag-placement diagram or repair method to the manufacturer's directions.
Read the two NESCO offers as separate packages
The NESCO VS-12 offer, SKU 54316914, names variable settings, an optional double heat seal, roll storage and a built-in cutter. Its roll-width statements differ within the description, so confirm the actual supplied rolls before planning purchases around them.
The NESCO VS-02 value pack lists one device and four 11-inch-by-20-foot rolls. Its description names normal or extended sealing time, roll storage and a cutter. Verify the delivered package and use instructions for that exact model. Neither offer establishes the other model's controls or your food's storage life.
Decide which purchase question remains unanswered. You may need confirmation of package contents or the applicable instructions before ordering. Ask about that specific item. A feature listed for one model should not become an assumption about another listing merely because both use the same brand.
Check the result before putting it away
Keep the package beside its label until the equipment task is complete. Follow the applicable directions for assessing the seal and handling any problem. A bag that looks drawn inward does not establish that the food was safely handled before packing. The food history and the equipment result both remain relevant.
FDA explains that freezing stops bacteria from growing but does not kill most bacteria. Food properly handled and held at 0°F remains safe, while quality can decline with time. Keep that conditional statement intact: freezer storage cannot correct unknown or improper earlier handling.
FDA also distinguishes freezer burn from a food-safety determination. Freezer burn produces dry, leathery areas and concerns quality. A package's appearance cannot answer every safety question; FDA warns that food can cause illness without looking, smelling or tasting spoiled. Do not use an apparently tidy package as the sole reason to keep questionable food.
If the machine has a problem, the FM2435 bag-not-vacuuming guide shows how that particular question depends on the actual symptom and applicable instructions. Its FoodSaver-specific placement and controls remain with that machine. For either NESCO model, retain the actual model and observation when consulting its own guidance.
Leave useful information for the later meal
Decide how you will find the food's appropriate thawing and cooking guidance when you take it out. Keep a recipe or the original food directions with the meal plan if those will be needed. A handwritten meal name may help you choose dinner, but it should not be the only remaining information about preparing the contents.
If someone else will use the package, write down what you know in terms they can follow. They should be able to identify the food and find its directions without relying on a conversation you may both forget. Correct an inaccurate description before handing over the package; an attractive label does not make an uncertain identification reliable.
Make the freezer record easy to maintain
Put the finished packages into the planned freezer space promptly and add their descriptions to a simple inventory. Record where they went if the freezer has several compartments. Remove an entry when you use its package, so the record describes food that is actually present.
After the first small batch, check which part of the arrangement needs attention before preparing another. You might need clearer labels or a more accessible place for a frequently used portion. Make that concrete adjustment while preserving the required food handling and equipment instructions. For the next session of vacuum sealing for freezer storage, begin with the actual food, available cold space and information you can still verify.