Home & Living
Understand can opener cut position at the lid and rim
Understand the can end, rolled seam and cutting path before interpreting opener designs. Keep catalog illustrations, separate bottle tools and actual model instructions distinct.
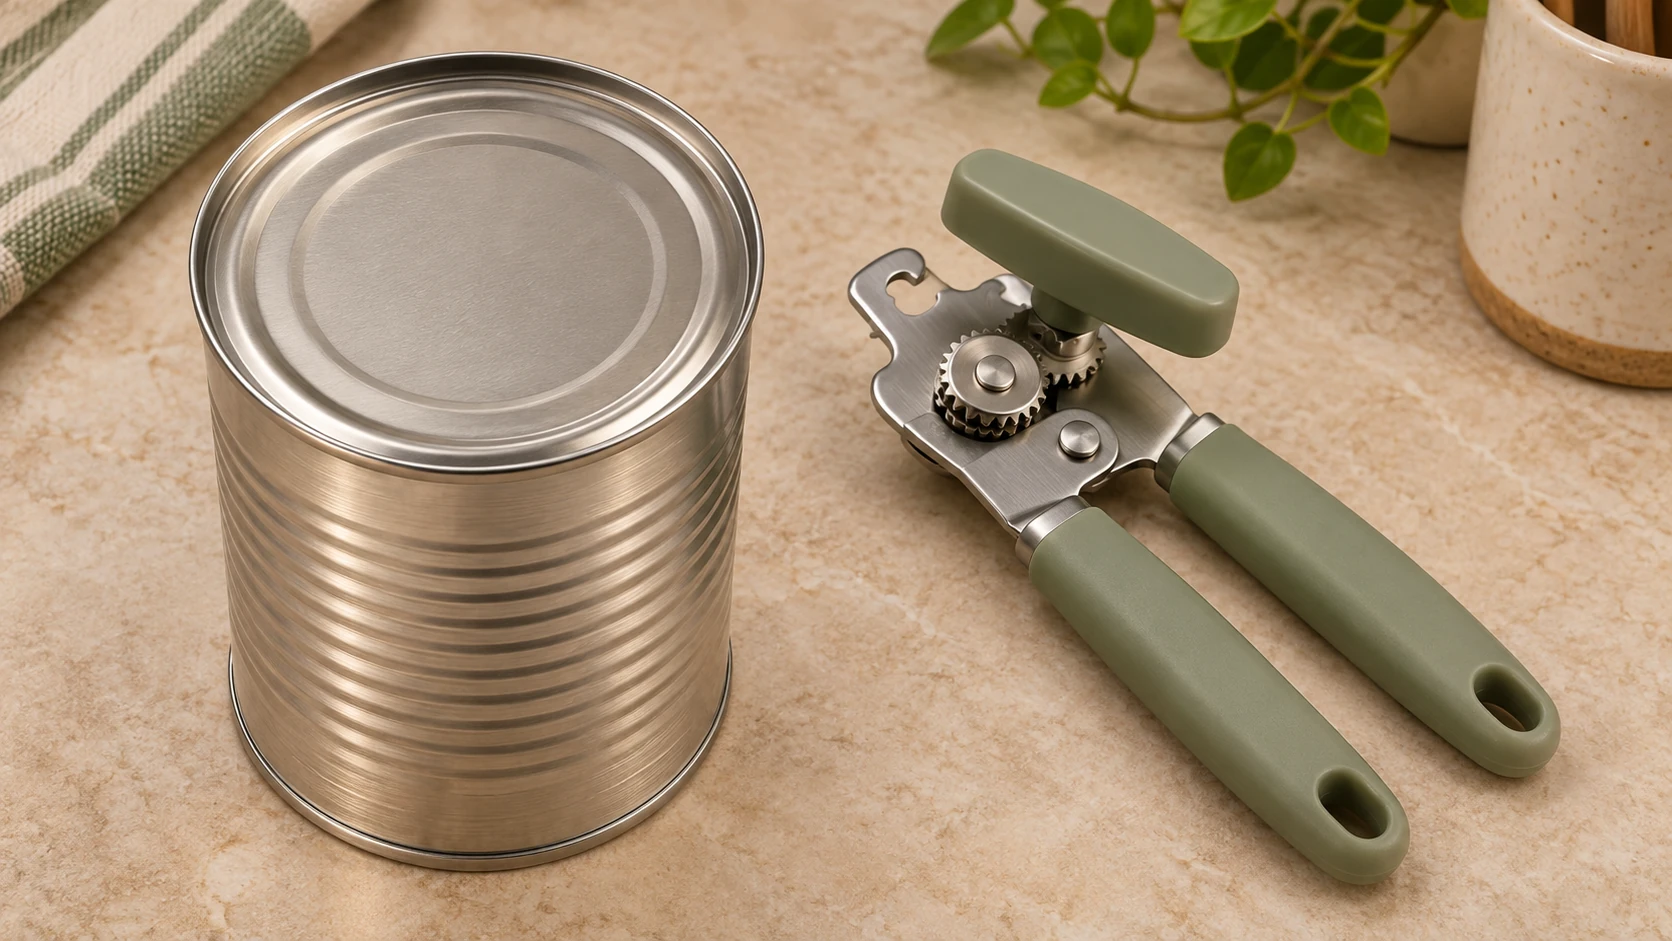
Understanding can opener cut position starts with distinguishing the broad can end from its perimeter joint. This guide explains the documented anatomy and how to read cut-location descriptions. It uses manufacturer examples alongside limited catalog observations, without supplying an opening sequence for an unidentified tool.
When reading an equipment document, keep its labels beside the pictured surfaces. A short note separated from its illustration can lose the information needed to interpret it. Compare the complete accounts before deciding that their descriptions agree or differ. The reading examples below show how to keep those connections visible in an equipment folder. They leave unanswered questions open and provide no test of a real container.
Reading double seam anatomy
The Canadian Food Inspection Agency’s terminology distinguishes the can body from the conventional end, also called a cover or lid. Its description identifies the curl at the end’s extreme edge. The body has a flange that participates in the joint. These names explain why an illustration needs separate labels for the lid surface and rolled perimeter. They do not describe a particular can’s condition.
For double seam anatomy, the same reference describes the joint as a mechanical interlocking and compression of the body flange and end curl. Its terminology also distinguishes the end hook from the body hook. Keep that account attached to the container’s construction. An opener illustration may use simpler words such as rim or bead, so compare the pictured location as well as the label. A glossary cannot establish where an unidentified cutter actually travels.
Imagine a fictional adult reader, Elena, annotating a printed can diagram for a kitchen equipment folder. She labels the broad top surface “end panel” and adds a separate note beside the perimeter joint. Her drawing is easier to discuss because “top” no longer has to carry both meanings. This exercise gives her a vocabulary for reading equipment documents. It includes no test of a real container and no decision about whether its contents are suitable to eat.
Why the rolled seam exists
Crown’s explanation of double seaming describes two manufacturing operations that join the end to the body. The first curls the end edge and body flange together. The second compacts the assembled metal layers. Crown also explains that gasket material fills spaces within the seam. This is a construction account: the joint involves formed metal and sealing material, with the end joined to the body around its perimeter.
That background helps make sense of an illustration whose arrow points near the outside of the lid. The arrow needs a precise destination because the perimeter is an assembled joint. Crown’s account does not identify the mechanism of either catalog opener discussed below. It also supplies no household method for assessing, repairing or recreating a seal. The manufacturing explanation answers how the parts are joined before an opener enters the picture.
On Elena’s fictional page, she now gives the seam its own annotation. She leaves enough space between that note and the end-panel label for a later cutting-path arrow. The arrangement prevents her notes from suggesting that every arrow pointing near the rim means the same thing. Her next task is to read the relevant equipment document and place its arrow where that document actually shows it.
Comparing top cut and side cut
OXO’s Smooth Edge instruction document provides a direct visual comparison. Its diagram places the illustrated cut on the side of the lid, below the can edge, and contrasts that position with the upper location associated with traditional openers. The accompanying text describes the cutting wheel entering the outside seal. This is a statement about the illustrated design. It should remain attached to the applicable OXO document rather than become a classification rule for every tool with a side-mounted knob.
The document also depicts release and lid-lifting actions after cutting. Those later stages have their own purpose in the full instructions. The anatomical lesson here is narrower: a cut around the side of the lid has a different pictured location from a cut through its upper face. For the model-specific sequence, the existing OXO Smooth Edge release and lifting guide keeps the documented stages together.
When reading top cut and side cut descriptions, keep the point of view stable. An arrow drawn on a top view and one drawn on a cross-section may need more explanation before they can be compared. In a fictional equipment folder, Elena writes the document name beside each copied note and records whether the image shows the top or the side. She does not replace the original illustration with her shorthand when someone needs actual instructions.
Another manufacturer’s outside-rim description
Kuhn Rikon’s Auto Safety LidLifter page explicitly says its design cuts outside the rim rather than through the top. It further describes the wheel engaging from the side into the lid’s bead. That gives a second manufacturer-specific example of why the perimeter matters. The page also warns that cutting more than one full circle can create burrs or slivers, and limits the product to domestic use. Those limits belong with its own account.
A product name containing “safety” cannot remove that warning or establish the condition of another opener. Likewise, a cut-location description does not settle every question about handling the separated lid. Read the complete instructions for the actual equipment. Here, the useful comparison is the expressly documented position of the cut. Neither this page nor OXO’s diagram authenticates a cutting path for the two different catalog offers below.
A handheld catalog picture has several distinct functions
The captured Fuliko can opener and corkscrew listing describes a geared manual opener, a bottle-opening function and a corkscrew. Its sole image shows a mint handled can opener beside a separate burgundy winged corkscrew. BENENO appears on both pictured tools, while the catalog names Fuliko. The maker relationship remains unconfirmed. The pictured tools should be described separately from the page’s all-in-one wording.
This image is useful for distinguishing jobs: the can-opening hardware, cap-opening feature and cork-extraction tool concern different closures. It does not prove that the advertised item arrives as a particular set, or that every described function occupies one tool. The catalog’s bundle field does not resolve the disagreement. Nor does the picture establish a top- or side-cut path. No material, low-effort or edge-safety claim is authenticated here.
A mounted form introduces support hardware
The captured BOJ table-mount can opener listing identifies catalog model 00111704. Its eight images show a crank, cutting and drive components, a vertical post and mounting hardware. Other views show components separated for illustration. A pictured marking reads Mod.1FA; equivalence to the catalog identifier has not been established. The NSF marking visible in the gallery is an observation, not independent certification verification.
The post, base and clamp support the pictured mounted opening assembly. They are not separate bottle-opening tools. Cans, a table, hands and food appear as usage context, without establishing what a buyer receives. The mounted form alone does not establish its precise cutting path, measured capacity or compatibility with an actual container. These illustrations provide no assembly or disassembly instructions in this guide, and no claim that the photographed demonstration was personally tested.
Turning, cutting and supporting are different attributes
Chef Master’s official 90056 product page separately names a knob, cutting discs and grip handles. Those component names help a reader distinguish a control from the part that cuts. The short page does not provide a basis for assigning that product a universal top- or side-cut category. A description can identify several components while leaving their exact relationship to the can end unexplained.
Edlund’s official No.1 and No.2 page names a spool, arbor and replaceable base insert, alongside features of its base. These are further examples of structural details that should retain their own names. They do not turn a product description into a service manual. The existing Edlund No.1 wear and knife-limits guide addresses its separate maintenance decision with model-specific documentation.
For Elena’s fictional comparison, a row headed “mounted or handheld” answers where the tool is supported. Another row headed “documented cutting path” records only what the relevant manufacturer actually describes. A picture of a long crank can fill the first row while leaving the second unanswered. She keeps that empty entry visible. Filling it with a guess would make the comparison look more complete while removing a real distinction between known and unknown information.
Suppose the fictional folder contains an isolated detail from one manufacturer’s diagram and a complete product photograph from another. Elena initially puts them beside each other because both show a large turning control. She then notices that only the diagram actually marks a cutting location. Her revised caption says what each image contributes: one explains a documented path, while the other shows a tool’s overall form. This comparison remains useful even though it cannot classify the photographed tool’s cut.
She also considers what another reader would need to check her annotation. A note saying “cuts here” becomes ambiguous after it is separated from its arrow. Elena records the document title and the location the arrow indicates, then keeps the complete reference available. If her written label and the original figure disagree, the annotation needs correction. The existence of a neatly prepared equipment folder cannot resolve that disagreement or supply a missing description from the manufacturer.
For an unfamiliar actual tool, the same reading exercise can stop with an unanswered entry. That is a useful outcome when the available account only describes a handle, a mounting arrangement or a general kitchen purpose. Someone who needs an operating method will require more specific documentation than this comparison supplies. Someone who is learning the anatomy can still explain the difference between the can end and the perimeter joint without assigning an unsupported mechanism to the tool.
Use the anatomy to read a product account
Begin with the container surfaces named in the document, then locate its actual cutting-path statement or diagram. Keep the opener’s support arrangement and other closure functions alongside that information as separate attributes. A corkscrew does not explain a can cutter’s path. A base does not identify a lid-removal method. Where the source leaves a detail unresolved, the comparison should retain that limit instead of extending instructions from a different product.
The result is a more precise understanding of can opener cut position: the end panel, rolled joint and documented cutting location have individual meanings. In the fictional folder, Elena can now explain which drawing shows a side path and which catalog images leave that question open. Anyone operating an actual opener still needs its applicable complete instructions, including its handling limits and later release or removal stages.
Payment and the proposed order
If you plan to buy kitchen equipment on republeq.com, check the payment options shown for your actual order before deciding to use USDT. A general reference to crypto does not establish which assets are available at checkout. Keep that payment question separate from the product information still needed to understand the opener. In Elena’s fictional equipment folder, an unresolved cutting-path entry stays unresolved even if someone has already chosen how they would prefer to pay. Her diagram notes cannot confirm a seller’s supplied model, and a payment preference leaves any unresolved product questions exactly where they stood before the proposed purchase. Before proceeding with a purchase, read the current offer and the delivery, return and warranty information for that transaction. This guide gives no promised delivery date, return approval or assurance that an item will match a pictured variant. If a different offer becomes the proposed purchase, check its own details and current checkout options. An earlier successful crypto purchase does not establish the available method for a new order. Someone arranging equipment for another person should share the exact product link and unresolved identification questions alongside their payment preference. That lets the recipient review the same proposed item rather than assume that all manual can openers have the same mechanism. This paragraph supplies no wallet setup, token-transfer instructions, network selection or assurance about transaction security. Keep any order confirmation with the transaction it actually describes. It records a purchase, without documenting a test of the opener or proving that a particular manufacturer’s illustrated instructions apply to the delivered tool.
Conceptual editorial illustration of an unopened can and inactive generic opener; no exact retail model, operating sequence or tested cutting result is depicted.