Tools & DIY
Weather stripping won’t stick: find the surface or fit problem
Locate the first loose point, check frame finish and door movement, then dry fit and attach a suitable weather strip.
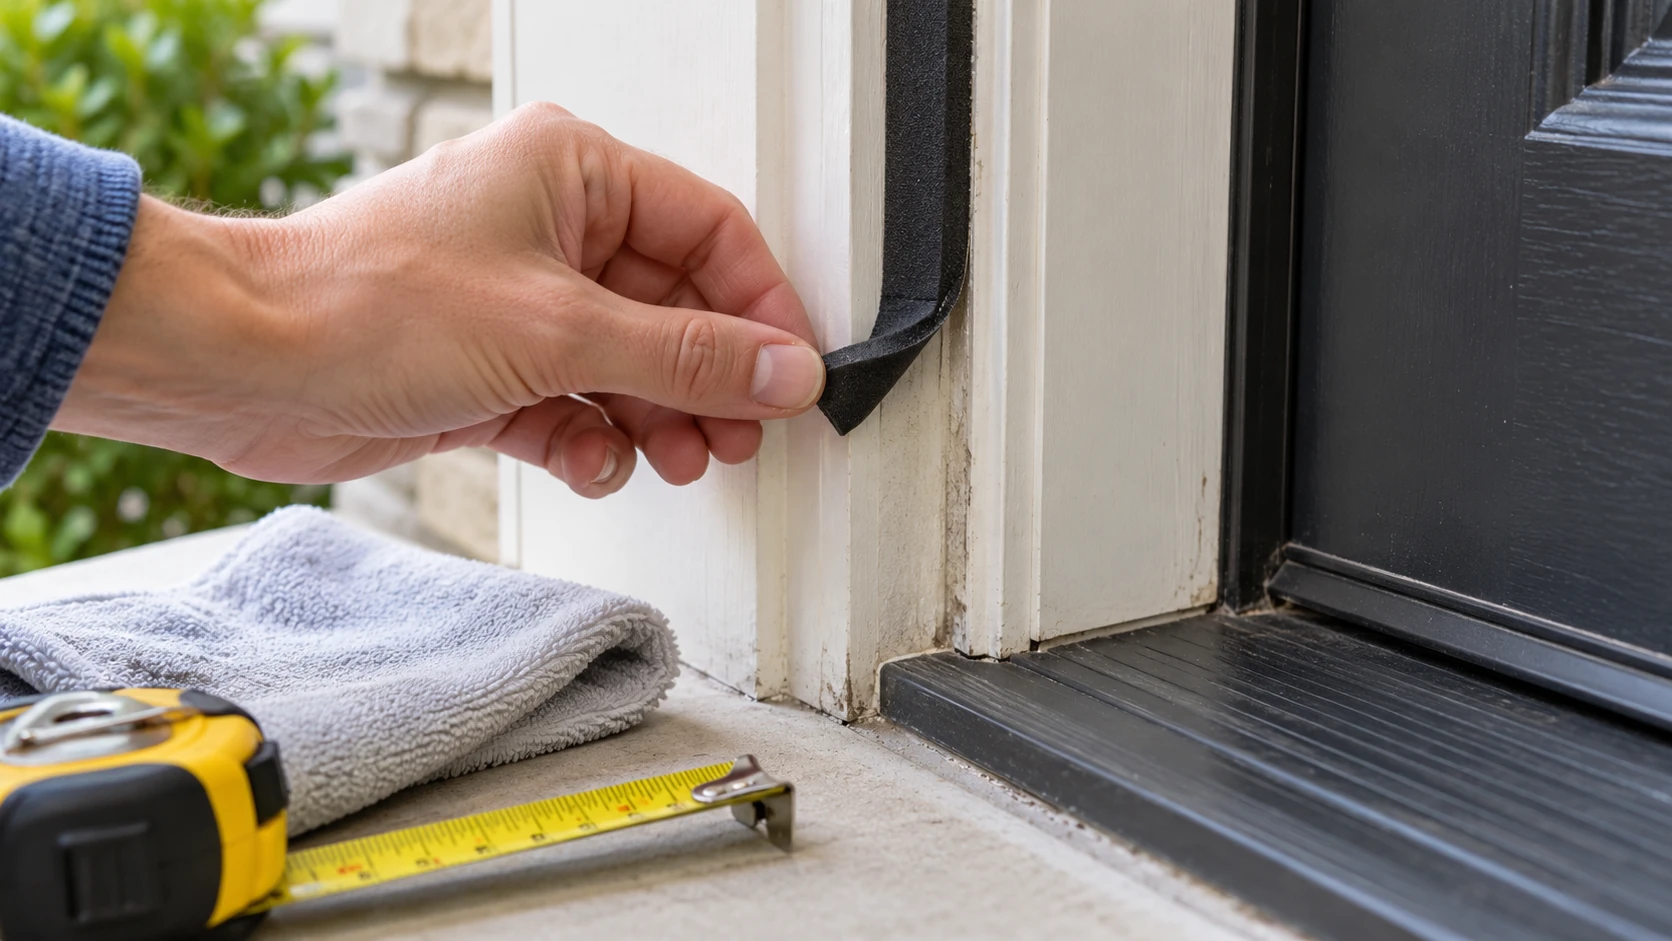
Weather stripping won't stick for several different reasons. The frame may be dusty or damp, the finish may be peeling, the strip may be placed where the door scrapes it, or the adhesive may simply be spent. Pressing harder on a loose corner can hide the cause for a day without fixing it. Start by noting exactly where the seal lifts and when it happens. Then decide whether the surface, the fit, the attachment method, or the strip itself needs to change. The goal is an intact door that still shuts and latches normally, with a seal that stays in its intended position.
Find the point that releases first
Close the door gently and look at the loose strip before you remove anything. Mark the first section that lifts with removable painter's tape on the nearby trim, not on the failing adhesive. Is it a corner, the top edge, the latch side, or a long section that never seemed to bond? A single curling end suggests a different problem from a full length that peels cleanly away. Take a photograph with the door open and another with it closed. Those two views help you see whether the door itself catches the strip.
Run a finger lightly along the surrounding frame to check for loose paint, powder, condensation, or an uneven ridge. Do not scrape a finish you do not own or know how to repair. If paint comes away with the strip, a new adhesive has no sound base until the finish problem is addressed. If the frame is damp, identify whether this is a brief cleaning residue or a recurring moisture issue. Trapping water under fresh tape can make the replacement fail and can conceal a separate building problem.
Check the door's movement. Open it slowly and close it without forcing the latch. Watch whether the strip is dragged sideways, folded, or compressed beyond its shape. If the door rubs the hinge or jamb before it reaches the seal, investigate that mechanical issue first. Our door-stop diagnosis guide addresses a door that moves when it should remain open. It is useful here only to separate door motion from adhesive failure; it is not a weather-stripping installation manual.
Look for a draft only after you have located the physical gap. A cold sensation at the bottom of the door may come from a threshold or sweep rather than the side strip that is peeling. The door draft stopper guide explains why measuring the actual lower gap matters for that different accessory. Do not buy a wider side strip to solve an unmeasured bottom gap. A seal placed in the wrong location can make the door hard to close while leaving the real opening untouched.
Check whether the strip belongs on that surface
Measure the length of the section that needs a seal and the flat width available for attachment. Then measure the gap the material is meant to bridge, with the door in its normal closed position. An adhesive-backed strip needs a continuous sound surface for its full width. A decorative molding, narrow lip, screw head, or hinge plate can leave part of its backing suspended in air. That unsupported part may curl even if the remaining adhesive is fresh. The strip also should not cross a moving hinge or the door's latch path.
The Hotbar weather-stripping roll is listed as three inches wide and 20 feet long, with acrylic adhesive backing. Its description says it can be cut with scissors and used around doors and other openings. That width is a feature only when the actual frame has a suitable surface and the door clears it. A three-inch strip is not automatically a better repair for a narrow jamb; excess material can fold into the traffic or closing path. Check the listed variant and its own installation directions before cutting.
The SKYSONIC weather-stripping roll is listed at two inches wide, 36 feet long, and about 0.08 inch thick. Its description calls for a smooth, clean, dry surface and describes use on door bottoms and other edges. The narrower width may fit a different mounting area, but its stated thickness and shape still have to suit the actual closing clearance. These are two examples of complete adhesive-backed rolls, not a promise that either will stick to every paint, metal, vinyl, or damaged frame.
If you are replacing a previous strip, compare the old material's cross-section and installed location with the new product. A foam tape, flexible flap, and kerf-insert seal use different attachment and compression patterns. This guide concerns adhesive-backed rolls like the examples above. If your door was designed for a slide-in or kerf seal, forcing flat adhesive tape over that channel may create a new gap. Take a small piece of the old seal or a clear photograph to a local hardware counter if you cannot identify its type.
Remove failure without damaging the frame
Before removing the whole strip, test a short loose end. Follow the product maker's removal guidance and the frame manufacturer's finish instructions where available. Pull slowly along the direction of the trim rather than sharply away from it. If the paint begins to lift, stop. A renter should check what surface changes are permitted before using solvents, heat, sharp tools, or replacement fasteners. It is better to leave a stuck section for an appropriate repair than to turn a small adhesive failure into torn paint or damaged weather protection.
After the old strip is gone, inspect the entire contact path. Old adhesive residue can leave a glossy or tacky patch that fresh backing cannot contact evenly. Clean only with a method safe for the surface and allowed by the new strip's instructions. A damp cloth may be enough for ordinary dust; stubborn residue may need a material-specific approach. Never assume a solvent suitable for metal is safe for painted wood or vinyl. Let the area dry completely, including corners that hold moisture longer than the exposed flat trim.
Check the finish again once clean. If a fingertip picks up paint dust, if the coating flakes, or if the substrate is soft, the problem is not solved by stronger adhesive. Arrange the appropriate finish or moisture repair before applying another roll. An adhesive can bond only to the layer it touches; a failing layer will come away with it. Photograph any persistent wetness or deterioration, especially near an exterior opening, so a qualified person can assess the source rather than repeatedly hiding it under new material.
Dry fit before peeling fresh backing
Cut only a short trial length at first, leaving enough of the purchased roll for the full run. Hold it against the intended path with the backing still on. Close the door gently and check whether the new thickness allows the latch to engage without extra force. Inspect the corners and the threshold, where material can bunch. If the door will not close normally during this dry fit, move to a better position or select a different profile. Adhesive strength will not solve a shape that is being pinched, scraped, or folded on every use.
Confirm the strip is long enough before starting the full run. A 20-foot or 36-foot listing is a roll length, not the amount of usable door perimeter after every cut and corner. Measure the sections you plan to cover and allow for sensible trimming. Avoid stretching the strip to gain length. Stretching can pull a freshly attached end loose when the material relaxes. If the supplied instructions specify butt joints, overlapping corners, or a particular start point, follow those details instead of inventing a seam that may leave a leak.
Once the fit is sound and the surface is prepared, apply the strip in short sections according to its own directions. Keep the backing on the rest of the roll so it does not stick to your hands or pick up dirt. Align the first section without tension, press it with the pressure and dwell time the maker recommends, and check the door again before continuing. If the instructions specify a temperature range or curing period, respect it. A cold, wet frame or immediate repeated door slamming can undermine an otherwise suitable adhesive.
Watch the first corner as you finish. Corners are easy to rush because the material changes direction while the backing wants to stay flat. Do not force a tight bend that makes the strip spring away. A neat cut or separate section may be safer if the product instructions allow it. Keep scissors and cut scraps clear of the doorway. Do not add staples, screws, or nails unless the product and frame are designed for them; puncturing a door or hidden weather barrier can create a larger problem than a loose adhesive end.
Test the repair in normal use
Open and close the door several times after the attachment has had the specified settling time. Listen and feel for new rubbing, and check that the latch works with ordinary hand pressure. Look at the first release point you marked earlier. If it lifts again immediately, stop using that strip position. Revisit the surface, door movement, and profile rather than layering another piece of tape over the failed one. A second layer can increase thickness and worsen the scraping that caused the first failure.
Check the seal again after a day of regular traffic and after the next weather change that affects the doorway. Note whether one corner begins to lift, whether a long section stays attached, and whether the door remains easy to use. This observation distinguishes a one-time installation issue from repeated frame movement or moisture. If only one small end releases while the rest remains sound, consult the product's instructions for an approved local repair; do not assume a general-purpose glue is compatible with the strip or frame.
If a gap remains even though the strip stays attached, compare the gap location with your original photographs and measurements. The material may be holding exactly where installed while the door has a different leak path. A bottom sweep, threshold, misaligned door, or damaged jamb needs its own decision. Repositioning or piling on wider tape can mask the evidence without making a lasting seal. Keep the draft question and the sticking question separate until you know which physical part is failing.
Choose a replacement only after the cause is clear
A new adhesive roll makes sense when the old adhesive is spent, the frame offers a sound dry surface, and the measured clearance fits the new profile. The Hotbar and SKYSONIC examples differ in width and listed length; choose from those dimensions only after measuring the actual mounting path. Do not buy either one solely because it is described as weather-resistant or residue-free. Those are seller descriptions and cannot guarantee how a particular surface will behave after months of use or eventual removal.
Weather stripping won't stick reliably to a moving obstruction or a failing finish. Record what you found, where the strip released, how you prepared the surface, and whether the door closed freely during the dry fit. That small record helps you avoid buying the same unsuitable size again. If the frame itself is damaged or the door has to be forced shut, leave the adhesive replacement aside and address that underlying condition. A durable result starts with the right surface and fit, then a careful attachment and a check in ordinary use.