Sewing & Crafts
Understand tapestry needle features: point and eye
A practical explanation of the point and eye of a tapestry needle, with separate retail accounts and clear boundaries around needle types, project fit and package quantities.
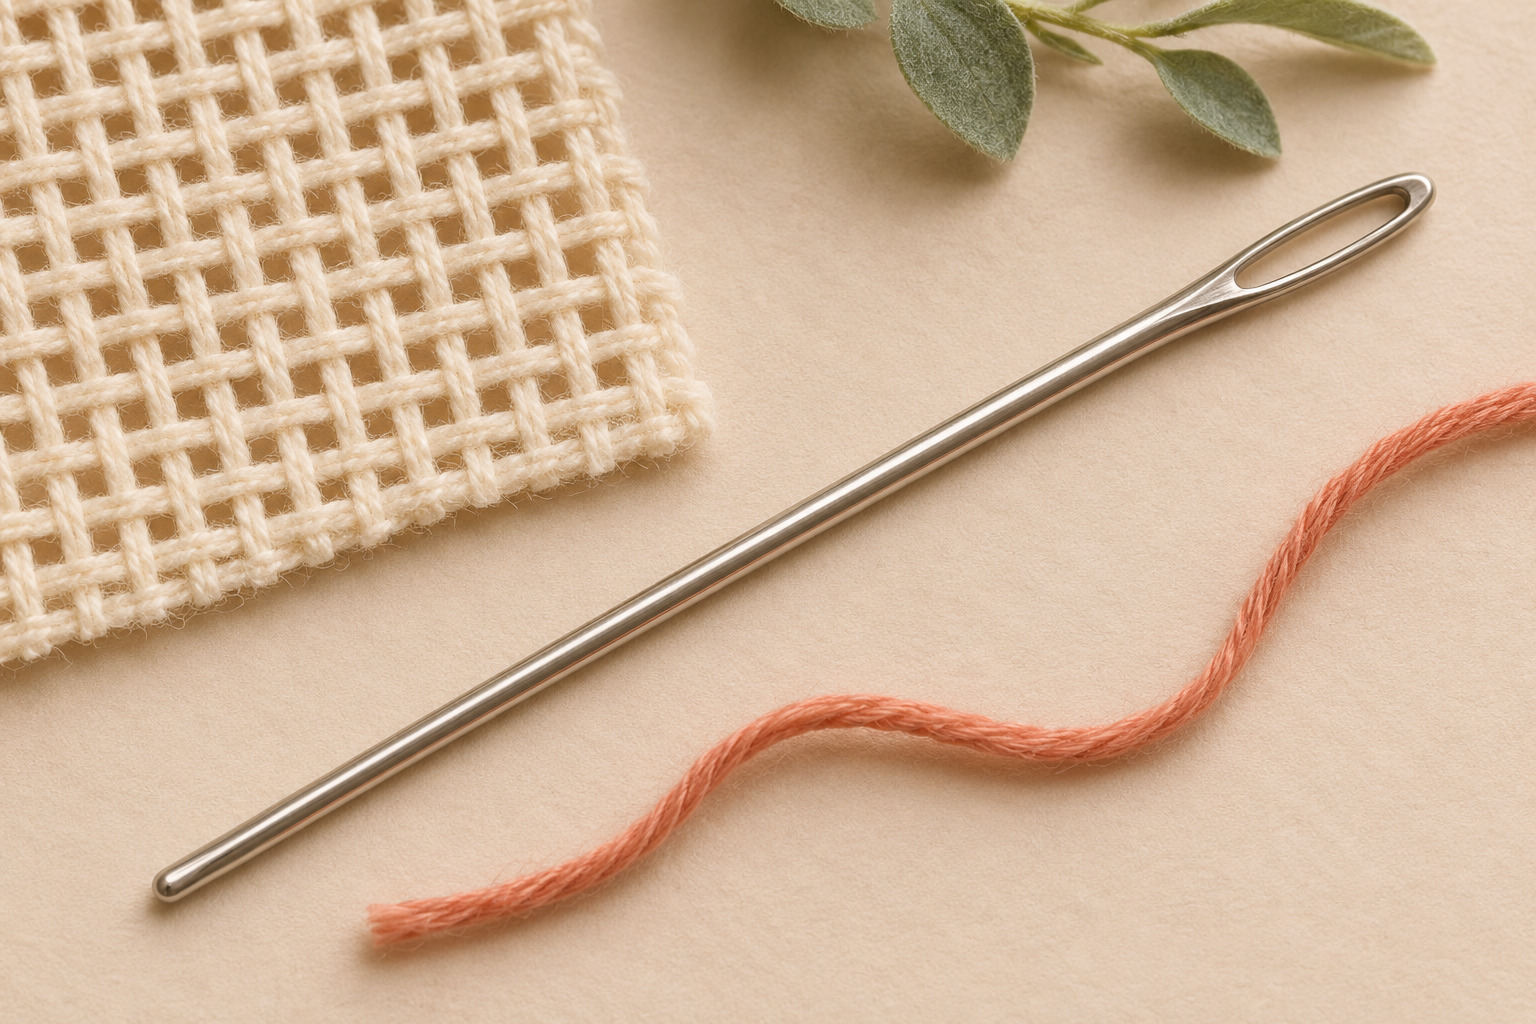
Understanding tapestry needle features starts at opposite ends of the same small tool. The point meets the work; the eye carries the thread. Looking at one end leaves the other question unanswered. A needle that looks easy to thread may still have a point intended for a different kind of stitching. This explanation follows those two features through the selected tapestry-needle accounts, with a separate look at what their retail cards actually show.
Conceptual tapestry-needle illustration; no brand, retail package, exact size or tested stitching result is represented.
The blunt tapestry needle point follows an opening
A blunt tapestry needle point belongs to work that already provides an opening. Helen Bradley's DMC canvas guide explains that the rounded tip passes through canvas holes without piercing the surrounding fibres. That physical route explains why the end deserves attention before the needle is described simply as large or small.
Imagine a close-up photograph with the eye outside the frame. You could discuss the visible end, but you would still lack a view of the threading opening. Reverse the crop and the same limitation applies to the point. Neither photograph gives permission to describe the hidden part. This is a useful way to read a product image without allowing one clear detail to answer every question about the object.
The explanation here concerns the route through an existing opening. It supplies no stitch sequence, instruction to push harder, or test result for an unidentified fabric. Keep the actual project's method with its named materials. A diagram of a rounded point can explain a feature while leaving the suitability of the needle on your own table unresolved.
The tapestry needle eye carries the strand
The tapestry needle eye has another job. John James's retail catalogue describes its tapestry needles as large-eyed, blunt-pointed tools for carrying tapestry wool or stranded cotton through canvas. Its full-page illustration shows the threading opening at one end of the needle and the point at the other. The eye is part of that carrying route.
Consider what somebody means when they say, “I want the opening to be easier to see.” That request concerns a visible feature of the eye. It leaves the intended route through the work unstated. A reply that discusses only the point would miss the person's question, just as a reply about the eye would leave a point question open. Naming the end you are discussing makes the conversation more useful.
This distinction also keeps the needle separate from an accessory used to thread it. The public hand-sewing needle threader guide owns the later alignment and threading-aid question. Its troubleshooting sequence is separate from this explanation of the needle's two ends.
A long eye does not identify a blunt point
The Embroiderers' Guild of America's needle guide describes a tapestry needle with a large eye and blunt tip. Its chenille entry has a large, long eye with a sharp point. Both eye and point therefore belong in the description when distinguishing these types. An elongated opening by itself leaves the point unidentified.
The same distinction appears in John James's catalogue: its chenille page explicitly contrasts the sharp point with the tapestry form. These are descriptions of the maker's needle types, rather than a statement that an unidentified needle came from either maker. Their value here is the feature relationship. The common-looking eye does not remove the documented difference at the other end.
If a photograph hides the point under a label, keep that part of the identification open. “Long eye visible; point hidden” is an accurate description of the photograph. Replacing the second half with an assumed needle type adds information the image did not supply. You can keep the useful observation without turning it into a complete identification.
A numbered size stays with its identified needle
DMC's canvas account relates the choice of needle to the actual canvas and thread. It describes finer and thicker needles in that context and says the selected needle should accommodate the thread and enter the canvas with little or no drag on it. The numerical designation belongs beside that material relationship.
The selected retail labels below read 18–22 and 22. This article does not turn those labels into a canvas chart, an eye measurement or a measured diameter. A photograph's apparent scale supplies none of those missing measurements. Keep the package designation with its own product reference when reading the applicable project instructions.
A handwritten label reading only “large needle” would lose information from either card. Copying the actual size designation preserves what the source says without adding a measurement. That is especially helpful when somebody else is looking at the same listing from another screen: they can find the stated reference instead of interpreting your impression of its scale.
A feature description belongs with the fabric task
The EGA guide places tapestry needles with counted-thread work, including cross-stitch and needlepoint. Its crewel entry describes a different needle form for surface embroidery, with a sharp point and a medium-sized eye. Those descriptions give the fabric task a place beside the feature vocabulary. The broad word embroidery can contain different working methods; the actual project still needs its applicable instructions.
John James's embroidery entry also describes an eye longer than that of a sharp needle. Its catalogue therefore supplies another reason to avoid using a long eye as the whole identification. The source's named type, point and eye remain together when interpreting that entry. It does not relabel a loose needle found elsewhere.
Suppose somebody brings a project note headed only “embroidery” to the fictional discussion. Mara could repeat the heading accurately and still have no answer about the intended fabric task. Asking what the project actually calls for would add information that the heading lacks. An attractive picture on the note would not silently fill in the missing instructions.
Now suppose the note includes a clearly identified method and an instruction reference. The participants have more to discuss, but the needle in a cropped photograph remains only partly visible. A better project description cannot reveal the hidden end of that pictured needle. Keep the two observations intact: what is known about the proposed work, and what is visible about the tool. Their relationship becomes useful when both have enough information, without pretending either observation is complete sooner than it is.
Read the two retail cards as separate accounts
The native DMC mixed tapestry needle listing states sizes 18 to 22, round ends and nickel-plated steel. It advertises twenty-four packs containing six needles each. Its sole original shows one DMC-labelled card marked 18–22 and six individually visible complete needles. That photograph does not authenticate the advertised delivery total or the material claim.
The separate DMC size 22 tapestry needle listing names model 26-17676 and also advertises twenty-four six-needle packs. Its original shows one card marked 22 with six complete needles visible. The two photographs support different size-label observations; neither is a delivered-order inspection. Their maker wording and catalog identities remain separate from independent factory authentication.
DMC's current official tapestry product page presents a size-28 default in the account reviewed here. That current page does not confirm either retail model or certify a shipment from these listings. Keep the exact account being read in view when moving between a maker's general product page and an individual retail offer.
A fictional discussion keeps both ends in view
Suppose Mara brings two printed reference photographs to an introductory needlework discussion. One is a complete retail-card photograph. The other is an enlargement that ends halfway along a needle. She introduces them as references she wants help reading; she has not brought a finished sample or claimed that either needle has been tested.
When Mara points to the enlarged eye and says, “This is the part I meant,” the person beside her, Ellis, initially answers a different question. Ellis talks about the needle's size label. Mara returns to the photograph and explains that she was asking which visible part receives the thread. Their first exchange has revealed a difference in the question each person heard.
They put the whole photograph beside the crop. Mara can now point to the eye without asking the enlargement to show the hidden end. Ellis can refer to the printed package designation without claiming to have measured the pictured tool. Neither person needs to discard the crop; they simply retain its limited view.
Next, Ellis brings the discussion back to the point. The source descriptions of tapestry and chenille needles make that a separate feature question despite their large-eye wording. Mara adds the point to what she wants to identify. This changes the discussion from “Which opening do I like?” to a description that acknowledges both ends.
No physical stitching occurs in this imagined exchange. Mara has not acquired a compatible fabric, demonstrated a stitch or confirmed a seller's inventory. The conversation ends with a clearer account of the feature she was asking about. If the next question concerns a particular project, its actual materials and instructions would be needed for that next discussion.
The public small embroidery corner guide addresses that separate project-planning setting. Its workspace and display decisions belong to its own scope; this example stays with interpreting the visible needle features.
Keep an optional purchase attached to its actual payment terms
If you later consider either needle offer on republeq.com and cryptocurrency is available for that order, read the actual payment terms before transferring funds. A product page's payment-method label does not supply the complete invoice. Confirm the intended item and option in the order first, then read the amount due, the stated asset and the network required for that particular payment request. Keep those details together while reviewing the checkout. If an invoice names USDT, a familiar asset name still leaves its required network to confirm. Obtain the merchant's applicable instructions if a required field remains unclear. Do not infer the requested network from an unrelated previous purchase or another merchant's example. The amount and destination you review must belong to the order you intend to place. Look for any invoice expiry, transaction confirmation requirements and disclosed payment or network charges in the actual terms. Those details can affect the payment you are considering, while the source photographs establish no saving or special crypto price. This article makes no comparison between paying for the needle order with cryptocurrency and another available method. Read the terms offered for each method before choosing. Also read the merchant's applicable cancellation, return and refund information, including how an eligible refund would be handled after a cryptocurrency payment. Keep the invoice and transaction reference with the order record. A transfer reference identifies a payment event; it does not inspect the parcel, certify the needles' material or confirm that a particular tool suits your project. Keep the delivery check and the original needle question available when the order arrives.