Home & Living
Stacked wire basket lower-tier access check for kitchen storage
Test whether a two-tier wire basket stack leaves its lower contents reachable without moving the upper tier.
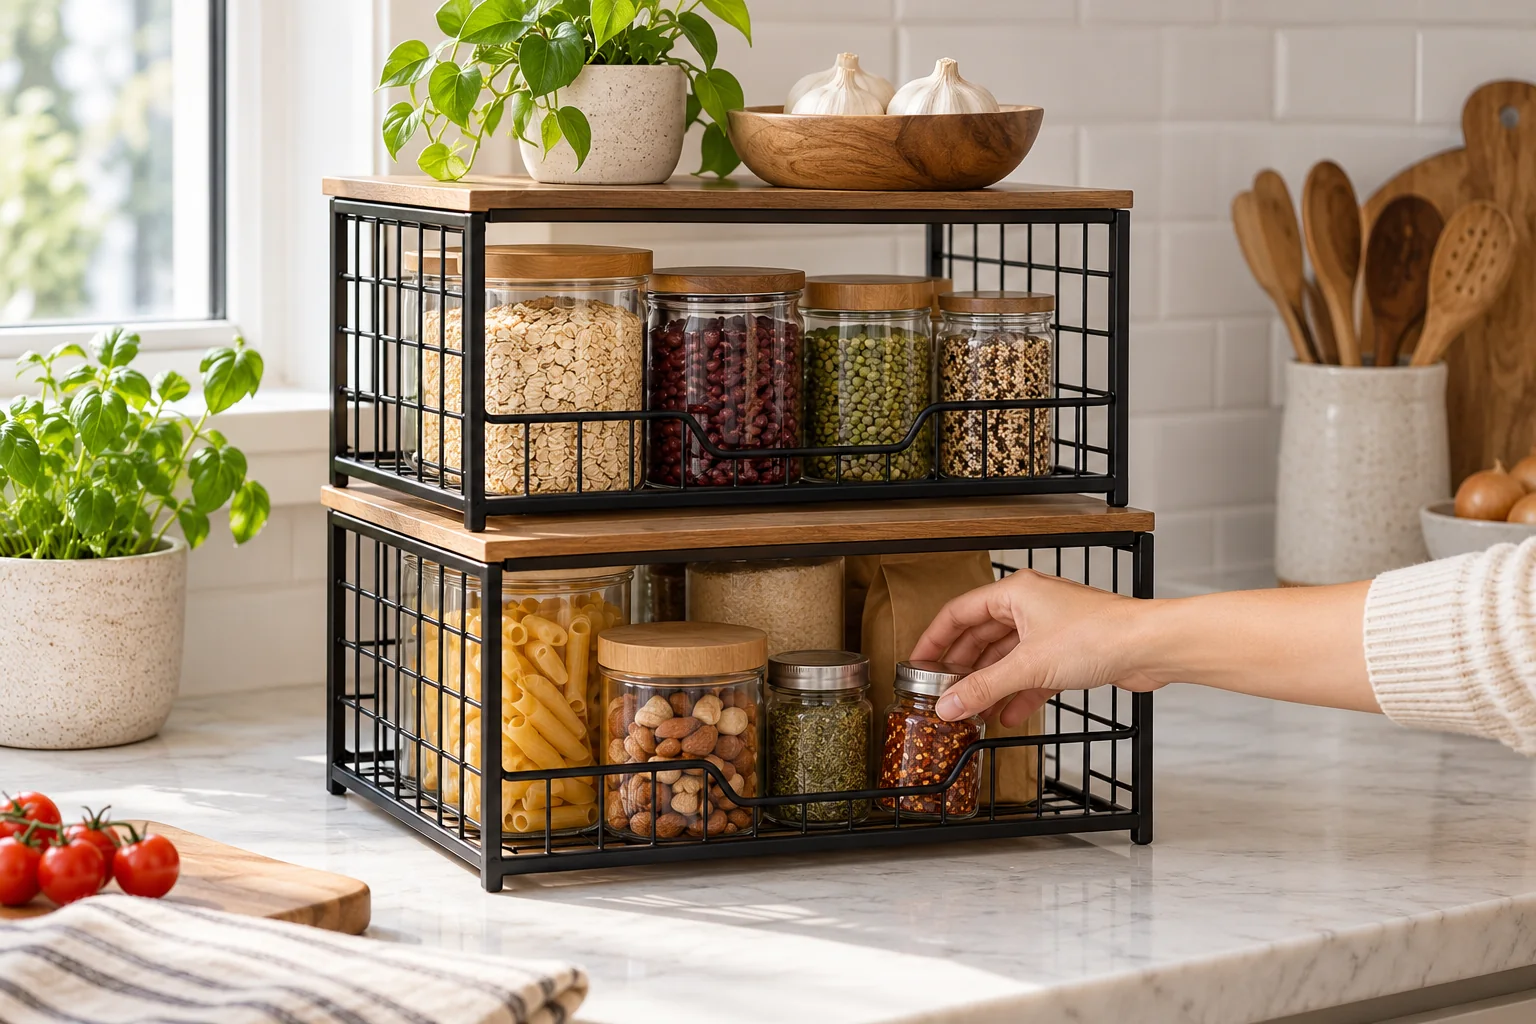
Stacking two wire baskets can free counter space, but it can also make the lower basket hard to use. Before buying a set for a kitchen counter or pantry shelf, run a stacked wire basket lower-tier access check with the items you expect to store. The two exact listings here show black wire baskets with wood tops in stacked arrangements. Their staged photos show the physical idea; they do not establish that your shelf, counter, or usual contents will leave a usable opening below the upper tier.
Identify the lower basket's actual job
Write down what you would put in the lower basket and how often you need it. A stack used for things you take daily needs a front opening that lets a hand reach the item without unstacking the set. A reserve stack for occasional supplies can tolerate a slower reach. This distinction matters more than how neat the stack looks in a photograph. If you plan to take the top basket off every day, the vertical arrangement may not save effort.
Use a representative item, not an empty basket, for the first test. A small packet may pass through the front opening while a tall jar or bag does not. Measure the tallest item you expect to remove from the lower tier. Then add room for fingers around it and for the slight tilt needed to lift it. Do not measure only the basket's outside height; the upper basket or wood top may reduce the useful path out.
Try the test with the lower tier half full as well as full. When the first row of items is gone, a person may have to reach farther toward the back. If that reach is difficult under the upper board, put the remaining items in a shallower group or change which tier holds them. The useful access depth is the distance a hand can manage in the assembled stack, not merely the basket's advertised depth.
Separate the contents by how they are reached. If a lower tier holds onions or packaged food, imagine taking one from the middle without spilling the others. If it holds several uniform cartons, one may slide forward more predictably. The listings show produce and packaged goods in staged baskets, but your own mix determines whether the opening stays usable. Put the items you reach most often where the stack allows the shortest motion.
Compare the two physical stack arrangements
The YUYAN black wire basket set is described as two baskets for a kitchen counter or wall-hanging arrangement, with a wood top and labels shown in its gallery. The whole gallery shows the same wire form in bathroom, kitchen, and produce scenes. Those scenes establish broad placement possibilities in the advertising, but they do not prove the wall hardware, surface capacity, or loaded stability in your home. Use the delivered instructions for a wall installation if you choose that route.
The SKYSONIC stackable wire basket set is described as two wire baskets with two boards, liners, and detachable nameplates. Its full gallery shows the baskets as a vertical pair on a counter and in a pantry setting, with wood-tone tops above the wire compartments. Some images carry dimensions, but the usable lower opening still depends on assembly, shelf position, and your contents. Do not treat a staged heavy appliance on a top board as a verified load rating.
Both listings present a two-basket arrangement, yet their package details and installation options are not identical. The first advertises countertop stacking and wall mounting; the second describes a stackable counter or cabinet arrangement. Keep the exact URLs with your notes so you do not transfer a feature from one listing to the other. If you need wall mounting, verify the first product's current hardware and instructions instead of assuming the second can be fixed to a wall.
The wood top or board above a basket can create useful surface area, but it is also the ceiling for whatever sits below. Test the lower opening with your real items before counting the top as extra shelf space. A board that looks generous in a photo may make a tall item hard to lift out. If that happens, move the tall item to the upper tier or use the baskets separately, subject to the delivered product's assembly options.
Make a vertical access mock-up
Mark the proposed footprint on the counter or shelf. Use two cardboard boxes or other stable temporary forms to represent the lower and upper baskets at their listed sizes. Add a flat piece to stand in for the wood top. The mock-up does not test strength; it tests the hand movement. Put one real planned item in the lower space and remove it while the upper shape stays in place. If you must turn the item sideways sharply, the finished stack may be awkward.
Try the reach from your normal standing position. On a deep pantry shelf, the lower opening can sit farther back than it appears from the front. On a counter beneath an upper cabinet, the top basket may crowd the space above. Measure the total assembled height and leave room for taking items out of the upper tier as well. A stack that fits vertically but cannot be used from the front has solved only the storage footprint, not the access problem.
Do not use this test to diagnose a basket that catches while being pulled along a shelf. The storage basket shelf-snag guide addresses opening shape, handles, and hand path during shelf pull-out. Here the baskets remain in a vertical arrangement while you reach into the lower tier. Keep them in place during the mock-up so the test answers that narrower question.
For an over-door organizer, the over-door pantry fit guide checks door swing and rack clearance. These two wire-basket listings are being considered for a counter or shelf stack. Do not substitute a door-fit measurement for a lower-basket access test. If your available space is only a door, use a product actually designed for that mounting arrangement and the relevant door measurements.
Check where the stack will stand
Set the mock-up on the exact surface you plan to use. A flat, stable counter differs from a narrow shelf with items pressed against the sides. Leave enough room for the whole base of the lower basket and for the front opening to face the working area. Keep it away from spots where someone will routinely push it while reaching past. The gallery photographs show attractive kitchens; they do not certify your surface or how people move around it.
Look at what happens when the lower basket is partly empty. The contents may no longer fill the front opening evenly, and the item you need could settle toward the back. Reach for a small item without lifting the upper tier. If that motion is uncomfortable, consider a shallower location or put the frequently used items above. Avoid writing labels that promise easy access to contents hidden behind other goods.
Check the top board as a working surface only if the delivered instructions permit that use. A board may invite you to put a jar or appliance on it, but a photograph is not a load test. Follow the maker's assembly and weight guidance for the exact product and actual stacking method. A safe-looking image does not tell you what the supports can carry or whether the counter beneath is level.
For fresh produce, follow the food's own storage guidance rather than assuming that an open wire basket suits every item. The galleries show fruit, onions, potatoes, and other groceries as examples of contents; they are not evidence of a universal storage environment or shelf life. The article's decision is physical access in a stacked basket. Use a separate food-storage source for temperature, light, and handling decisions about specific produce.
Assemble and test the delivered set
When the package arrives, compare the delivered basket count, boards, liners, labels, and mounting parts with the exact offer you selected. The two listings have different accessory descriptions, so do not borrow an assembly step from the other one. Follow the included instructions and check that each basket sits as intended before adding contents. If a component is missing or the form differs from the native listing, resolve the order first.
Check which side of each basket is meant to face forward before filling it. The gallery images show open fronts and label areas, but the delivered assembly instructions govern orientation and stack connection. Rotate an empty unit only as those instructions allow. If the wood top, front opening, and label cannot all face the working area in your proposed spot, the location may need to change even though the basket dimensions fit.
Start with a small representative load in the lower tier. Take out the item you expect to use most often, then return it. Repeat while another item rests in the upper tier if the instructions permit that arrangement. Watch whether the lower basket shifts or the upper tier interferes with your hand. This is a local usability check; it does not replace the maker's load or installation limits.
Arrange the top tier so it does not force you to move it for every lower-tier visit. If you cannot reach a common item below without lifting the upper basket, treat that as a failed access plan. Put that item above, change the contents, or use separate positions. Do not add a third tier merely to gain storage while the basic two-tier reach is unresolved. Extra height can make both levels harder to use.
Keep the labels honest. A lower basket marked for a category should make those items visible enough to identify without emptying the basket. If a label is hidden by the upper board or nearby objects, move it to a position the delivered product supports. A label helps only after the physical reach works. Use the first days of use to notice whether people actually put items back in the intended tier.
Choose a layout that works after setup
Record the exact product URL, assembled footprint and height, the lower opening with the top tier in place, and the tallest item you can remove comfortably. Include where the stack will stand. If one measurement is unclear in the native listing, obtain the current seller detail before relying on it. A handwritten sketch with the proposed upper and lower contents can prevent a buying decision based solely on the number of baskets.
After assembly, test the stack in its real location for several days with ordinary contents. Notice whether the lower tier is used or quietly avoided. If everyone leaves the lower basket untouched, its contents may be too hard to reach. Revise the allocation or separate the baskets while preserving the product's intended assembly. A successful stack leaves both tiers accessible without routinely dismantling the display.