Troubleshooting & Repairs
Soap dispenser not pumping: Moen cleaning and priming
Check the supply, match the Moen manual assembly, and follow its cleaning and water priming steps. Judge the result by actual liquid delivery at the spout.
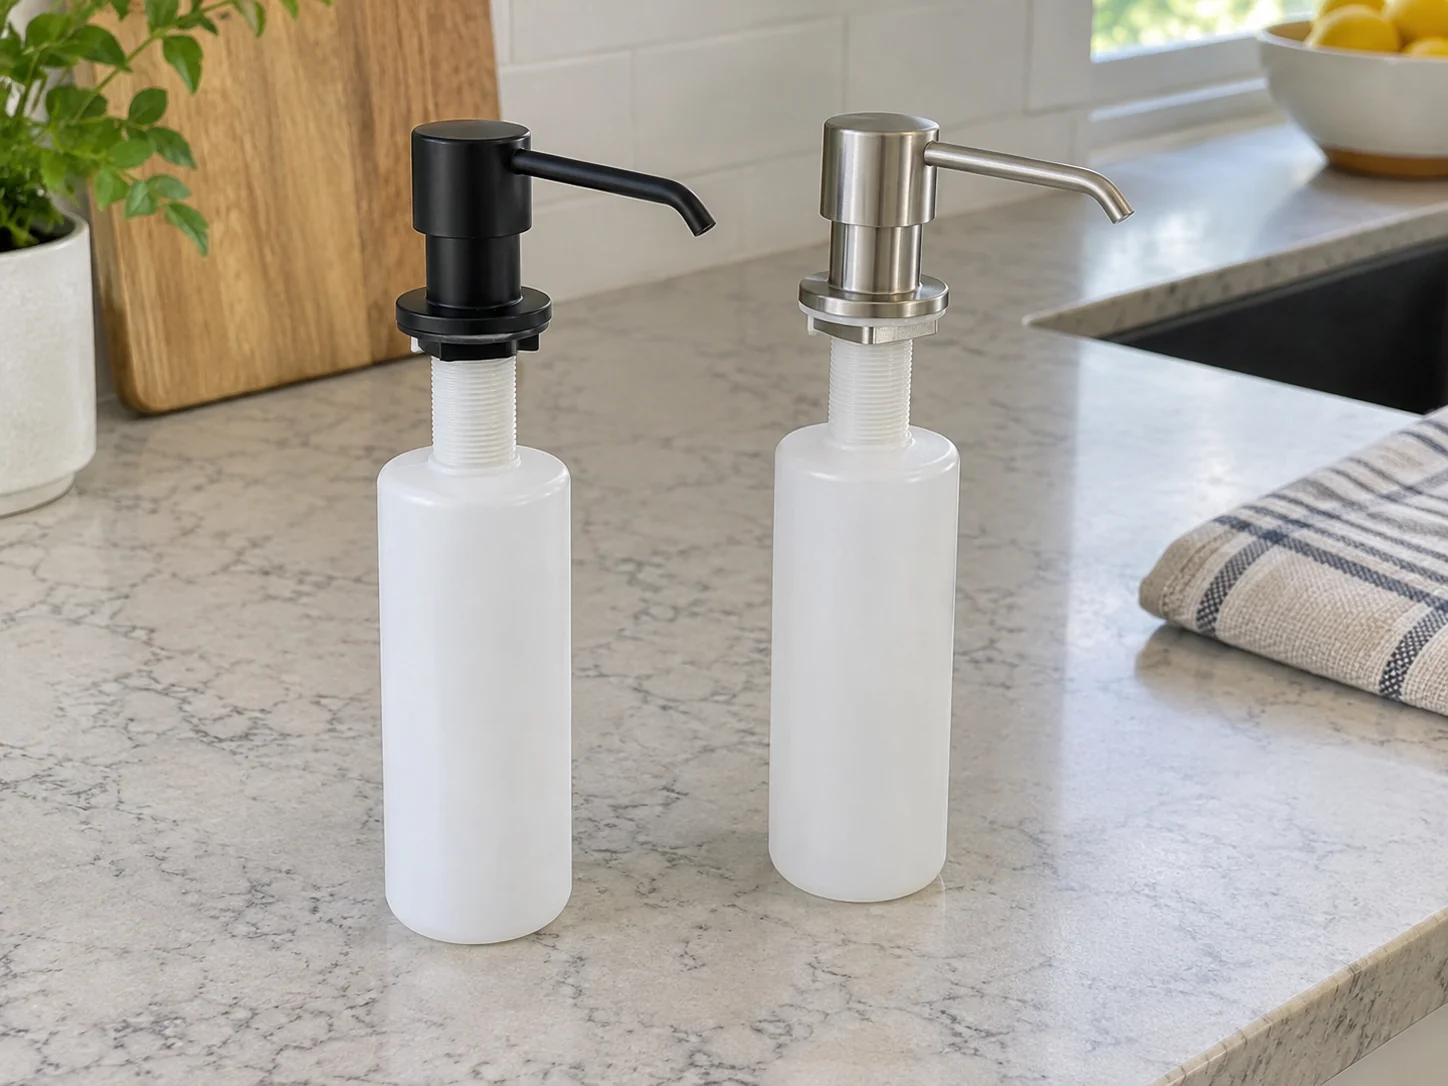
A head that moves while the spout stays dry leaves a specific question: where did delivery stop? With a soap dispenser not pumping, begin with the supply and the identity of the dispenser already at your sink. A refill question, a cleaning task and a broken component need different decisions. The useful endpoint is visible liquid leaving the spout during an ordinary use check. Movement alone does not establish that the dispenser is delivering soap.
This guide covers a manual deck dispenser and a limited Moen care procedure. Read the matching maker instructions before removing anything. If your dispenser is a sensor model, a wall unit or an unidentified assembly, use its own instructions. A kitchen location and a similar metal spout do not establish that two pumps share a cleaning method. Keep the model information beside you while deciding which steps apply.
Identify the manual dispenser before opening it
The Moen S3947 deck dispenser listing identifies the Modern collection and a kitchen sink application. Its description says Black and also describes stainless steel. Those details deserve clarification if finish matters to your purchase. The older words in the page address do not establish the current finish or a refill capacity. Use the current model information and confirm the particular version you intend to obtain.
For the S3947 series, Moen's specification identifies press down pump action and says finish versions use suffixes. Match the actual assembly to the maker's illustrated care information. A series name is useful for finding instructions; it does not make every dispenser carrying the brand identical inside.
The Franke ATL-SD Atlas deck dispenser is another sink accessory. Its brief description identifies Stainless Steel 316. It does not give the cleaning sequence, the supplied internal parts or a refill quantity. For an existing Franke installation, obtain the matching Franke instructions. The Moen steps below provide no authority to remove a Franke pump, exchange its tube or fit a Moen replacement.
Describe what happens at the sink
Before making a change, describe the symptom in ordinary words. Does the head move? Does any liquid emerge? Is the observation from the installed dispenser you are examining, or from someone else's recollection? A statement such as "the head moved and the spout stayed dry during my check" is more precise than "the whole unit is dead."
Keep previous changes separate from present observations. If someone refilled the dispenser yesterday, that is history. Whether the current supply has been checked is a different question. If nobody knows which liquid went in, preserve that uncertainty while consulting the instructions. Do not give an unknown refill a reassuring name because its color resembles the soap you normally buy.
A moving head with a dry spout does not, by itself, tell you which component to replace. Avoid ordering a new assembly from that single observation. First establish whether the unit has the intended supply and whether its documented care procedure applies. If a part is visibly damaged or the instructions do not match what you see, pause the removal work and ask the maker about that exact assembly.
The guide to a tape dispenser that will not feed uses the same useful habit of naming the stopped operation. Its tape handling instructions belong to tape equipment. At this sink, the relevant observation is liquid delivery from the spout. Keeping the observation specific helps you avoid borrowing a repair from a completely different kind of dispenser.
Check the refill question first
Use the matching refill instructions to establish the supply. Record whether you actually checked it or merely heard that the dispenser had been filled. If access is unclear, stop and locate the correct instructions before dismantling a base or reaching for tools. If finding the opening would require guessing how the base is attached, leave the base in place while you seek the correct diagram.
Moen's general filling guidance describes lifting the head, adding the preferred liquid and pushing the head back into the base. Follow the version that matches your dispenser. This guide supplies no fill quantity for the listed S3947 version. A quantity pictured for another assembly should not become your target merely because both pages carry the same maker name.
Refill identity matters separately from bottle shape. The paper towel refill compatibility guide distinguishes the refill from its housing before considering fit. Here, establish the liquid and the dispenser requirements from their own instructions. A paper loading method has no role in the soap pump. The comparison is useful when shopping: identify what the existing hardware accepts before choosing a replacement supply.
If the supply was already present, say so and move to the applicable care instructions. If you added liquid, keep that change in the sequence of events. Otherwise, a later improvement may get attributed entirely to cleaning even though a refill happened at the same time. A brief account of what you changed will help you explain the sequence to someone else.
Pump and straw cleaning for the matching Moen assembly
For a matching Moen manual deck assembly, the care guide calls for mild liquid dishwashing soap, a soft cloth and warm water. Gently pull the dispenser straight up from the counter. Remove its pump and straw, then soak them in warm soapy water until clean. Replace them with the pointed end facing down. Consult the illustrated version for your style if the parts or their orientation are unclear.
Keep pump and straw cleaning within those instructions. The guide does not supply a soaking time or water temperature here. Follow any additional directions in the illustrated instructions for your actual version. If you cannot identify the named parts, stop at that point and seek the matching diagram. Forcing an unfamiliar part out is not a substitute for confirming how the assembly comes apart.
Separate exterior appearance from delivery. A polished head can still leave the original dry spout question unresolved. Conversely, successful liquid delivery says nothing about whether every mark on the exterior has disappeared. Decide which result you are checking so you do not mistake a better looking surface for the end of the pumping problem.
Soap dispenser priming before the installed check
Moen then directs you to fill a glass with warm water and pump that water through the assembly to prime it before putting it back into the counter. Gently push the dispenser into its base until firmly seated. This is the maker's soap dispenser priming step for the matching style. It includes no promised stroke count or guarantee that every dry spout will be repaired.
Watch what actually happens during the documented water step. If water comes through, you have observed water delivery at that stage. If it does not, that is a useful stopping point for a support question. Do not report that the dispenser passed because your hand moved the head. Keep the observed liquid result separate from the motion you supplied.
After returning the assembly according to its instructions, assess ordinary dispensing at the sink. A bench observation with water and an installed observation with the intended liquid answer different questions. If the installed spout still stays dry, describe both observations to support. Repeating removal and reassembly without a new explanation adds work while leaving the original symptom unresolved.
A worked example without a promised repair
Imagine that Mara has a manual Moen dispenser beside her kitchen sink. This is a hypothetical example, not a trial of either linked product. She sees the head move with no soap emerging. Her first note says exactly that. A family member remembers a refill, but Mara has not yet checked the supply or confirmed the assembly. She keeps both questions open.
After finding the model information and matching illustrated instructions, Mara checks the refill question. Suppose the intended liquid is present. She can now describe the dry spout with a checked supply instead of an assumed one. If the assembly matches the documented Moen procedure, she proceeds with its care sequence. There is no need to predict that this will fix the dispenser before observing the result.
During the water priming stage, consider two possible observations. Water might emerge, allowing her to report that this stage delivered liquid. Or the spout might remain dry, leaving her with a narrower support question about the matching assembly. Neither branch justifies claiming that a particular seal, valve or tube has failed. The example stops short of an internal diagnosis that has not been established.
If water did emerge, the installed soap check remains to be observed. Mara might find ordinary delivery restored, or she might still have the original symptom after reassembly. Only the first observed outcome would support saying that dispensing resumed. Even then, without separate evidence she should not claim a particular hidden blockage was the cause or that the repair will last for a specified period.
Keep a usable sink while the fault remains open
If the dispenser remains unavailable, arrange a separate suitable soap supply for the people using the sink. Tell the household which unit is being investigated so someone else does not start a different removal procedure midway through yours. Keep any removed parts with the identified assembly. This avoids a second person seeing loose pieces on the counter and assuming they belong to the other dispenser you have been considering.
For a shared kitchen, leave a short note describing the present state: assembled and still dry, or awaiting maker advice with identified parts set aside. Include who will make the support enquiry. That practical handoff is especially useful when the person who notices the fault will leave before the person responsible for the installation returns. The next action should be clear without pretending the pump has already been repaired.
When to ask for parts or replacement advice
Contact the maker with the model, the observed symptom and the result of the applicable care step. Include whether the supply was checked and whether the documented water priming stage delivered water. A photo can help identify the assembly if the maker requests one. Ask which diagram and service part apply to your version before choosing a replacement from a similar looking listing.
If your assembly could not be matched, say that instead of claiming the cleaning failed. If the water step stayed dry, say where you stopped. If the installed soap check stayed dry after water flowed separately, describe that difference. Each statement gives the next person a concrete fact to investigate without converting an uncertain explanation into a diagnosis.
Buying another deck dispenser is a separate decision about the installation and the chosen product. The two linked listings do not establish interchangeable pumps or tubes. Confirm the exact version and its installation requirements before purchasing. A soap dispenser not pumping is resolved when the relevant delivery is observed again, or when the owner has an appropriate repair decision based on the actual assembly and the remaining symptom.