Sewing & Crafts
Sewing pin landing spots from cutting table to stitch
Choose a pin return place for the work in front of you, with model-specific tabletop and wearable holder examples, clear stopping points and storage limits.
Give pins an active place and a home
Sewing pin landing spots give the pins removed from work a place to return. Oregon State University's Sewing Equipment fact sheet includes a pin holder among basic sewing tools and recommends returning equipment to a known storage place when finished. Begin with that distinction between the holder used during work and the place where equipment belongs afterward.
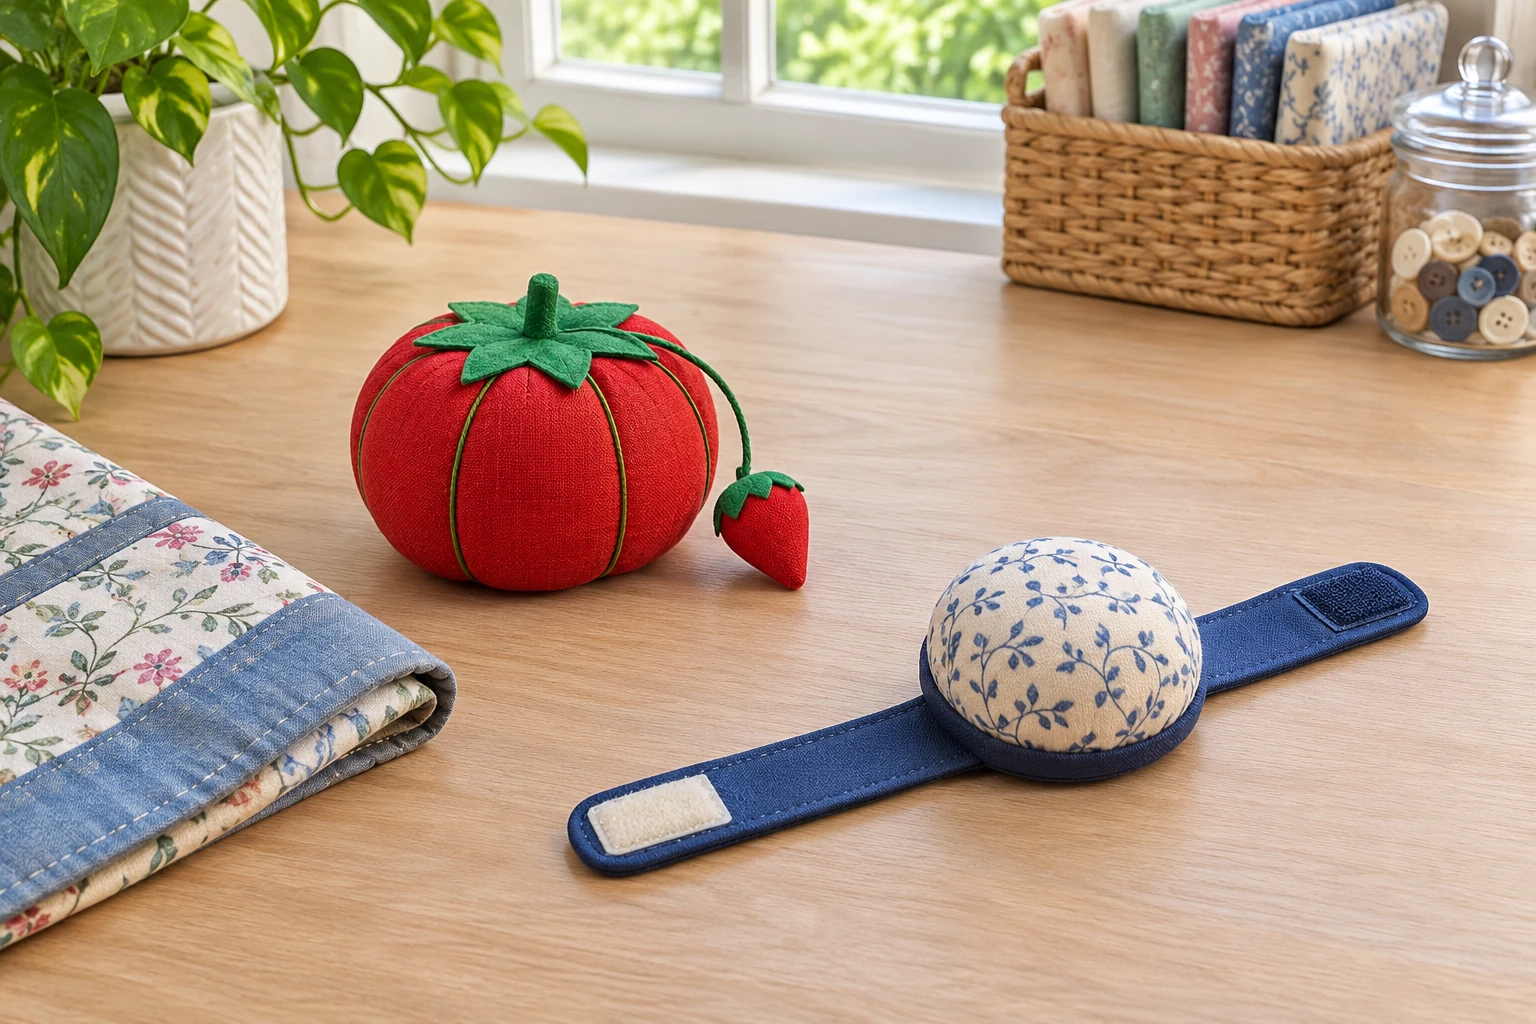
The guide illustrates round, wrist and magnetic pincushions. Those forms offer different arrangements for keeping pins near the work. Look at the actual session you expect to have, including where you will sit or stand and where you will pause. A tabletop holder can have a defined position beside the cloth, while a wearable option raises a separate question about the activity and its own instructions.
Consider a covered tabletop pin holder
Clover's I Sew for Fun Magnet Pin Caddy, number 9602, describes gathering pins in one direction and includes a cover. That makes it an example of a tabletop pin holder whose storage arrangement is part of its design. The maker also says the cover may fail to close securely when too many pins are on the caddy. The lid and the working contents need to be considered together.
If a covered magnetic holder appeals to you, read the instructions for that particular holder and the pins you intend to use. Clover limits its account by warning about stainless and nonferrous pins and advising a trial before use. A general preference for a magnetic surface leaves that material question open until the actual combination is established.
The same instructions address damage and magnet-sensitive equipment. Give the holder a location consistent with those directions. Its place on the table should come from the equipment around it as well as the distance from the fabric. Keep the caddy's cover available for the stage when its contents are put away.
Look at how a wrist holder fastens
Prym's blue wrist pincushion, number 611340, uses a hook-and-loop band and a polyester-covered cushion. The maker describes it for fitting and marking work, where the cushion can stay with the person. That gives a concrete reason to consider a wearable holder when the work itself moves between positions. The band is part of the decision, alongside the cushion that receives the pins.
Read the fastening description for the exact model. A hook-and-loop band, a flexible bracelet and an elastic strap are different arrangements. The Prym account establishes the first of those for its own item. An attractive fabric cover on another wrist cushion leaves the underlying fastening to be identified from that product's information.
Picture the work at its ordinary scale. You may be standing beside a garment for one stage and sitting at a table for another. Decide which stage makes a wearable holder relevant, then consult its instructions for that use. The product page's adjustment language supplies a feature description, while personal fit and suitability still belong to the actual wearer and activity.
Follow the work between its separate areas
Dritz's red felt wrist pincushion, number 703, explicitly names the cutting table, sewing machine and ironing board as places between which pins can stay with the maker. Its account describes felt, an adjustable wristband and hard plastic sides. Keep those construction features with the particular model named on the page.
Use the named locations to think through a real session. Where do pins leave the cloth, and where would you otherwise set them? The answer can change as the task changes. A holder chosen for fitting may have a different role when you return to a seated sewing step. Keep each activity's tool instructions with that activity.
The Dritz page provides one example of a holder intended to move with the user. Decide whether that movement serves the work you actually do. A route through several work areas can make a portable position appealing, while a session spent at one clear table can support a different choice.
Keep a wrist pincushion routine within its instructions
Korbond's Pin Cushion with Wrist Band, number 110131, describes a stretchy band and assorted fabrics. Its instructions also warn against pushing pins too far through the cushion and causing damage from the sharp points. That qualification belongs with a wrist pincushion routine. The presence of a band establishes a way to wear the holder, with the maker's handling limits still applying.
Read those limits before deciding how the cushion will take part in a session. The position of the holder changes as an arm moves, so keep the work and the actual tool directions together. The Korbond warning gives a specific issue to retain when reading its wearable design. Another cushion's construction needs its own account.
Include the stopping point in the choice. When a wearable holder is taken off, decide where that item and its pins belong next under the applicable storage directions. A wristband is a fastening feature, and any separate enclosure needs to be identified for itself. Keep a suitable storage place available so the end of a session has a definite destination for the equipment.
Separate the pin groups you want to recognize
In the American Sewing Guild's Getting to the Point, Linda Griepentrog discusses separate labeled containers for different pin types and a snap-on lid when taking pins to classes or moving them between places. That suggests a useful question for a holder arrangement. Which pin groups do you need to distinguish when you return to the work?
Choose labels that describe the pins present. If two kinds are kept separately, retain their identities when they move into working holders. A color preference for the container can be part of the arrangement, while the written label gives another person a way to understand what belongs there. Keep the arrangement as simple as the actual assortment permits.
The article also notes the divided sections on traditional tomato pincushions as a way to separate types. Decide whether visible sections or separate containers suit your own pin groups. The choice concerns how to recognize the supplies already identified for the project. The appropriate pins for a fabric remain a separate material decision.
Let the holder have a personal appearance
Clover's Create-a-Pincushion account describes a base, a removable retaining band and a collar, with fabric selected by the maker. It presents a holder whose appearance can be changed through that particular kit's construction. This gives a small tool a personal place in a sewing area.
Think about what you would like to recognize when you sit down. A familiar fabric pattern, a restrained color or a small piece associated with another project can give the holder an identity you enjoy. Clover suggests themes such as seasons, hobbies and milestones for its own kit. Choose an idea that belongs to the person using the tool, and keep the working purpose visible in the design.
The maker's replaceable-cover arrangement is specific to that base, band and collar. Keep its directions with the kit if you choose it. For a finished cushion offered in assorted fabrics, ask what appearance is actually supplied before building a color scheme around a photograph. A personal preference can remain part of the plan while the exact product details are established.
See what the two captured offers show
The Loops & Threads wrist-cushion offer names model 6817 and describes adjustable straps with colors and patterns that may vary. Its sole gallery shows a flower-shaped cushion on retail packaging marked Wrist Pin Cushion and Adjustable Strap. The pictured fabric provides an example of the style, with the variation statement retained for the offer.
The Loops & Threads tomato-cushion offer shows a red round cushion with a small strawberry-shaped attachment. The native description identifies that attachment as emery for cleaning and sharpening pins and needles. That is an additional stated function of the supplied item. The stated function remains a catalog account requiring its applicable instructions.
Both galleries show representative individual forms. Keep their written pack accounts separate from what is visibly pictured, and confirm the actual order contents before a purchase. The images picture cushions and their stated components alone. The comparison concerns the holders and their stated construction.
Leave the project and the stitch with their own guides
The published small embroidery-corner guide makes room for one identified project and considers its subject, materials, session and eventual display. Use it for those broader choices. A pin holder can have a place within a project area, while the decision about what to make and how the whole corner is shared remains with that planning task.
The published two-hole button sewing guide follows a specific thread route on an intact woven-shirt fastening area. It keeps suitable supplies, the spacer and the thread shank with that repair. Keep the pin return place beside the applicable stitching instructions and material choices required by the garment.
For this smaller workspace decision, identify where the pins return during the activity and where the holder goes when you stop. Choose a tabletop, wearable or covered arrangement from its actual information. Let its appearance suit the sewing space, and keep its model-specific limits beside the routine you intend to use.
Keep an optional order attached to its own details
If an offer on republeq.com becomes part of a future purchase, keep a separate record of the order details you have actually accepted. If you are considering crypto for that purchase, read the methods presented for that specific basket before selecting a payment route. If USDT is offered, use the asset and network instructions supplied for the current transaction. Keep the order reference alongside the amount and the merchant's confirmation so the purchase can be identified later. If the shipping address or recipient details need changing, resolve those fields through the merchant's authorized process before completing the order. If a delivery charge or regional restriction appears, review it with the current basket instead of carrying over an assumption from an earlier visit. Where an essential item detail remains unanswered, keep the purchase decision open until the responsible seller responds. If you receive a revised offer or a changed basket, preserve the earlier version and identify which version you finally accepted. If payment has already been submitted, check its actual status before agreeing to another payment request for the same order. An unresolved result calls for reconciliation with the merchant using the original order and transaction references. If an order is split into separate deliveries, retain the information supplied for each part and ask the merchant to identify anything left pending. If cancellation or a return becomes necessary, consult the terms that apply to the payment method and order actually used. Keep the resulting correspondence with that purchase record. Leave wallet recovery phrases and private keys out of product enquiries and shared shopping notes. These conditional steps concern the administration of a possible order. Confirm every available method, charge, delivery arrangement and applicable return condition from the actual transaction information, then decide whether to proceed on those terms.