How-To Guides & Tutorials
Sew a two-hole button: follow the thread through a shirt
Follow a flat two-hole shirt-button repair by hand, from the old fastening position through doubled-thread stitches, a temporary spacer and the final closure check.
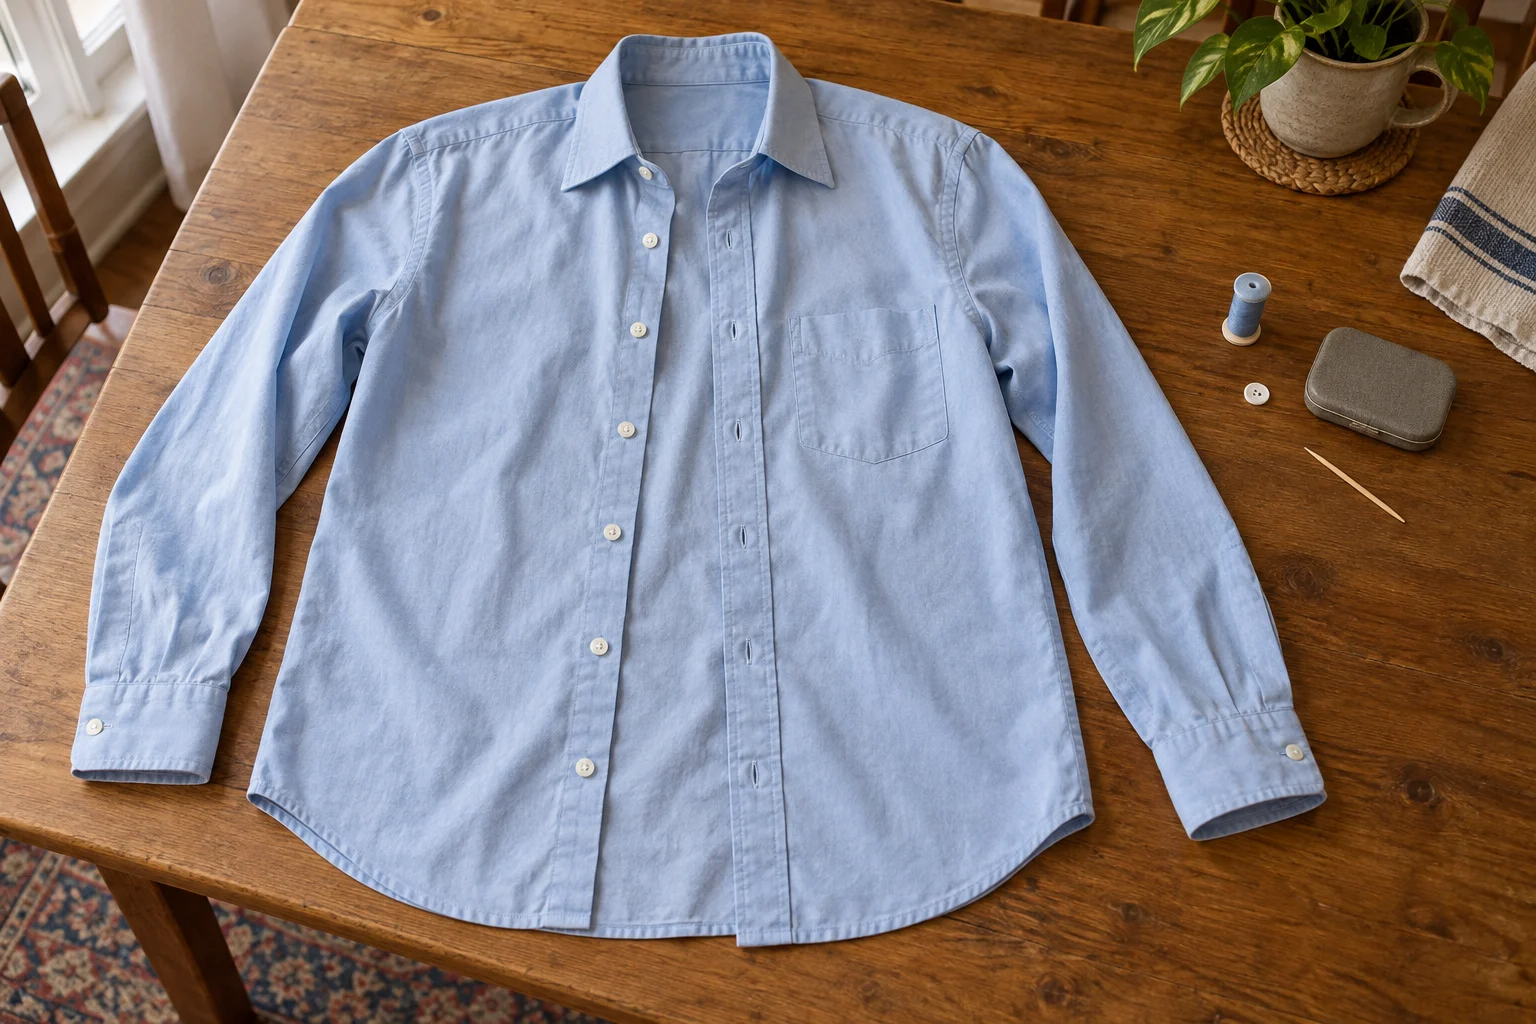
You can sew a two-hole button back onto an ordinary woven shirt by following the thread's route through the fabric and both button holes. Begin with an intact fastening area, a suitable replacement button and access to the inside of the placket. This method is for a flat button with two holes, rather than a button with a loop moulded underneath.
The general technique below follows UF/IFAS Extension's “Life Skills in a Minute: Sewing on a Button.” It uses doubled thread, a temporary spacer and a short thread shank. The two catalogue kits identify possible supplies; their descriptions do not certify a particular needle, thread or supplied button for your shirt. No repair or durability test was performed for this article.
Find the old button position before cutting thread
Lay the shirt on a clear surface with the front open. Find the place where the button was attached. Remaining stitch holes or a short piece of old thread may make the position visible. Compare it with the neighbouring buttons and the corresponding buttonhole, keeping the two sides of the fastening in their normal relationship.
If a loose button is still hanging from a few threads, retain the button while removing the failed attachment carefully. Work where you can see the old stitches. Do not cut at an unidentified bundle of fabric and thread. If you cannot distinguish the attachment from the garment itself, get help with that part before continuing.
Look at the actual fastening area. This walkthrough assumes that it is intact and that the old position can be identified. A tear, enlarged hole or missing piece of fabric adds another repair. Sewing repeatedly into the damaged opening does not restore the material that was there. Keep that different job outside this simple replacement.
Check the replacement against the existing buttonhole before attaching it. A spare button from the same garment is useful to investigate, but its identity alone does not show that it belongs at this particular position. Compare its shape and size with the neighbouring fastenings. Confirm that it can be passed through the intended buttonhole without forcing or stretching it.
Choose supplies for this shirt
The Loops & Threads 6618 Start-to-Sew offer describes twelve kits, with 112 pieces per kit. Its listed contents include hand needles, straight pins, tracing paper, a tracing wheel, a pin cushion and a 60-inch tape measure. The supplied description does not specify a thread suitable for this repair.
The HYKE travel sewing-kit offer contains thirty folding cases. Each lists three hand-sewing needles, a threader, thread supplies, scissors, two snaps and two pearlized buttons among its contents. The arrangement of the button holes and the material-specific needle and thread specifications are not given.
You need supplies appropriate to the actual fabric and button, rather than every item in either package. The bulk quantities do not make this a twelve-shirt or thirty-shirt project. Identify what you already own, and obtain suitable replacements for anything missing. Leave heavy outerwear, delicate fabrics and a garment requiring specialist handling for advice that addresses those materials.
Set out the identified button, a suitable hand needle, thread, scissors and a toothpick for the temporary spacer. Keep the needle in view and control where its point will emerge. If holding or guiding the work is difficult, stop and arrange help. The needle should never be pushed toward a finger hidden behind the fabric.
Thread the needle and separate the shirt layers
UF/IFAS suggests cutting approximately sixteen inches of thread. Pass one end through the needle's eye, then draw it through until the two tails are even. Tie those tails together in a knot. You now have doubled thread: the needle travels with two strands behind it, and the joined ends provide the starting stop.
If using a suitable needle threader, follow its actual instructions. Check that both strands can move through the button holes before starting the attachment. A hole that will not admit the selected needle and thread calls for a different suitable combination. It is not a reason to force the needle through the button.
Open the shirt so the front placket you are repairing is separate from the opposite front and the back of the shirt. The button attaches to its intended fastening area. It should not join that area to an unrelated layer lying underneath. Look at the underside before the first stitch, and keep checking where the needle is going as the cloth shifts.
Distinguish the two sides of this small working area. The right side is the outside where the button will sit; the wrong side is the inside where the starting knot and final fastening will be. Those labels describe the garment surfaces. They do not change when you turn the work over to see the needle.
Follow the first two-hole button stitches
Bring the needle from the inside of the shirt through the identified button position to the outside. Draw the thread through until the starting knot reaches the inside surface. Keep the intended fastening layers separate from the rest of the shirt. Check the position again before bringing the button into the route.
Pass the needle up through one hole in the button. Place the button over its intended position, then take the needle down through the other hole and back through the cloth. Before drawing that stitch tight, place the toothpick beneath the thread crossing the face of the button. The toothpick temporarily reserves space in the attachment.
For these two-hole button stitches, the route repeats: up from the cloth through one hole, across the button face, and down through the opposite hole and cloth. Keep the spacer under the crossing thread as you make the next passes. Follow the same two holes rather than piercing the surrounding fabric at unrelated positions.
Pause after an early pass and look at both sides. The button should remain at the intended mark, the two front edges should still be independent, and the spacer should still be held under the crossing thread. If the button has wandered, correct that attachment before adding more stitches. Several extra passes cannot move an already anchored button back to its proper position.
Build the attachment without changing the route
Continue through the two holes a few more times, as described by UF/IFAS. Draw each pass through completely while keeping track of the thread. Do not leave a loose loop caught around a neighbouring button or the shirt edge. If the thread tangles, stop with the needle controlled and work out the tangle before taking another stitch.
It can help to trace the route aloud while learning it: cloth, first hole, second hole, cloth. This is a reminder of the path, not a required counting formula. The guide provides no tested stitch count for your particular garment, needle or thread. The attachment still needs appropriate materials and an actual check at the end.
Imagine that the needle has reached the inside after one complete pass. Its next trip goes back up to the button through the first hole. If you instead push it through the shirt back lying below, you have added an unintended garment layer. Looking underneath prevents that mistake becoming hidden beneath further stitches.
Keep enough working thread to finish the attachment. When you cannot comfortably control the remaining length, do not add a rushed final pass and leave an unsecured tail. Stop and arrange a proper continuation or help. This walkthrough assumes that the prepared length remains sufficient for the few passes and the finish described.
Make the thread shank under a button
The temporary spacer keeps the button from being drawn flat against the cloth during sewing. A thread shank under a button is the small wrapped length of attachment thread between the button and fabric. UF/IFAS explains that the shank provides room for the buttoned fabric. It is different from a plastic or metal loop already formed on the back of a shank button.
After the repeated passes, bring the needle from the inside to the outside underneath the button, without taking it through either button hole. Remove the toothpick. The needle and working thread are now below the button rather than crossing over its face. Keep the button attached while making that change in the thread's route.
Wrap the working thread around the attachment stitches beneath the button a few times, following the extension method. These turns gather the threads between button and cloth into the short shank. They do not go around the shirt edge or bind a neighbouring layer into the repair. Watch the actual location of the wrapping as you work.
Take the needle through the fabric to the inside and knot the thread to finish. Secure that finish before cutting the working thread. Inspect the inside attachment as well as the button face; a tidy-looking outside cannot show whether the loose working end was actually fastened. Put the needle away securely when the stitching is complete.
Check the closure and finish the small job
With the shirt still off the body, look at the repaired area. Check for an unintended stitch into the opposite front or back, a displaced button, a loose tail or a missed finish. Remove the temporary toothpick from the work area, too. It has finished its job; it does not stay inside the garment when the shirt is worn. Address a problem before trying to use the fastening. Do not pull the shirt fronts apart to break an accidental joining stitch.
Pass the button through its intended buttonhole, then undo it again. Observe how the two sides meet and whether the button can be used without forcing. This is a check of the repair in front of you. It does not establish wash durability, a load rating or the number of future wears the attachment will withstand.
If the edges do not meet as they did before, revisit the button position and the replacement itself. If the button is pressed too closely against the cloth for the buttonhole layer, reconsider the attachment and its spacing. Do not solve either problem by stretching the buttonhole or pulling harder on the garment.
The sewing-machine feature guide distinguishes buttonhole features from other machine labels; it supplies no hand-repair lesson. The small embroidery-corner guide concerns space for a separate craft project. Neither replaces the button method followed here.
Put away the remaining supplies and keep the shirt's care information with the garment. When you sew a two-hole button, the complete job includes the inside finish and a usable closure. Following the thread from inside to outside, through both holes and finally around the short shank makes each part of that small repair visible.