Product Compatibility & Accessories
Router guide bushing compatibility: trace the mounting path
Keep the router mounting pattern, guide socket, guide dimensions and cutter limits separate when comparing Rockler and Imagine Woodworking accessories.
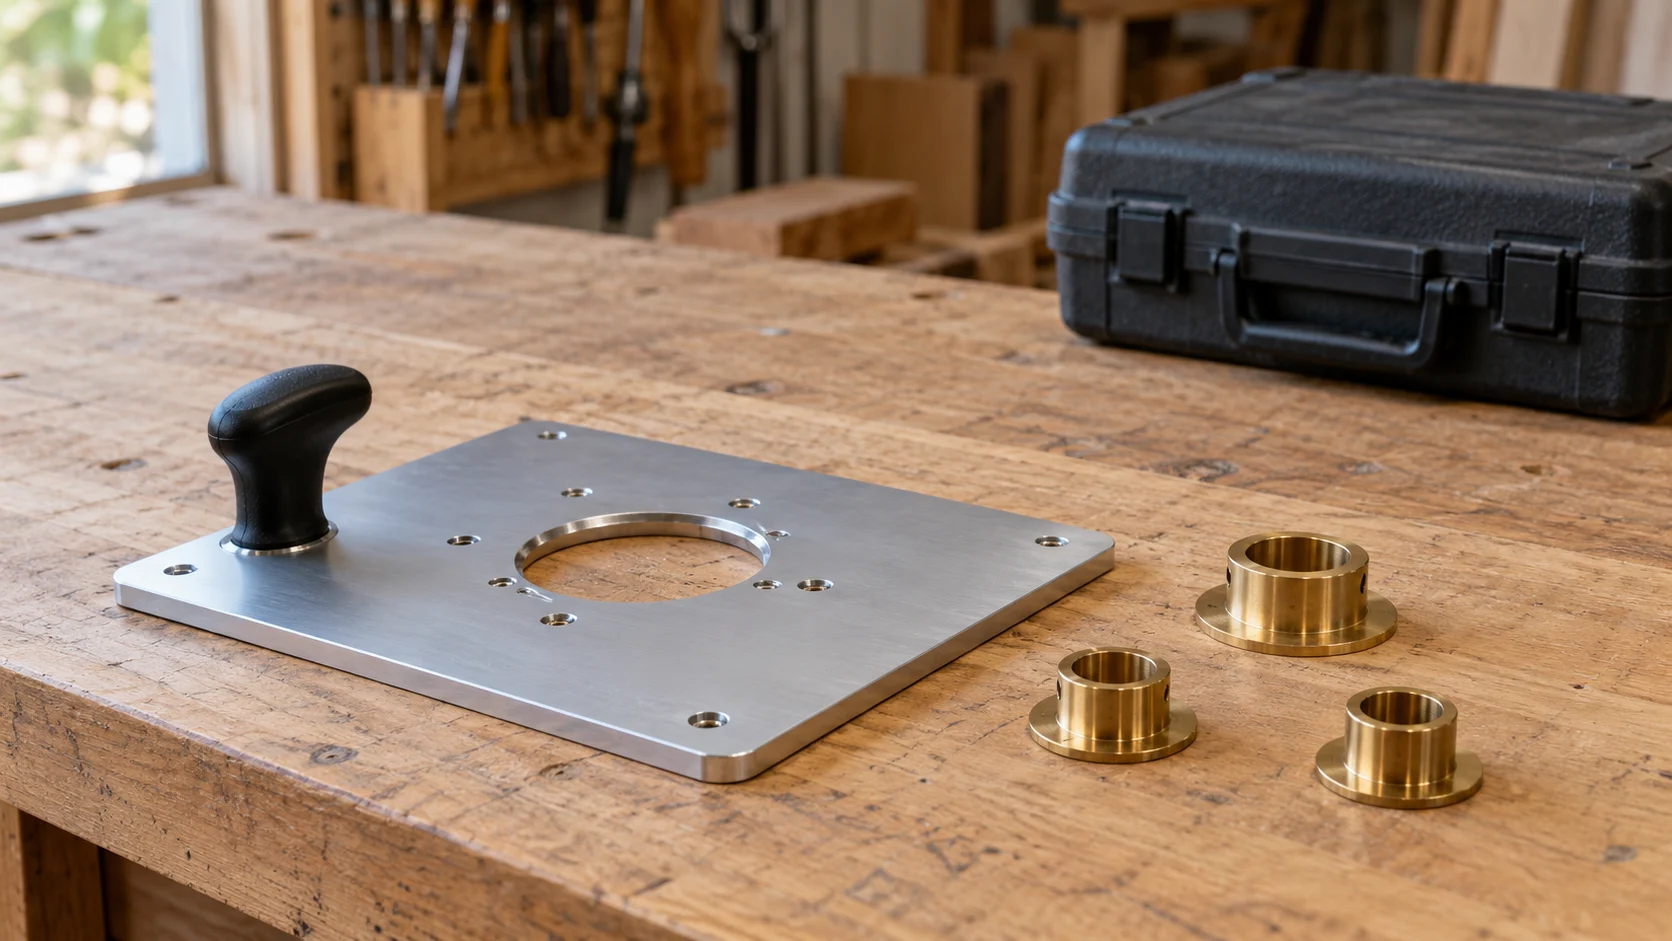
Router guide bushing compatibility involves more than finding the same fraction in two listings. The router's mounting pattern, the base's guide socket, the guide's dimensions and the cutter each answer a different question. Keep those interfaces separate before ordering a base or a set of template guides.
The Rockler guide-bushing kit and Imagine Woodworking Ultimate Router Base illustrate that distinction. One is a guide set; the other is a base with its own mounting and accessory arrangements. This article does not establish that the two offers form a matched installation. It explains what to reconcile before treating separate catalog descriptions as a usable combination.
Write down the router and the intended operation first
Start with the complete router model and the particular base fitted to it. Keep any plunge or fixed-base designation with that identity. A shopping note that names only a brand loses information that can matter when comparing the actual mounting arrangement.
Then describe the routing task in ordinary terms. You might need to follow a particular template or replace a missing guide in an existing setup. That is a different purchase from adding a larger supporting base. State which part of the present arrangement needs to change before treating a collection of accessories as the answer.
Keep the existing template's instructions available. Its specified guide and cutter belong in the same purchase record as the router model. A compatible mounting arrangement alone does not tell you what shape or size the template is intended to produce with a particular cutting setup.
Write the desired result beside the equipment list. “Replace the missing guide specified for this template” gives a supplier a concrete compatibility question. “Buy a universal router accessory” does not identify which interface needs to fit or what the finished operation requires.
Read the router base mounting pattern separately
For the router base mounting pattern, identify the fasteners and mounting arrangement specified for the actual router and replacement base. The center opening and the mounting holes are different features. A statement about one cannot fill in missing information about the other.
The Imagine Woodworking Ultimate Router Base offer identifies an extra-large aluminium base measuring 17-3/4 inches long, 8-5/8 inches wide and 5/16 inch thick. Its native description supplies a router-model mounting list. Keep that list attached to this offer rather than transferring it to every base sold under the same brand.
The maker's page describes mounting holes for most routers and includes a mounting-hole chart. It also identifies a removable 3.165-inch center disk, a standard PC 1-3/16-inch template-guide socket and separately excluded template-guide accessories. Those are distinct features, not three alternative ways of naming a mounting-hole diameter.
Use the supplied chart and applicable router instructions to resolve an actual mounting question. Preserve the full designation when comparing a listed family with the unit in your workshop. If a mounting answer remains unclear, ask about that exact pairing before buying; this guide supplies no drilling pattern or improvised mounting method.
Keep the Rockler guide kit's contents with the kit
The Rockler Router Guide Bushing Kit offer is an eleven-piece set. Rockler lists seven template guides, custom centering bits with quarter-inch and half-inch shank references, two lock nuts and a storage case. The maker separately identifies its Guide Bushing Router Plate as sold separately.
Rockler describes fit to a base with a 1-1/4-inch center hole. Its guide specifications distinguish inside diameter, outside diameter and depth. For example, one row gives 1/4 inch inside, 5/16 inch outside and 5/32 inch depth. Keep all three labels when carrying that row into a compatibility enquiry.
The native catalog description includes wording about the separate plate's mounting holes. Do not turn that wording into an included-plate claim. Confirm the selected package against the maker's actual contents account. A guide set and a replacement base should remain separate items in the order record when they are sold separately.
Give template guide dimensions their own labels
Template guide dimensions need a description of the feature being measured. Record a listed inside diameter as inside diameter, an outside diameter as outside diameter and a projection or depth as that feature. Removing the labels to leave a row of fractions makes the information harder to use.
The same applies to openings in a base. Retain the manufacturer's wording for a guide socket, a removable-disk opening and a mounting requirement. Do not rename all of them “the hole” in a message to support. The person checking compatibility needs to know which physical feature each number describes.
The different opening numbers in the selected offers do not, by themselves, prove a match or a mismatch. Obtain the applicable mounting or guide information for the actual pairing. Treat a numerical comparison as part of the question, with the named interfaces preserved, rather than as an automatic purchase verdict.
Keep units with every measurement. If you transcribe an inch value, preserve its fraction and unit together. A note copied into another document should still identify the part, the feature and the unit without requiring the reader to find the original browser tab.
For measurement context, the caliper zero-check guide explains why one reference does not verify every measurement. The tape-measure numbers guide separates length, width, quantity and accuracy. Choose an appropriate measurement method without treating the mere presence of a number as proof of fit.
Include the cutter and template in the enquiry
A guide enquiry should identify the actual cutter and template, not just the new base. Give their model or part references wherever available and retain the applicable setup instructions. That lets the supplier distinguish a mounting question from a question about the operation the template is intended to perform.
Keep a cutter's shank information separate from other dimensions in the record. Do not substitute the diameter of a cutting feature, a guide opening or a centering accessory because the number looks familiar. Use the names given in the actual instructions when identifying what the router must accept.
If replacing one missing component, take the known component's reference into the purchase decision. Choose the set around the specified replacement. Identify the specified replacement first, then compare the actual package that contains it and the accessories that remain separate.
Ask one precise question for each unresolved interface. For example, ask whether the identified base mounts to the named router, and separately ask whether the identified guide is accepted by that base in the specified setup. Keep the answers with the corresponding parts so that a confirmed mounting answer does not become an assumed answer about the entire operation.
Do not substitute guide opening for permitted cutter size
Bosch's GKF18V-25 instructions provide a useful bounded example. Their template-guide table has separate columns for bushing depth, external diameter, internal diameter and maximum cutter diameter. In the RA1109 row, the internal diameter is 13/32 inch while the maximum cutter diameter is 11/32 inch. The two figures are deliberately different.
That manual calls for a cutter diameter 1/16 inch smaller than the template guide's internal diameter. This is the instruction for the documented Bosch setup, not a newly established clearance rule for the selected Rockler and Imagine offers. Obtain the applicable limit for the equipment you intend to assemble.
The same Bosch page identifies optional RA1100 as the adapter for conventional threaded guides in its quick-release system. An adapter has its own identity and purpose. This account does not establish that RA1100 is required by, included with or suitable for either selected offer.
Keep the guide opening and permitted cutter size in separate fields. When only one answer has been supplied, leave the other question open. Do not copy the available number into both fields just to complete a purchasing worksheet.
Check the received parts before powered use
The Canadian Centre for Occupational Health and Safety advises disconnecting a router's power before adjustments or bit changes. It calls for inspecting the bit, securing it correctly and ensuring the base is tight. It also says to confirm that the cutter can rotate freely before starting the motor.
CCOHS calls for securing the workpiece instead of relying on a person to hold it. It recommends testing the intended depth and passes on similar scrap material. These are router-use precautions; they do not establish that an undocumented accessory combination is compatible.
On arrival, compare the actual product references and package contents with the order. Keep a missing-part issue separate from a fit issue. A package that omits a promised component needs reconciliation before you can evaluate the complete arrangement described in the order.
Follow the applicable installation and setup instructions for the actual parts. If the physical arrangement differs from the documented one, retain a clear description of the difference and ask the supplier or maker to resolve it. Resolve the compatibility question before attempting a powered trial.
Record the outcome in a way that distinguishes preparation from use. Receiving the correct package, reconciling a mounting question and completing a prescribed setup check are different observations. Keep the unresolved item visible until the applicable requirement has actually been met.
Photographs can make a support enquiry easier to follow when the parts are safely accessible. Label each picture with the actual model or part reference and identify the feature you are asking about. Keep a view of the overall part alongside any detail image. A close view of an unidentified hole leaves the recipient to guess which interface it belongs to.
Compare the complete purchase rather than the accessory headline
Put confirmed package contents into a short order list. Include the part you are replacing or adding, any separately required accessory confirmed for the setup and the applicable references. A case full of guides and a base with separate guide accessories represent different purchases, even when both appear in the same search results.
Use the same record when comparing another offer. Check whether it supplies the same identified component and whether the same separate items are needed. This avoids comparing a complete arrangement with a partial package simply because the product headlines use similar language.
Keep the supplier's answer specific enough to be useful later. Retain the identified models and the question it answered alongside the date of the response. If you later change the router, base, guide, cutter or template, review the affected interfaces again instead of extending an old answer to a new arrangement.
A useful purchase decision leaves the actual mounting and guide questions resolved for the intended setup. Where a question remains open, keep the order decision attached to that question. The selected catalog offers provide starting information; the completed compatibility record must describe the equipment that will actually be used together.