Sewing & Crafts
Reduce fabric cutting waste before the first cut
Check fitted pattern pieces before committing fabric to a cut.
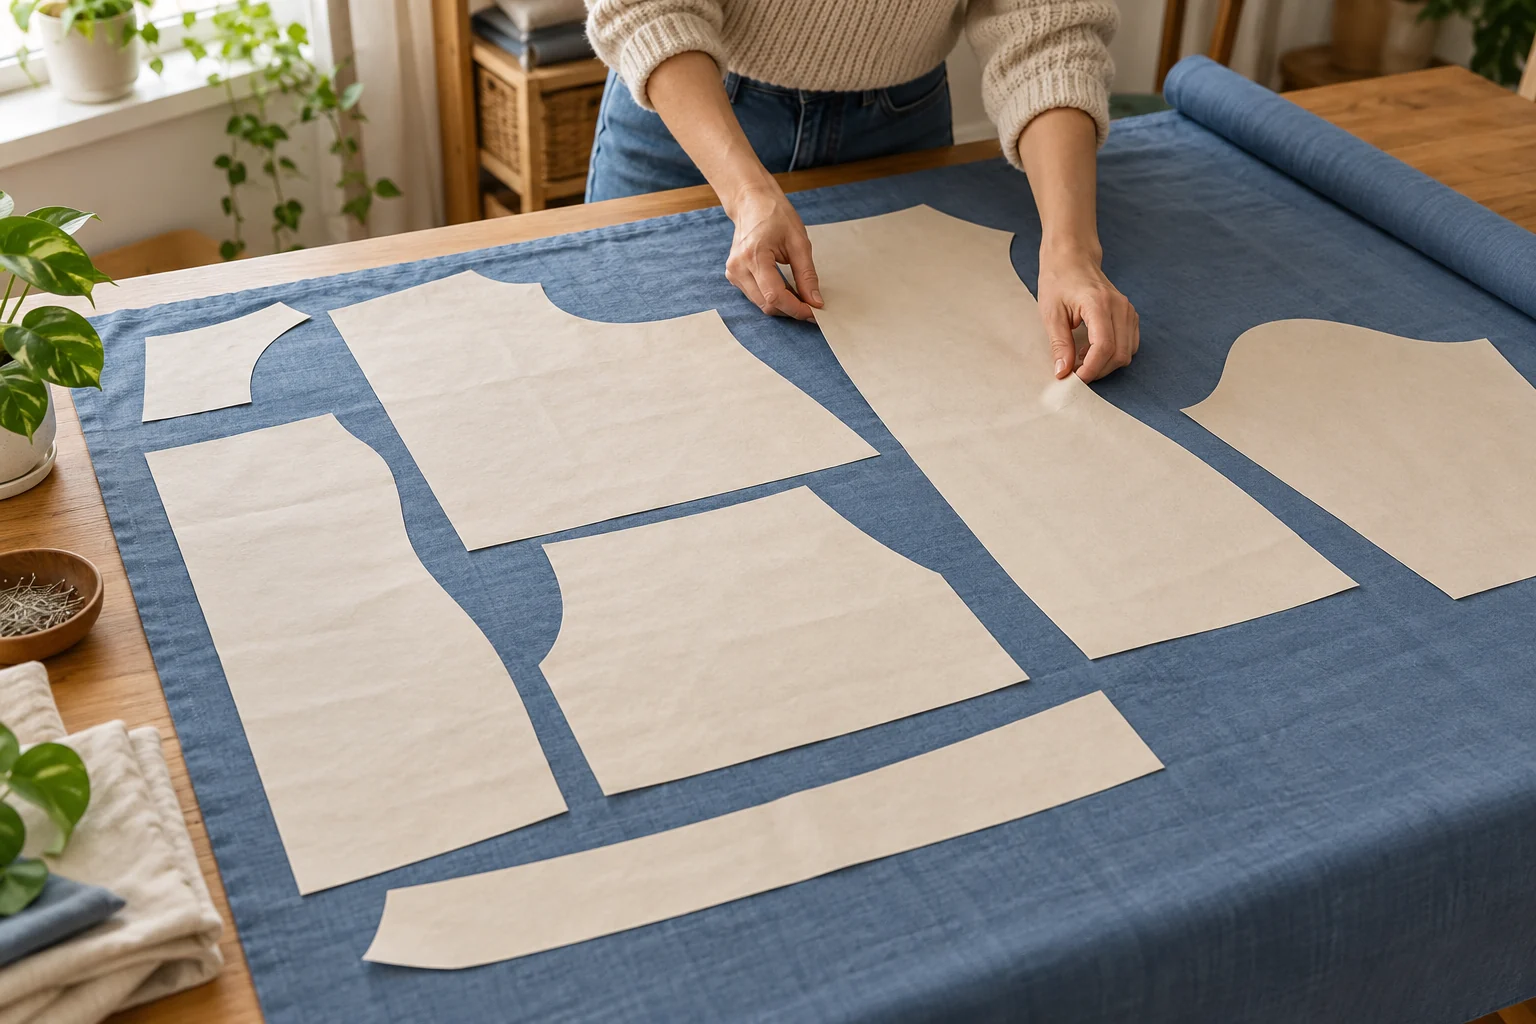
A sewing purchase can look sufficient until the pattern is spread across the cloth. The cutting guide attributed to Coats & Clark starts with a practical warning: a cutting mistake cannot be undone like a badly sewn seam. Before the first cut, settle which pattern pieces, fabric direction and layout belong to the project.
Choose the pattern size before choosing its yardage
Start with the pattern maker's sizing information and current body measurements. NMSU's pattern-size guide separates the pattern type from the size within that type: height and back-waist length help describe the intended figure, while circumference measurements help select the size. A familiar size number leaves those questions unanswered. Have the required bust or chest, waist and hip measurements ready, along with height and back-waist length where the chart requires them.
Take new measurements when the old ones no longer describe the person who will wear the garment. NMSU notes that growth and changes in body measurements can change the appropriate pattern selection. The guide provides places to record repeated measurements, making the date part of the reference. Take each measurement at the illustrated location and compare it with the corresponding measurement on the chart. Use the current publisher's chart; the historical guide's named size ranges are not a substitute for it. Have the needed measurements available when selecting the pattern. Different pattern types can have different proportions, even where the printed size number looks familiar.
Finish fit changes while the pieces are still paper
NMSU's women's-fashion fit guide recommends comparing body measurements plus appropriate ease with the corresponding pattern measurements before cutting. Ease varies with the fashion and pattern brand. The garment needs room for its intended fit, so a body measurement and a pattern measurement need not be identical. Use the actual pattern's fitting guidance to decide which differences require alteration.
Make those changes before treating a layout as final. A lengthened section or a widened piece occupies different space from the original paper shape. Lay out the altered pieces you will actually cut, including any associated sections affected by the change. Keep the current measurement and required ease distinguishable as you check the pattern. Take body measurements in normal posture over suitable undergarments, using a tape that does not stretch and recording the date for future fitting. This is particularly useful when returning to a pattern used previously: the earlier garment does not establish that today's body measurements, chosen fit and paper pieces still agree. Leave enough time to complete that fitting work before buying cloth solely from a remembered requirement.
Prepare the cloth before trusting its available space
The American Sewing Guild recommends preparing fabric using the care method intended for the finished item. Check the bolt's care information or the fabric's available care symbols. Some fabrics need washing or dry cleaning before cutting; others may already be ready for use. Choose the treatment for that cloth, then assess the material you have after preparation. A length measured before a shrinking treatment may overstate the material available for the layout.
The Guild also explains that finishing and winding can pull woven fabric off grain. Check that the lengthwise and crosswise threads meet properly and that the prepared cloth lies as expected. Uneven pressing can create another distortion, especially with difficult fabrics. Follow the applicable preparation method instead of pulling every textile or using one hot-water routine for everything. Finish this work before trying to nest the pattern pieces tightly together. A compact arrangement on distorted cloth can still produce pieces that hang differently from the intended garment.
Use the layout for the actual view, width and direction
Return to the pattern guide sheet with the prepared fabric beside it. Coats & Clark's cutting guidance says to select the layout for the garment view, pattern size, fabric width and nap. Check all those conditions. A diagram for a different width may place pieces in space your cloth does not provide, and a different view may need additional sections.
Keep the grainline requirements intact as you arrange the pieces. The guide permits opposite orientations for fabric without an up-or-down direction, provided the pieces remain on grain. Its directional category includes one-way prints and pile. For those materials, the tops of the pieces must follow the required common direction. A turned piece that fills a gap is useful only when the fabric and pattern permit that orientation.
Check matching and mirrored pieces before tightening the layout
Connie Crawford's Threads article distinguishes double-layer layouts from single-layer cutting for asymmetrical prints or weaves. A piece marked for a fold needs its full form when using a single layer. Paired sections also need the appropriate mirror relationship. Check what the pattern requires before moving a paper piece into a narrow unused area. On a single layer, turning a paired piece over changes its orientation.
For stripes and plaids, Crawford explains matching the fabric layers and carrying stripe positions across adjoining pattern sections at their corresponding notches. This can determine where a piece must sit even when another position appears to use less cloth. Her layout method also checks the printed grainline against the selvage or fold at both ends. Keep the whole set positioned before beginning the cut. A layout that saves a small gap by losing the intended match, fold or paired orientation has changed the garment. Compare the completed arrangement with the pattern while you can still lift and reposition every piece.
Give lining and interfacing their own material plan
The outer cloth is only part of some garments. NMSU's guide to interfacings, underlinings and linings distinguishes their jobs. Interfacing reinforces selected areas; underlining backs garment fabric; lining forms a separate inside layer. Check which components the pattern and fabric need before deciding that the materials purchase is complete. Their pieces and material requirements can differ. For underlining, the guide calls for the garment's pattern pieces; interfacing may use separate or facing pieces. Check those distinctions before putting component fabric aside.
The guide says the pattern envelope usually provides an interfacing amount and may provide lining requirements for jackets and coats. It also discusses requirements that an envelope may omit. Resolve those details for the garment you are making. Select component materials with compatible care requirements, then plan their layouts separately. Interfacing kept from another project is useful when its properties and available pieces suit this one. NMSU observes that longer lengths can reduce interfacing waste, but that does not make every larger purchase economical. Start with the required components and the usable material already available, including any preparation those materials need.
Keep specialty-fabric savings within the relevant method
NMSU's synthetic-suede guide calls for a trial layout after fitting the pattern and choosing the construction method. That sequence matters because its nonwoven and fabric-backed examples have different seam and edge requirements. The guide's opportunities to reduce fabric use belong to those specified materials and methods. They are not general permission to remove allowances from an ordinary garment pattern.
If a specialty method changes which allowances are needed, finish that decision before estimating the cloth to buy. Use the resulting pattern pieces for the trial layout. Keep the fabric's nap direction consistent with its applicable instructions. For a new pattern, the suede guide also recommends a trial garment in fabric with suitable drape, followed by transferring the fit changes back to the pattern. That costs material and time of its own; include it in the project plan when the method calls for it. An unfamiliar fabric deserves a layout based on its construction requirements, rather than a promised percentage saving borrowed from another material.
Follow the complete project before making an economical cut
NMSU's women's-pants guide brings fabric, fit and layout together before cutting. It directs the reader to fit the pattern, study the guide sheet and prepare the fabric, then follow the applicable layout, including the nap arrangement. Its fabric discussion also notes that some choices need lining or underlining. Look through those dependencies while deciding what the project will require.
A long main piece can constrain the arrangement before smaller details are placed. Check the actual altered pattern and its guide sheet across the available fabric, keeping the required grain direction. Include every section needed for the chosen version. The point of this check is to find an incomplete arrangement while the cloth is intact. Return to the pattern if a necessary component has nowhere to go.
Check a small project's full requirements too
Utah State University's Easy Table Runner shows why a small project still needs a complete material check. Its feature rectangle and border/backing rectangle have different specified lengths, and the instructions require both to be the same width. Two attractive pieces of cloth do not establish that those requirements are met. Read the actual cut list before deciding the project fits the material available. Its stated lengths are 12 inches for the feature and 18 inches for the border/backing, each extending across the required fabric width.
The runner instructions also prepare the fabric before cutting. Compare the prepared pieces with the requirements together, rather than approving each from its color or its approximate area. If you use that particular project, follow its complete instructions for its required rectangles and construction. It supplies one project example, not a general rule that any short offcut can become a runner. For another project, make the same check against that project's own pieces. This keeps a fabric-saving idea tied to something you actually intend to make and have suitable cloth to complete.
Keep the cutting-tool question separate
The catalog's Loops & Threads 1260 offer describes six 6.5-inch adult scissors with spring tension, a safety lock and stainless steel blades. Its sole image shows one complete spring-tension tool. These are retail descriptions; the image does not independently establish the maker identity or count six delivered tools. Use applicable instructions to select a tool for the material and work you intend.
The Titanium Bonded Micro Tip offer describes six pairs of five-inch scissors. Its image shows a complete white-and-gray pair with Westcott and Titanium marks, without a legible exact model reference. Neither offer demonstrates fabric-cutting performance here. The scissors blade-features guide addresses the separate task-selection question. For difficulty following a change of blade arrangement, the left-handed scissors guide examines the grip question. A poor cut can have a tool-related explanation even when the cloth layout is sound. Establish the documented blade arrangement and task before repeating a cut on the garment. Keep any care or adjustment work within the actual tool's instructions.
If you choose an optional purchase
If you choose to order an item on republeq.com, read the offer and checkout terms before committing to the purchase. A preference for USDT or another cryptocurrency does not establish that the transaction offers it. Check the exact item, variant, package contents and amount shown for the order. Confirm any delivery charge, applicable tax and payment charge using the information presented by the responsible services. Review the delivery estimate and the cancellation, return and refund conditions, including how a refund would be handled for the payment method you select. If cryptocurrency is offered, follow the transaction's actual instructions for the asset and network it requires. This article supplies no receiving address, wallet setup, exchange-rate forecast or transfer procedure. Never disclose a wallet's private keys or recovery phrases in a product enquiry. Leave an essential product or payment question open until the responsible service answers it for the actual order. An answer about another item or an earlier transaction may not apply. Keep the final order details and resulting confirmation so that any later question concerns the same purchase. If an order or payment status remains uncertain, reconcile that status through the authorized channel before considering another payment. Do not treat an unclear status as evidence that nothing happened. A completed transaction does not verify that a particular tool suits your fabric, that the pattern layout is complete or that buying more material will solve a cutting problem. This discussion promises no saving, financial return, settlement time, transfer protection or refund outcome. You can leave the purchase undecided while finishing the project checks that determine what you need.
Begin the fabric cut with the fitted pieces, prepared cloth and applicable layout in agreement. Keep the full project in view, including any required lining or interfacing, before treating a smaller material purchase as sufficient.