How-To Guides & Tutorials
How to plan a bead pattern before stringing
Plan and check one original bead sequence before stringing, using actual Bead Landing board and Unbranded kit details without assuming a finished fit.
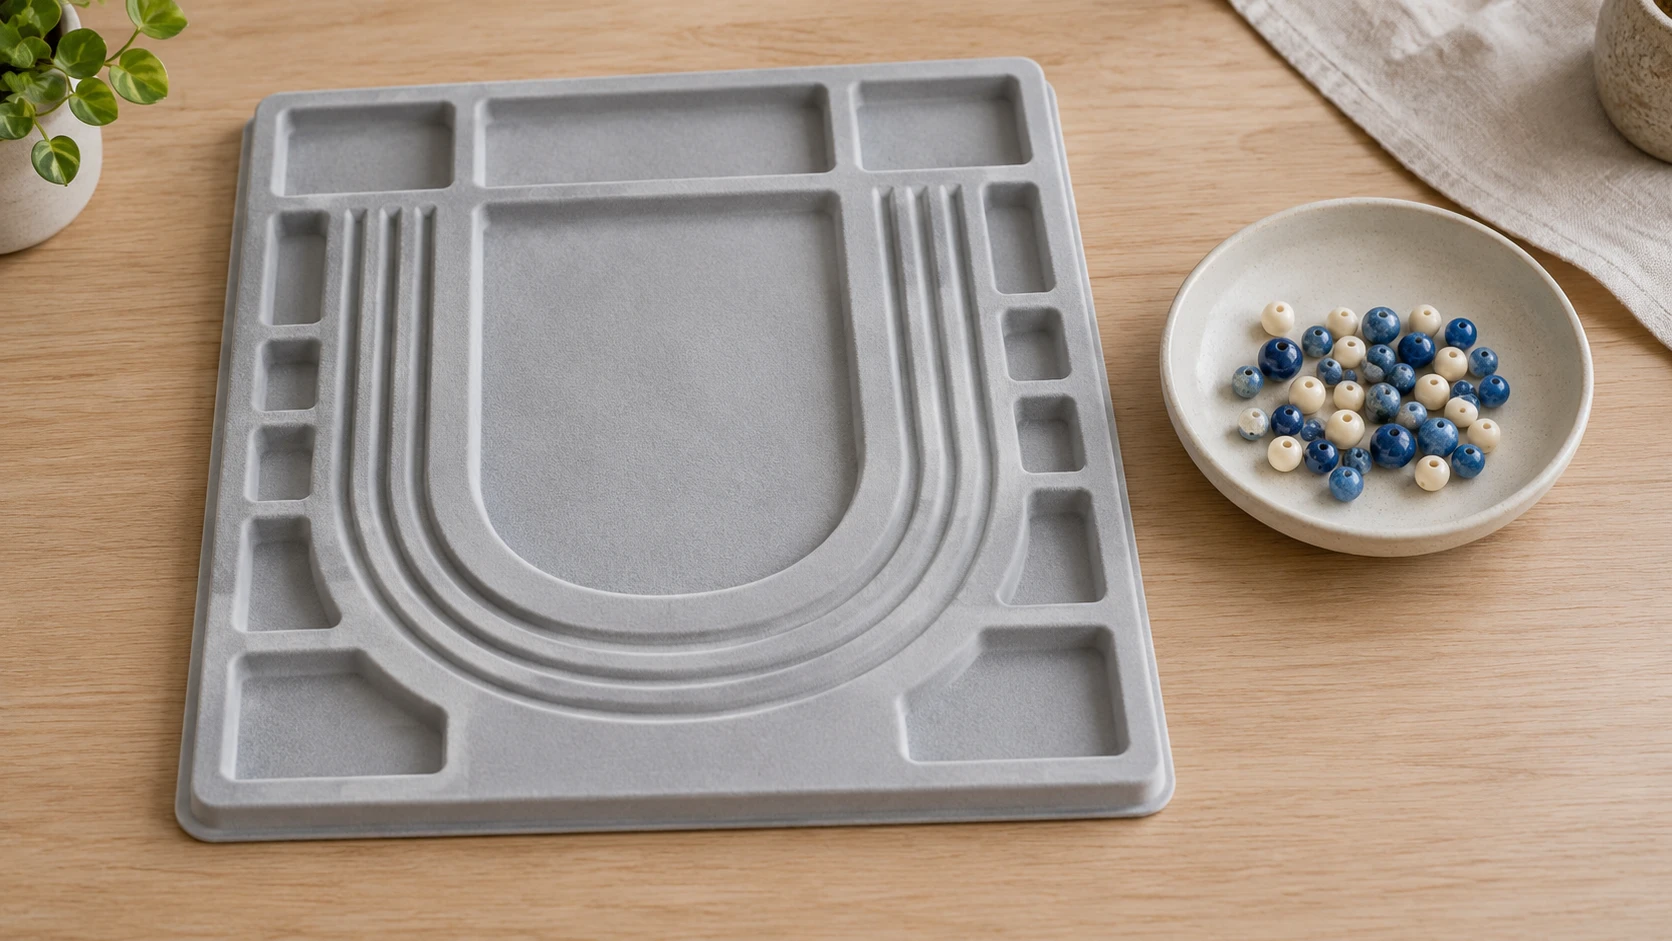
How to plan a bead pattern begins with an arrangement you can inspect before putting anything on a string. Choose the actual beads, give the colours or shapes clear names, and lay out one short sequence. Extend it only after that first sequence looks the way you intend. Finish this planning stage with a checked layout; obtain the appropriate construction method separately.
A bead board can provide a place to organise that layout. The selected Bead Landing boards and Unbranded beading set describe different quantities and supplies. Neither description establishes the size of your beads, their hole diameters or the completed length of a project you have not measured. Keep the pattern decision separate from those later material and construction questions.
Step one: choose a pattern you can describe
Choose the feature that will repeat. It might be a colour order, a shape order or a combination you can distinguish among the actual beads. Begin with a small set of features rather than changing colour, shape and size without recording which change belongs where. You should be able to describe the first group clearly enough to lay it out again.
Use the actual available materials when making that choice. A photograph of a possible project does not put its beads in your supplies. If a colour or shape is missing, leave that gap visible and decide whether to change the plan or obtain the required material. Do not quietly substitute something different while continuing to describe the original pattern.
The example below uses two invented bead categories, blue and cream. They are chosen only to explain the layout. No beads in those colours or any particular size are claimed as contents of either selected product. Substitute clear names for the beads you actually intend to arrange.
Step two: laying out a repeating bead pattern
For laying out a repeating bead pattern, make a simple key before using letters. In this example, A means blue and B means cream. Write the meanings alongside the sequence so a later note containing only letters does not lose its connection to the intended materials.
The original example block is A, B, B, A: blue, cream, cream, blue. Lay out that one four-bead block first. Check the order by reading it from the end you have chosen as the start. Keep that starting direction consistent while comparing the layout with the note.
Inspect the actual beads in the proposed block. If two pieces meant to share a category look different enough to matter to you, decide whether they belong in the same category or need separate names. The key is a choice about the pattern, rather than a guarantee that beads sold under one colour name will all look identical.
Keep the proposed block loose while making these decisions. This tutorial gives no threading, knotting, crimping or fastening method. Changing a layout on a working surface is the task being described. The construction instructions for a later jewellery project must match the actual materials and components.
Some designs depend on orientation as well as the order of categories. If that matters to the beads you have chosen, add the relevant direction to the note and inspect it in the layout. A letter representing a shaped bead identifies the category, but may leave its facing direction unanswered. Keep that observation separate from the colour key. This tutorial supplies no assumption about whether a particular bead is reversible or which face must be shown in a finished object.
Step three: use the actual board as a working aid
The Bead Landing model 10334608 design boards are supplied as a twelve-pack. The native description says each board measures 14.25 by 9.38 by 0.63 inches, with centimetre figures also supplied. Each has two grooves for laying out necklaces and bracelets, a textured surface and recessed compartments for extra beads.
The package count is twelve boards, while the two grooves belong to each board. Those counts do not identify a required number of beads or the length of a bracelet. Keep the distinction when considering whether you need several work surfaces or only one for your own layout.
The description attributes resistance to bead rolling to the textured surface. No handling test has been performed for this guide, and that feature is not a guarantee that loose pieces stay in place during movement. Use the actual board's applicable directions and choose an arrangement you can inspect where it is resting.
Model 10334608, SKU 1638219489 and UPC 197220055931 identify this offer. Its short account does not state the groove depths, every usable channel dimension or a measurement accuracy. A groove can help organise a sequence without its markings or shape becoming a verified finished-project measurement.
Step four: extend the block without changing its rule
For the example, repeat the A, B, B, A block three times. The written sequence is A B B A, A B B A, A B B A. It has twelve positions with six A beads and six B beads. Those totals describe this particular invented layout; they are not a shopping requirement for a bracelet of any stated size.
Keep the block boundaries visible in your note while arranging the full sequence. Between two blocks, the final A of one is followed by the first A of the next. That adjacent pair belongs to the repeated rule. Changing it merely because you expected alternating colours would create a different pattern.
If the repeated appearance does not appeal to you, revise the original block and then rebuild the repeats from that revised rule. Record the change before treating the new arrangement as the intended version. There is no need to preserve an unattractive layout simply because its arithmetic is consistent.
A linear sequence also has a beginning and an end. A later project that brings ends together or adds a fastening arrangement creates another appearance and construction question. This flat layout does not establish how that completed object will look or what components belong at its ends.
Step five: checking bead order before stringing
For checking bead order before stringing, compare the actual sequence with the note one block at a time. Identify the starting end, read the key and inspect the four positions in the first block. Continue through the remaining blocks without assuming that a matching overall count proves every position is correct.
A misplaced A and B can leave the same totals while changing the order. In the example, six blue and six cream beads answer the inventory question. They do not, on their own, establish the A B B A arrangement. Retain both checks: what is present and where it is placed.
If you find an unexpected bead, identify the affected position before rearranging the whole layout. It may be a mistaken placement, an unclear category or an unrecorded change you now prefer. Decide which applies and update the layout or note accordingly. A visible difference is a reason to inspect, rather than evidence of a defective supply.
When more than one person is helping, use the same key and starting end. A short note such as blue at the beginning needs that shared reference. You can inspect the sequence together without assigning a fixed number of beads to each person or treating a different colour preference as a counting error.
Step six: read the beading kit's actual contents
The Unbranded beading set identified by UPC 769284914891 includes a flocked design board, a sponge-and-felt mat with six labelled grids, a bead scoop, storage bucket, scissors and anti-static tweezers. Its native description says the board helps hold beads while planning necklace or bracelet lengths.
The same set lists string and wire supplies: elastic crystal strings in five stated sizes, a ten-metre black elastic string, fishing thread and steel wire. It also lists big-eye and other beading needles. These are supplied-item statements, without a confirmed match between every needle, cord and bead a buyer might already own.
The product's complete reference includes SKU 18260601062. Keep it with any enquiry about what each supplied piece is and how it is intended to be used. The six grids do not become six finished jewellery sizes, and the presence of scissors or needles does not supply a cutting or threading procedure in this tutorial.
Use the actual bead holes, string, needles and other components to obtain appropriate instructions for construction when that stage arises. A pleasing colour layout can be ready while those questions remain open. Do not call the project physically compatible merely because all its proposed materials are gathered on one mat.
Before treating the layout as a supply list, compare the planned categories with what is actually available. If there are fewer beads in one category than the chosen sequence needs, leave the shortage explicit. You can revise the pattern, set it aside or investigate more supplies. A bag containing enough beads overall may still lack the particular pieces the layout calls for. Keep the actual quantities separate from the proposed sequence until both have been checked.
Step seven: keep the chosen version recognisable
Once the arrangement matches the plan, record enough detail to identify it later. Keep the key, the written sequence and the direction together. A photograph can show the layout you chose, while the note preserves distinctions that a photograph may leave unclear. Neither record guarantees exact colour appearance on another screen.
If the bead order changes after the photograph, update the record before relying on it. A saved image of an earlier version can be useful as that earlier version, but it should not silently become the instructions for a later arrangement. Give the chosen version a simple description you will recognise.
Decide where the loose layout can remain while you resolve any remaining materials question. The selected product descriptions do not establish a sealed transport case or a guaranteed way to move an unfinished layout without disturbance. Keep the actual working surface and its instructions in that decision.
The three-group friendship-bracelet tutorial concerns braiding working groups of embroidery thread. Its strand movements do not supply a bead-stringing or fastening technique. Here, the outcome is the bead sequence chosen before construction, rather than a completed braid or proof that two projects use interchangeable supplies.
The guide to tape-measure numbers separates labelled dimensions and package quantities from measuring capability. Apply that distinction when reading board dimensions, groove counts and string sizes. A board's overall width and a cord's stated diameter describe different features and cannot settle the length or fit of the finished jewellery.
Keep a supply order attached to the pattern you chose
If you consider a bead-board or beading-supply order through republeq and prefer crypto such as USDT, keep the selected package and the actual project questions together before choosing payment. The Bead Landing offer names twelve boards, each with two grooves and recessed compartments. The Unbranded offer names a board, a mat and a set of tools, strings and needles. Those contents belong to their respective listings. A preferred payment method cannot add beads to either description or establish that an included cord fits the beads you own. Read the options presented in the actual checkout for the order you select. The retrieved product records list cryptocurrency among accepted categories, without settling every token, network or payment arrangement for a future purchase. Ask for clarification if the requested method is missing or unclear before authorizing payment. This paragraph gives no transfer address or wallet procedure. Review current delivery and return information as well. No arrival date, refund or finished-project result is promised here. Keep any supplier answer about package contents or a stated string size with the exact product reference it identifies. A response about one kit does not change the contents of a different board pack. Save the confirmation with the model and package details. On delivery, compare the contents with that recorded offer before assuming a required cord or tool has arrived. Payment approval supplies no evidence that the proposed jewellery materials work together; obtain construction guidance for the actual combination. You can keep the purchase undecided while missing details are obtained. Choosing USDT, another available method or no order leaves the pattern and physical compatibility questions attached to the actual beads and supplies.
Finish with a sequence you can name, inspect and reproduce from your note. In the example, that means three checked A B B A blocks, with the blue-and-cream key retained. Proceed to construction only with instructions suited to the actual materials and intended object.