Home & Living
Mixing bowl prep station: give each step a clear landing place
Arrange bowls by task and reach so ingredients, active mixing and cleanup have a clear place without confusing a serving bowl with a mixer attachment.
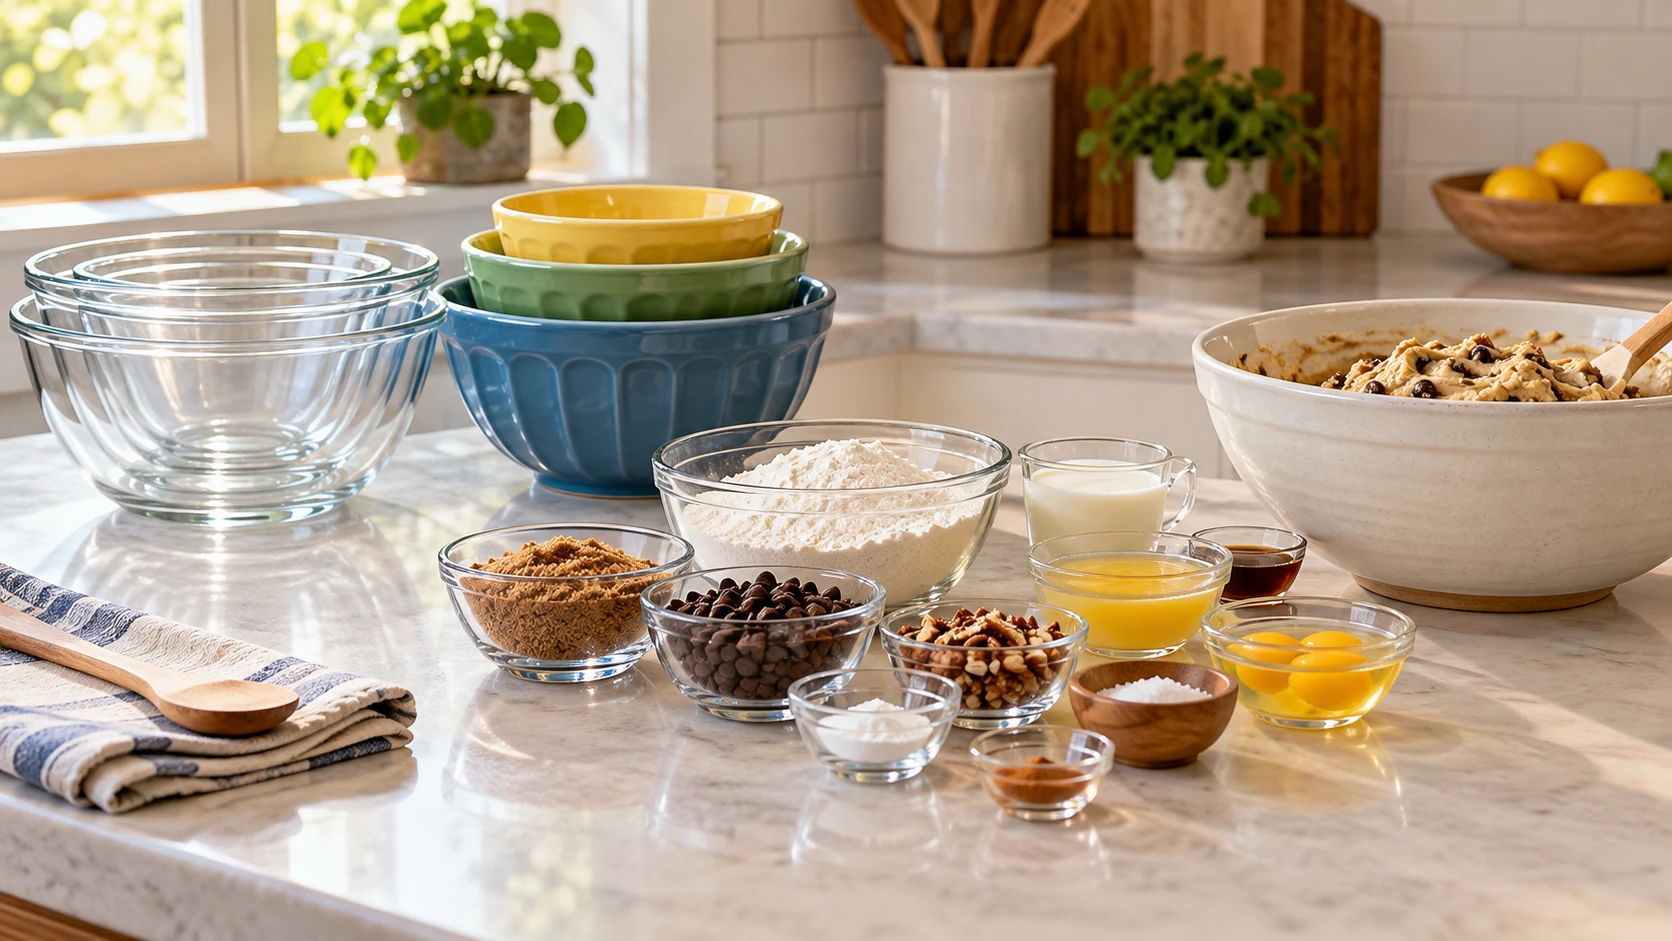
A busy counter is easier to work on when each ingredient has a place to land before it joins the main bowl. The useful change is small: set the bowls out in the order you will use them, leave one open space for the next step, and keep finished food away from the ingredients still being measured. This Mixing bowl prep station is a repeatable counter arrangement, not a promise that a particular bowl set will change the result of a recipe.
Two current listings show different ways to lay out that arrangement. The Libbey Baker's Basics glass bowl set is pictured as four clear bowls with green lids. A separate colorful ceramic nesting-bowl listing shows three patterned bowls of different sizes. Their photos help a shopper see bowl count and form. They do not verify oven, microwave, dishwasher, freezer or other material-performance claims for a specific delivered set.
Give the counter a beginning, middle and end
Start with the actual task you are about to do. Put ingredients that still need measuring on one side of the work area. Leave the center for the active mixing bowl. Reserve a clean landing place on the other side for the finished portion or for a tool that has been washed. This order keeps the next action visible and reduces the chance that a container gets set down over a list or a cutting board.
There is no need to occupy every inch with a matching bowl. A small recipe may need one main bowl and a cup for one measured ingredient. A larger prep session may use several small bowls for chopped items that go in at different times. Choose the number from the steps in the recipe and the space on the counter, not from the number advertised in a set.
Before starting, move aside the tools that do not belong to this task. Leave a place for the board, spoon, scale or measuring cup you will actually use. Check that a cabinet door or drawer can still open without striking a bowl. The point of the arrangement is to make the next step easy to reach, so test it while standing where you normally cook rather than judging it from a tidy photograph.
If two people share the kitchen, decide which side belongs to the person chopping and which side belongs to the person measuring. Put a common ingredient where both can reach it without reaching over the active bowl. The layout can change with the task. A baking session with many small additions needs different spacing from washing fruit for lunch.
Make a nested bowl work zone without losing the small pieces
A nested bowl work zone keeps unused bowls together until their turn. Set the stack behind the active work area rather than in front of it. Take out only the bowl needed for the next step. That leaves room for a hand to move a full bowl without clipping a stack or pushing a small ingredient cup toward the counter edge.
Check the stack's actual height and stability on your own counter. Bowls of different materials and shapes may nest at different depths, and a photograph cannot tell you whether every rim rests evenly in your set. Avoid piling a heavy item on a bowl that is still being used. If a stack feels unsteady, spread the pieces out or return unused bowls to storage.
The Libbey gallery shows clear bowls that let you see what has been measured without lifting a lid. The ceramic gallery shows patterned bowls that may make separate groups easy to distinguish visually. Those are visible design cues, not a food-safety or performance ranking. Choose a layout that lets you identify each ingredient from your recipe notes, especially when several pale powders or chopped items look alike.
Put the smallest prepared portion closest to the step that needs it. A little seasoning can sit near the main bowl, while a large batch of washed vegetables may need a separate clear landing area. Keep wet ingredients away from papers or devices on the counter. If the recipe requires chilling or holding food for a particular time, follow the recipe and applicable food-handling guidance rather than using the presence of a lid as a safety rule.
Use bowl set staging to follow the recipe order
With bowl set staging, arrange prepared ingredients in the sequence they enter the main mix. A row of small bowls can act as a simple visual checklist. Put a measuring spoon beside the next ingredient, then move the empty bowl to the cleanup side after it is used. This reduces the need to remember whether a step has already been completed while your hands are busy.
Do a quick dry run before adding food. Read the recipe once and place an empty bowl where each major stage would happen. Is the largest bowl too far from the cutting board? Can you reach the scale without lifting the active bowl? Do you need to carry a bowl across the room to the oven or sink? Adjust the positions while everything is empty.
Different recipes call for different separations. In a salad, one bowl may hold washed greens while another holds dressing until the last moment. In a batter, dry and wet ingredients may be kept apart until the recipe calls for combining them. Follow the recipe's directions for mixing order and food handling. The station is a way to organize those directions, not a substitute for them.
The published kitchen-scale tare guide covers zeroing a scale with a bowl and weighing ingredients. This guide stays with where the bowls sit and how a person moves through the counter tasks. If weighing is part of your recipe, keep the scale on a stable spot and use that more specific guide for the measurement step.
Let each bowl have one current job
Give the active bowl enough room for the mixing motion. A whisk, spoon or spatula extends past the rim, so leave hand clearance on the side you normally use. Place a bowl near the middle of the counter only if you can work without knocking an adjacent container. A measured ingredient can be farther back, because it does not need the same movement space.
When a bowl has been used, decide whether it is now a serving bowl, a storage container, or a dish for washing. Do not leave several half-used bowls in the active zone and expect to remember which one is clean. If a recipe uses raw ingredients, follow its handling directions and keep utensils and surfaces appropriate to that task. This article does not certify a bowl for any particular cooking temperature or sanitation process.
Lids can help with a planned transition from prep to storage, but use the exact product's instructions for closure and intended conditions. The Libbey listing pictures green lids; the colorful ceramic listing does not show the same lid arrangement. A product photo is not proof that a lid seals a particular food safely, and a staged meal is not proof that the bowl tolerates a heat source.
For a kitchen with little counter space, use two stages instead of laying out the whole recipe at once. Prepare the first group, add it when directed, clear the empty bowls, then prepare the next group. Keep one spot free for a hot or heavy item that may need to be set down later, following the surface and cookware instructions. A smaller visible station can still keep the recipe order clear.
Choose by the space you actually have
Measure the clear work area after the cutting board, appliance and sink-side tasks have taken their places. Then compare bowl footprints to that remaining area. The diameter printed in a listing may describe an outside rim, while the base and the mixing motion have their own space needs. Check the delivered set with the tools you plan to use before assigning it a permanent counter location.
Think about storage after the task. A stack of bowls might fit a cabinet but leave too little clearance to lift the top one without moving another item. Lids may require their own slot. Put the largest bowl where you can remove it without pulling out every smaller bowl first. The color or transparency that helps during prep may matter less than a comfortable storage and retrieval route.
The published mixer-bowl fit guide is about a bowl that must attach to a specific stand mixer. The glass and ceramic sets here are standalone prep bowls. They should not be described as replacement attachments, and a similar quart label does not establish compatibility with any mixer.
If the set includes several sizes, do not assume that every size is needed for every meal. Assign a large bowl to the step that needs room, a smaller bowl to one measured addition, and leave the rest nested until needed. A good kitchen routine comes from being able to see and reach the current step, rather than making every piece in the set visible at once.
Reset the station for the next task
After cooking, clear the active area first. Return unused ingredients to their appropriate storage, move used bowls to cleaning, and check whether any small cup remains behind the main bowl. Follow each product's delivered cleaning and storage directions. Do not infer dishwasher, microwave or oven suitability from an icon in a marketing image without verifying the exact item and its instructions.
Notice where the arrangement failed. If the measuring bowls kept drifting into the cutting area, move the staging row farther back next time. If one person had to reach across the active bowl, switch the sides of the preparation and finished zones. If a lid was always lost, give it a dedicated place before prep begins. These are small layout adjustments that can be tested in the next session.
A shared kitchen benefits from a quick handoff at the end. If someone else will use the counter next, leave the clean bowls nested in their usual place and put any loose lids where they can be found. Keep a note of a bowl that proved too small or too awkward for the task, rather than returning it to the same role by habit. The next meal can start with the better arrangement and still change when the recipe requires it.
Write down the station that worked for your usual task: which side held unmeasured ingredients, where the main bowl sat, and where used pieces went. You can change it for a different recipe, but a familiar starting pattern saves a minute of deciding where everything belongs. The final arrangement should leave the counter usable while making each bowl's current job obvious.