How-To Guides & Tutorials
Mask overlapping stamped images: a paper-mask tutorial
Practise a foreground-first paper-mask procedure, reveal a two-image overlap and choose the layer arrangement for your own stamped paper project.
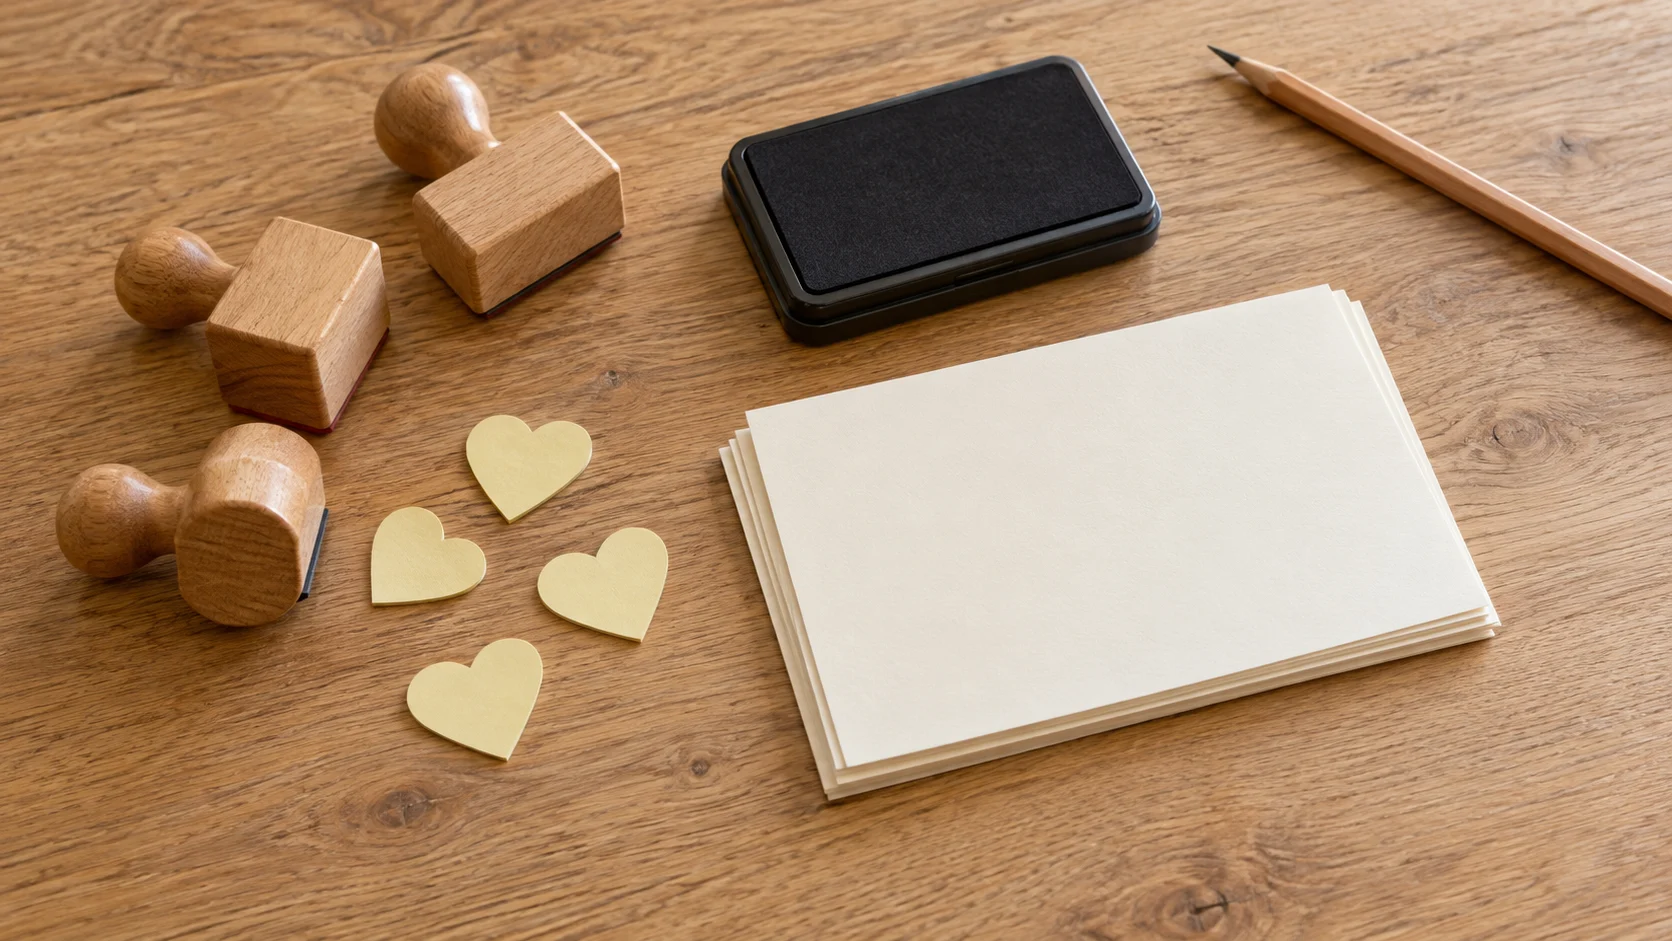
Practise how to mask overlapping stamped images with a small two-image exercise on spare paper. Choose a clear foreground, make the overlap, then look at the revealed result before deciding whether to use the arrangement on a finished piece. Use supplies whose ink, paper and mounting requirements you already know.
This tutorial follows Janette Kausen’s paper-masking method for Hero Arts. The small heart exercise below is an original practice arrangement. Follow the applicable instructions for your actual supplies when mounting, inking and making each impression.
Choose a small overlap you can explain
Give your first trial one clear purpose: show one image partly behind another. Choose a stamp with an outline you can recognise and cut around. You can repeat the same image for both positions. A particular motif, number of repetitions or finished card size is your design choice.
For an imagined practice piece, put a heart in the foreground and another heart slightly above it. Think of the upper heart as sitting behind the lower one. Draw that intention loosely on a separate scrap if it helps. You need only enough of the rear heart visible to make the relationship you want understandable.
Write “front” beside the foreground shape in the sketch. That gives you a specific answer when deciding which impression to make first. If you decide the upper heart should be in front instead, change the label before you begin. The sketch describes your intended arrangement; it does not predict the print quality of a particular stamp.
Keep the trial away from an irreplaceable letter, photograph or finished artwork. Choose a spare sheet you are willing to use for practice. Leave enough open paper around your first image to try the second position without crowding the edge of the sheet.
Check the supplies you actually have
The Hearts Rubber Stamp Set description is “1.” The Tim Holtz Cling Rubber Stamp Set, Numeric description repeats its title. Both list Unbranded. Included ink and mounting supplies remain unestablished.
A heart motif suits the imagined example because it gives us a shape to discuss. A numeral could make a different practice piece if its actual outline and your supplies suit the task. Choosing a particular number would change the picture you make; the foreground decision would still concern which impression you want the viewer to see in front.
Establish the requirements of your own stamp and consumables before beginning. Lay out the identified supplies you will use, along with spare paper and suitable full-stick masking notes. Have suitable scissors available for cutting the paper mask. Use them according to their own instructions and your ability to handle them safely.
Keep the imagined layout separate from the actual contents of an order. If you are shopping, resolve what the offer contains before counting it as a complete setup. You can practise with suitable supplies already available to you without buying the two linked offers for this exercise.
Start the foreground-first masking sequence
Stamp the intended foreground image first. Use your supplies’ applicable printing instructions. In the imagined heart exercise, this is the lower heart. Pause and look at its position before continuing the foreground-first masking sequence.
Look at that shape and decide whether you want to continue with this trial. If the first image is not one you wish to keep, start a new practice arrangement on another spare area or sheet under your supplies’ instructions. Masking gives you a sequence for overlap; it does not promise to repair an impression you already dislike.
Place the sketch where you can see it beside the sheet. Compare the intended foreground with the image you have just printed. If you accidentally printed the intended rear image first, you can redesign the composition around it or begin a fresh trial. Choose deliberately before cutting a mask for the wrong role.
For the example, imagine that the lower heart is now on the page and the space above it is still empty. You have completed the front position only. The next task is to cover that heart while making the second impression, with part of the second image positioned across the covered area.
Cut and place a matching paper mask
For a matching paper mask, stamp the same image on full-stick sticky-note paper, cut it out and cover the foreground impression. Begin with the mask needed for this two-image exercise.
Set the cut shape over the corresponding impression and look at the placement before proceeding. Compare the outline at the points where you intend the second image to cross it. If you cannot tell whether the mask is in the intended position, stop and inspect the paper trial closely enough to make that decision.
In the imagined heart arrangement, focus on the upper portion of the foreground heart because that is where the rear heart is intended to overlap. You can move the proposed rear position in your sketch if the composition no longer appeals to you. Keep the foreground decision you made in view.
Take a moment to identify the two pieces of paper: the practice sheet holds the foreground impression, and the cut note is the temporary cover. Knowing which piece you intend to remove will make the reveal easier to follow. Keep unused notes separate so they do not obscure your view of the trial.
Stamp the rear image and reveal the overlap
Stamp the rear image overlapping the mask, then remove the mask. In the example, compare the revealed result with your sketch: does the upper heart appear behind the lower heart in the way you intended?
Look first at the shared boundary, then at the whole pair. Describe what you can actually see on your paper. You might like the amount of the rear heart that remains visible, or you might wish you had placed it farther away. Those are observations about this trial and your preference.
If the relationship is difficult to read, keep the trial as a reference and sketch a different rear position beside it. Change one placement decision for the next practice piece. Moving the rear image farther upward, for example, is a different composition from changing which heart goes in front.
Do not label a disappointing result as proof that a retail model cannot be masked. Your observation belongs to the supplies and handling involved in that particular trial. Return to the applicable supply instructions for an actual printing or material problem before attempting another piece.
Repeat only the layer you intend
For more impressions, repeat the process, shifting masks as needed. Before adding another image, decide where it belongs in the arrangement. In an original three-heart example, you might want a third heart behind the pair you already made. Identify which existing images that new impression is intended to cross.
Draw the proposed third shape on the sketch before acting if you find the arrangement hard to picture. Label the layers with ordinary words you understand, such as “nearest,” “middle” and “farthest.” These labels describe your composition. They do not require equal spacing or a symmetrical design.
Keep the two-heart trial if you prefer its simpler appearance. Adding another image is an option, and the empty paper can remain part of the design. You may decide that a larger group would distract from the message you eventually want to write alongside it.
When comparing two practice arrangements, give each one a separate place on the sheet. A short note beside each can record which image you printed first and what you wanted to change. Keep the wording specific enough that you will understand it after putting the supplies away.
Compare two readings of the same practice piece
Imagine looking at a completed trial in which most of the upper heart is visible and only its lower point disappears behind the foreground heart. You might describe it as two separate hearts gathered together. Now imagine a second arrangement where only a small part of the rear heart remains visible. You may prefer the fuller pair because each shape has more presence.
Someone else making the same greeting might prefer the smaller glimpse. Ask what you want the picture to communicate. A card celebrating two people could give you a reason to retain more of each heart. A piece built around one central image could lead you toward a different choice. These are proposed meanings for your own project, not rules attached to either retail set.
If you use numerals, decide what the resulting image is meant to say. In an imagined birthday card, a decorative cluster of numbers and a clearly readable age have different jobs. Look at the practice result without supplying the answer aloud. Can you still read what you intended? If you cannot, choose another arrangement before making the finished card.
A friend can give a useful second reading. Show the trial and ask which image seems nearest. Let them answer before explaining the sketch. If their answer differs from your intention, keep that specific observation with the trial. You can choose whether the ambiguity interests you or whether the next version should make the relationship clearer.
Decide when the exercise has answered your question. If you can identify the intended front image and enjoy the amount of overlap, you have a reason to keep the arrangement. More practice pieces are useful when they examine a choice you still want to make. Leave the unused paper for a later project once you have chosen this one.
Use the paper trial to choose a finished arrangement
Place the completed trial in the orientation its intended reader would use. Look at the whole piece before deciding to repeat it on a card. An overlap that interests you close up may occupy more attention than you want beside a short message. Decide how the image and the words should share that particular piece.
The stamped-border layout tutorial explores message space and motif placement. Use that planning exercise when you want to arrange the words around a masking trial you have already chosen.
The wood stamp package-cost guide considers quantities and designs. If your trial has clarified the motif you want, carry that decision into any purchase enquiry. A preference for one small heart arrangement does not by itself create a need for a larger assortment.
Keep the practice piece you prefer with your sketch until you have finished the project. It records the visible arrangement you chose and the printing order you used. Write down the observation that made you choose this version, so you can recognise the same decision when returning to the project. Keep any unresolved material question beside that reference, and settle it before using the arrangement on a finished piece.