Tools & DIY
Field pass: how to use a measuring wheel from start to finish
A practical start-to-finish routine for setting up a measuring wheel, following a marked line, and keeping a complete field note.
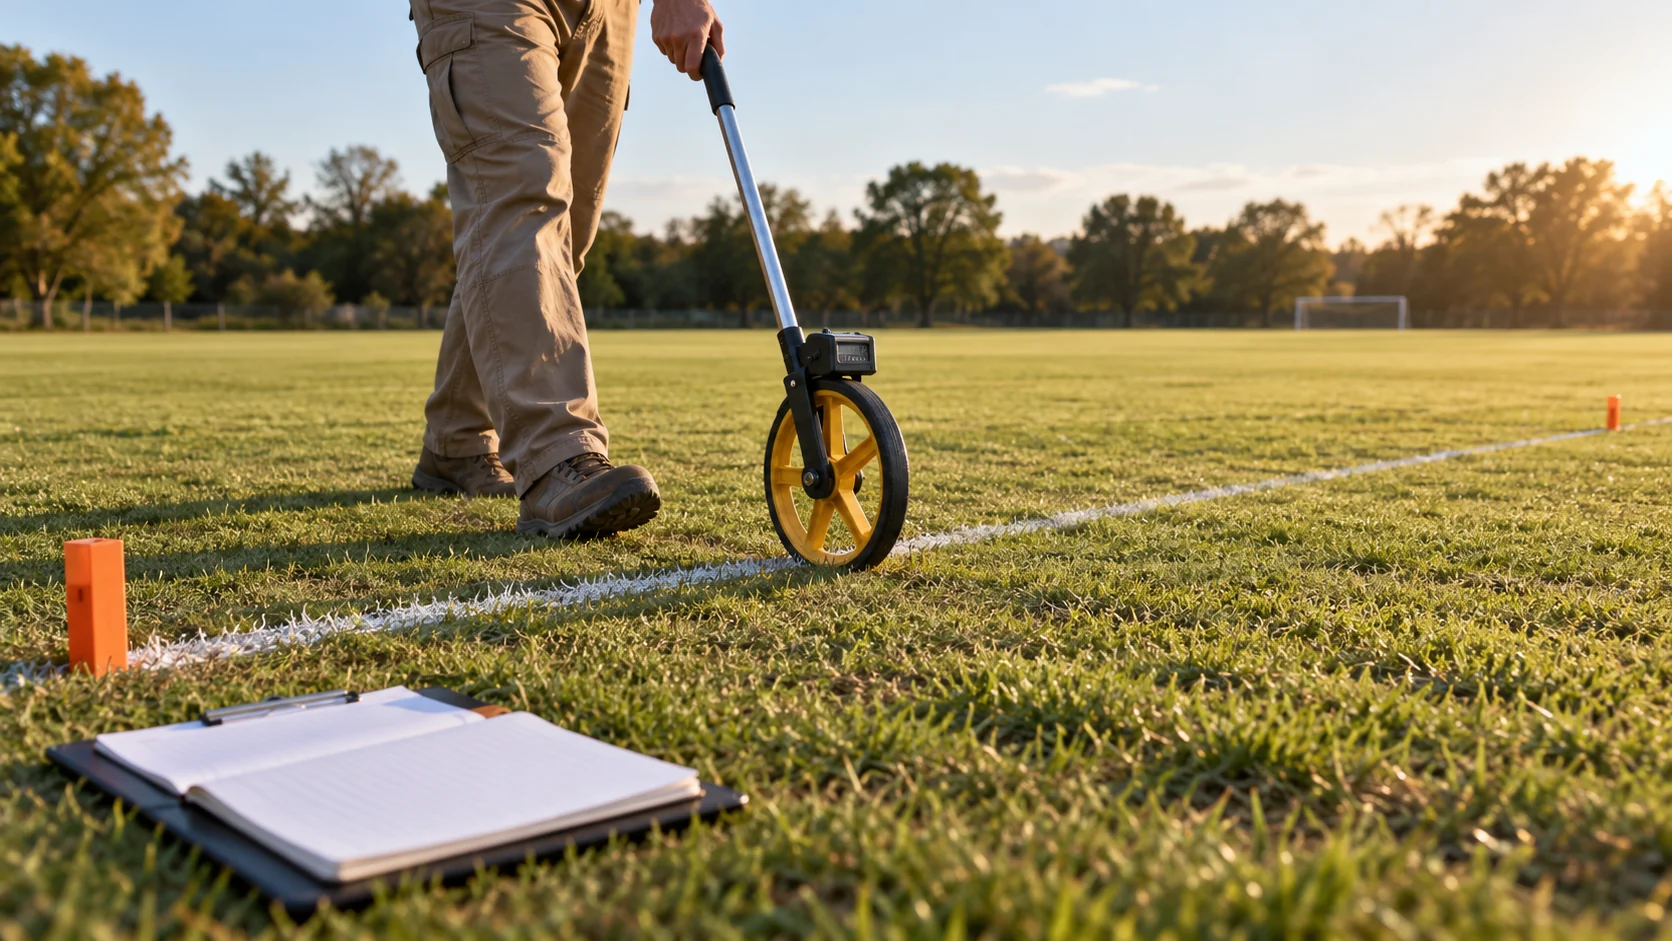
A measuring wheel gives you a counter reading for the line its wheel travels. Before walking, decide exactly which line you intend to measure. A path across a field might run from one marked corner to another, while a route around an obstacle follows a different line. The wheel cannot choose that route for you. This guide shows how to use a measuring wheel for one clearly marked pass and how to leave a record you can understand later.
Think of the task as a field note with three parts: a defined line, an observed counter reading, and enough context to repeat the walk. That structure works for a rough path estimate or a layout conversation where the line can be marked in advance. It also makes the limits visible. A reading made on a different route, with an unknown unit or an unrecorded stop, cannot be quietly substituted for the planned pass.
Check the actual wheel before you set off
Look at the display unit and the controls on the wheel in your hand. The CMW4DUAL dual-wheel listing describes a counter that reads in feet and inches, a telescopic handle secured by clamp locks, and a kickstand. The Johnson Level circular wheel listing describes a five-digit counter reading up to 99,999 feet, a push-button reset, and a folding handle. The listings give different details, so a control shown for one wheel should not be assumed on the other. Check your own unit and its instructions before using any reset, folding, or locking mechanism.
Set the handle to a comfortable working position using the mechanism your wheel provides. Check that it is secure and that the wheel turns freely. If the counter or wheel behaves unexpectedly, stop and consult the model's instructions. Neither listing establishes a measurement tolerance for a particular surface or a survey-grade result.
Do a short familiarization roll before you begin the line that matters. Watch the counter change as the wheel moves forward, then check how your model returns it to a starting reading. This is a control check, not a calibration claim. If the display has more than one unit or a setting you cannot interpret, use the model's documentation to settle that first. A number with no known unit will be hard to use later, even if you marked the endpoints carefully.
Make a brief control checklist for whichever wheel you have. Find the unit display, see how the handle holds its position, and locate any reset control described in that model's instructions. A product photograph may help you recognize the general parts, but it cannot show whether a lock is engaged or how a reset behaves in use. If a control is unfamiliar, stop and read the instructions for that exact model. Taking this minute before the marked pass protects the meaning of the later notebook entry.
Mark the line and its endpoints
Put a visible marker at the start and another at the finish. Note which edge or side of each marker defines the boundary. For a straight pass, choose the line between them and keep that same line throughout the walk. If you need a route around a corner, identify the turning point first and record the parts separately. A different path can produce a different counter reading even when the endpoints have the same names.
Write a short route label before walking: for example, “north field marker to gate post, along the chalk line.” This makes it easier to spot a later note that belongs to a different route. The guide to an ambiguous measuring-wheel reset record deals with what happens after an unlabelled reading has already entered a notebook. Starting with named endpoints helps you avoid that ambiguity.
Choose boundaries that another person could find again. “The fence” may be a whole side of a property; “the east face of the gate post” is a more usable finish point. If your wheel must pass around a bench or curb, draw that turn in a quick sketch and decide whether the turn belongs to the line you want. If the purpose is a rough planning estimate, describe it that way. If someone needs a legal boundary, construction layout, or certified dimension, a casual wheel pass and an informal marker sketch are insufficient evidence for that purpose.
The surface matters to the record as well. Grass, paving, gravel, and a change in grade can alter how you move a wheel along a line. You do not need to claim a universal correction factor. Note the surface and any place where you lift the wheel, avoid a hole, or leave the selected route. A future reader can then decide whether the run is useful for their purpose or whether it should be repeated under a defined method. The product pages do not supply surface-specific error figures, so do not attach one to the result.
Make one pass and preserve the raw reading
Place the wheel at the chosen start boundary. Set or note the starting counter reading using the procedure for your model. The Johnson Level listing identifies a push-button reset; the CMW4DUAL listing does not state a reset method. Keep the wheel on the selected line as you walk to the finish boundary. At the finish, stop and write down what the counter actually displays, including its unit. Do this before folding the handle or changing the counter.
A useful field note contains the date, route label, start and finish boundaries, wheel model or identifying description, starting reading, finishing reading, and display unit. If the start reading was not zero, preserve both readings so a later calculation has its inputs. Keep a note of any interruption, detour, or place where the wheel lost contact with the route. The counter alone cannot tell a later reader which ground line you followed.
Keep the motion tied to the intended route. Walk at a pace that lets you guide the wheel along the line and see where it contacts the ground. If you need to stop to move an obstruction, mark the interruption in the notes before continuing. Do not silently carry a counter reading across a section where the wheel was lifted. Depending on the job, you may need to restart the entire pass or treat the portions as separately labelled segments. This is a documentation choice you make before adding figures, since the counter cannot reconstruct the missing ground path.
At the finish, read the counter while the wheel is still at the selected boundary. Write the display exactly as you see it. A feet-and-inches display should retain both parts; a feet display should be written as feet, without inserting inches that were never displayed. If the counter has rolled past a display limit or you are unsure what a digit represents, preserve the observed display and flag the run as unresolved. A clean number in a notebook is less useful than an honest record of what the instrument showed.
Repeat as a separate check if the result matters
If you want another reading, return to the same start boundary and make a new pass along the same defined line. Write the second reading on a new line in your notes. A difference between passes is useful evidence that the route, wheel contact, reading, or setup deserves another look. It does not tell you which pass is correct. Do not silently average unlike routes or display units.
Make the second run independent enough to expose a mistake. Check the start marker, the finish boundary, the display unit, and the counter's starting state again. Then follow the same line. Two close readings can support confidence that you followed the same practical procedure; they do not prove the wheel's absolute accuracy. If the readings differ materially for your purpose, review where the line was followed differently and whether the wheel stayed in contact. You can also ask another person to watch the boundary crossings while you roll.
Keep each run on its own notebook line. For example, record “Run 1, east line, start zero, finish 48 ft 6 in” and “Run 2, east line, start zero, finish 48 ft 4 in.” Those figures are invented illustrations. Their value is in showing how to preserve the raw information, not in suggesting that either product has that precision. If you later report one planning estimate, retain the two original entries and explain how you chose the reported figure. Do not rewrite the notebook to make the passes look identical.
For a simple fictional example, suppose a marked line is expected to be about 50 feet long. A feet-and-inches counter might be recorded as “50 ft 2 in,” while a feet-only counter would have a different display format. Those are invented notebook examples, not readings from either listed product. Copy the actual digits and unit shown by your wheel; do not manufacture extra precision by converting a rounded display. If you are interested in the separate mathematical question of how a wheel's turns relate to its circumference, see the measuring-wheel circumference explainer. This field pass uses the wheel's own counter instead of a rotation-count calculation.
Suppose the route also has a corner. Rather than adding an unexplained third number to the first reading, name the pieces before measuring: start marker to corner, then corner to finish marker. Write the unit beside each result and note whether you reset between pieces. If you take a continuous counter reading through the turn, describe that as a continuous route and keep its start and finish counter states. These approaches answer different questions. The choice comes from the route you meant to measure, not from which arithmetic produces the neatest total.
Keep the result tied to the job
Leave the raw reading, route description, unit, and any interruption note together. For a purchase or setup choice, verify that the specific wheel's display, handle, and reset arrangement suit the work you plan to do. For any task that requires certified accuracy or a prescribed measurement method, use the applicable professional procedure and instrument. A clear field note tells you what you measured with this wheel; it cannot establish accuracy that the listing never documented.
When comparing wheel listings, begin with the notes your job requires. Will the final reader need feet, feet and inches, or another unit? Will you make several separate runs that call for a clearly understood reset? Can the handle be set for the person using it, and will the wheel travel on the planned surface? A product title cannot answer every one of these questions. Confirm the current seller details and the manual for the actual model before buying. The marked-line and raw-note routine then stays the same, while the exact controls come from the instrument you select.