Furniture & Home Organization
How to set up a boot tray in an entryway
Measure the entry, choose a stable tray sized to the boots, and keep a clear routine for water and grit.
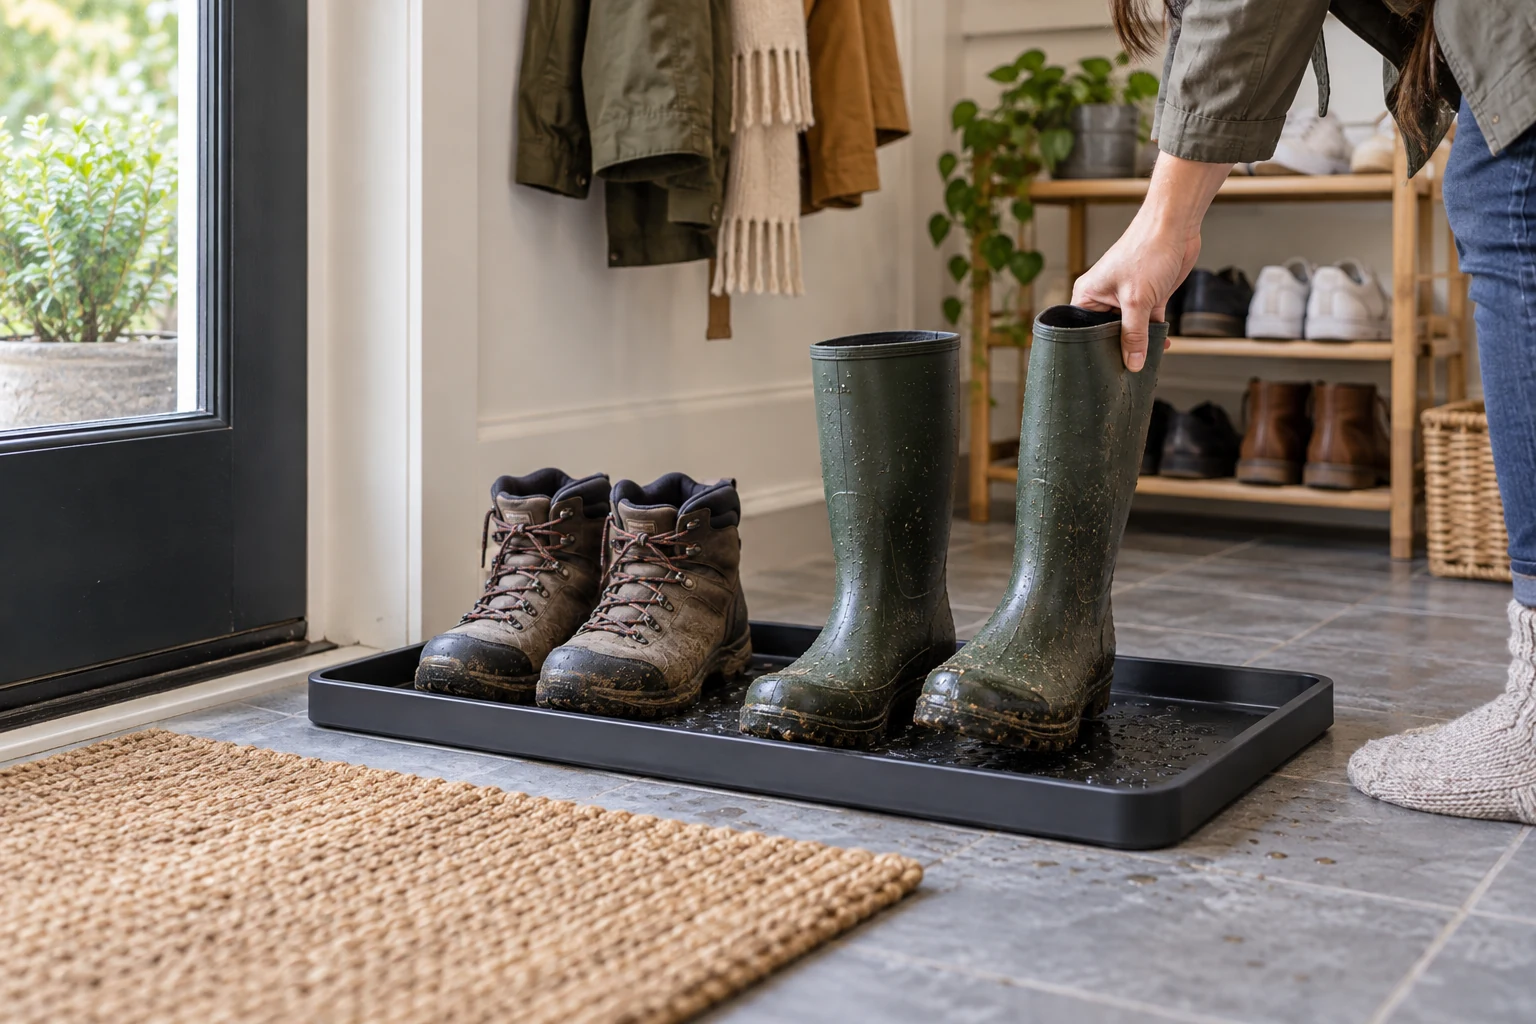
How to set up a boot tray in an entryway begins with the door, the floor and the number of shoes that actually arrive wet. A tray can give boots a defined place and contain some tracked-in moisture, but it cannot replace wiping up spills or keeping the walking route clear. Choose a level spot, check the door swing, size the tray to the footwear and plan who will empty and clean it. The best location is one people can use without stepping over boots or closing the door against the tray.
Map the space before choosing a tray
Open the entry door fully and watch where it sweeps. Mark the clear walking path from the threshold to the next room. Then note where shoes naturally come off. A tray across the narrowest part of that route may catch boots yet create a daily obstacle. A corner beside the door can work if it remains easy to reach and does not block a vent, stair, cabinet or required exit. Measure the usable floor space, not merely the wall length.
Count pairs that are usually wet at the same time. A household with two daily commuters needs a different footprint from one that stores many seasonal boots at the entry. Set the largest real pair side by side on paper and allow space to lift each one without knocking the others over. If a child's boots or a visitor's shoes also use the tray, add them to the practical count. This is a layout decision, not a claim that a seller's “large” label fits every household.
Include the rest of the entryway in the sketch. Mark where a doorstop sits, where a bag lands, where a stroller or cart is parked, and which side of the door the light switch is on. A tray can fit in the measured rectangle but still be impractical if it occupies the spot people need to stand while unlocking the door. If the entry has a low bench, check whether knees and boots have room to move between bench and tray. Walk the route with the largest pair in hand before buying. The trial reveals access problems that a floor measurement alone can miss.
The public shoe-rack guide for boots and shelf openings owns the separate vertical-clearance question for a rack. A shallow boot tray sits on the floor and collects footwear in a different way. You can use both if the tray has space for wet pairs and the rack leaves the entry route usable. Do not put dripping boots onto a shelf merely because the tray is full.
Compare trays as physical containers
One current Republeq black metal boot-tray listing describes raised sides, pads beneath the tray and a removable coir insert. A separate rubber boot-tray listing gives a 46.5-by-14-inch size and a removable coir-and-rubber insert. Those are examples of tray forms, not promises that either will hold a particular number of boots or protect every floor. Check the exact selected dimensions, edges and cleaning directions on the page you would actually order.
A tray's outside footprint is not necessarily its usable inside floor. Raised sides, an insert and curved corners can reduce the space where boots can stand. If the listing lacks an interior measurement, ask for it or compare a physical sample. Record tray length, width and edge height separately. A long tray may still be too narrow for a wide pair when boots must remain upright. A deep-looking edge may still overflow if left full of slush.
Material also changes the cleanup routine. A removable coir insert can catch grit, but it may need to be lifted out and dried or washed as the maker directs. A plain solid tray may be simpler to empty but leave boots standing in pooled water. Do not infer that metal, rubber or coir always stays slip-free on your floor. Look for the maker's floor-contact guidance and test placement without introducing water. If the tray slides or rocks while empty, it needs a different location or product.
Consider how the tray will be moved for cleaning. A wider unit may fit several pairs but be awkward to lift when water collects. A narrower one may be easier to empty yet leave too little room for ordinary footwear. Compare the tray's actual weight, edge shape and grip points if those details are stated. Do not assume the coir insert is a handle. If a person in the household cannot safely carry a full tray, plan an emptying method that does not require that lift or choose a different setup. This is part of fit, as much as the printed length and width.
Set the tray in a usable position
Clean and dry the floor where the tray will sit, following the floor finish's care directions. Set the tray flat and confirm that all feet or pads touch the surface. Open and close the door while someone watches the edge. A tray that clears the door when empty might catch a boot toe when loaded. Leave enough room to remove a pair without backing into a stair or blocking another person's way in.
Place the tray where a wet shoe can move from the door to the catchment area in one short, safe motion. If the tray is several steps away, people may carry water across the floor before reaching it. If it sits directly at the threshold, it may be stepped on or bumped. The right compromise depends on the layout. Ask the people who use the entrance to try the position with dry shoes before treating it as final.
Keep the tray separate from coat hooks, bags and other things that hang or swing into the walking path. The public coat-rack accessory guide owns whether supplied hanging parts fit a specific rack. This tray guide owns the floor-level landing spot for wet footwear. A combined entry station should let someone put down boots and hang a coat without reaching over unstable piles.
If there is a floor mat near the door, give it its own clear role. A mat may take the first wipe of a sole, while the tray receives footwear that will remain in place to dry. Do not tuck one under the other unless the products and floor can tolerate that arrangement. A layered edge can trip someone or trap moisture against the floor. Keep the transition flat and visible.
Use the tray without turning it into storage overflow
Put each wet pair upright within the tray's edges. Knock off heavy dirt outside where appropriate before bringing boots in, and follow any local rules for ice melt or contaminated soil. Do not pile footwear so high that a wet sole rests against the wall or clean shoes. If a pair needs to air out, leave room around it. A tray is a landing zone; it is not a sealed dryer or a substitute for material-specific shoe care.
For several users, agree on a simple capacity rule. When the tray is full, move a dry pair to its proper storage spot before adding a wet one. Do not solve a crowded tray by placing a second pair partly off the edge. Water can run past a boot onto the floor even when the boot's heel is inside. The household may need a larger tray or a separate dry-shoe area rather than a taller stack.
Give muddy boots and lightly damp shoes the same clear boundary but handle them according to their materials. A tray catches drips and grit; it does not tell you how to dry leather, lined winter boots or delicate footwear. Follow each footwear maker's care directions. If one pair tracks in a lot of grit, remove that grit before it grinds against another pair's finish. Empty water and loose debris often enough that the tray does not become an unpleasant shared pile. A simple daily glance is more reliable than waiting for a scheduled deep clean after several storms.
Watch the first few wet-weather days. Check whether moisture stays within the tray and whether people still have a clear walking line. A product page may say its raised sides contain water, but the actual outcome depends on the amount tracked in, the tray's level and whether anyone empties it. If water reaches the floor, wipe it promptly and revise the placement or use. Do not leave a slippery spot because a tray was supposed to catch it.
Empty, clean and reset it
Empty collected water before it reaches the edge. Lift the tray carefully with both hands if its size or contents require that, or remove the insert and manage water as the product directions allow. Do not carry a full flexible tray in a way that bends it and spills across the entry. If the tray is too heavy or awkward to move safely, use a different maintenance arrangement or smaller unit. Emptying is part of using the tray, not an optional final step.
Clean the tray and any removable insert by the maker's instructions. The metal listing calls its coir insert removable; the rubber listing describes a washable insert. Those claims are not permission to soak every part, use a harsh cleaner or put coir in a machine. Shake or brush out dry grit where appropriate, wash only as directed, and let all pieces dry before reassembling. Check beneath the tray too, since trapped moisture can affect a floor even when the top looks tidy.
At the end of a storm or wet season, inspect the tray for cracks, bent edges, loose pads or a damaged insert. A sharp edge or unstable base is a reason to stop using it until the maker provides a safe replacement path. If the tray was moved for floor cleaning, repeat the door-swing and walking-path check when you put it back. The old location may no longer be clear after furniture or a shoe rack shifts.
Make the routine easy to repeat
Keep a towel or floor-safe cleaning supplies nearby, but not piled inside the tray. A brief sign for household members can say which pairs belong on the wet tray and where dry shoes go. In a small entry, that distinction matters more than a decorative arrangement. If the setup works only when one person carefully rearranges every pair each evening, reduce the load or change the location.
The finished setup is a level tray sized for real footwear, positioned outside the door swing and walking path, with a clear emptying and cleaning routine. It should make wet shoes easier to contain while leaving the entry usable. Test it with the people and boots that actually use the space, then adjust the position if water, crowding or access shows that the first placement was wrong.