Bedding & Bath
Check handheld shower head combo compatibility before install
Compare two shower-head combos using connection fit, arm clearance, hose reach and a controlled first-use leak check.
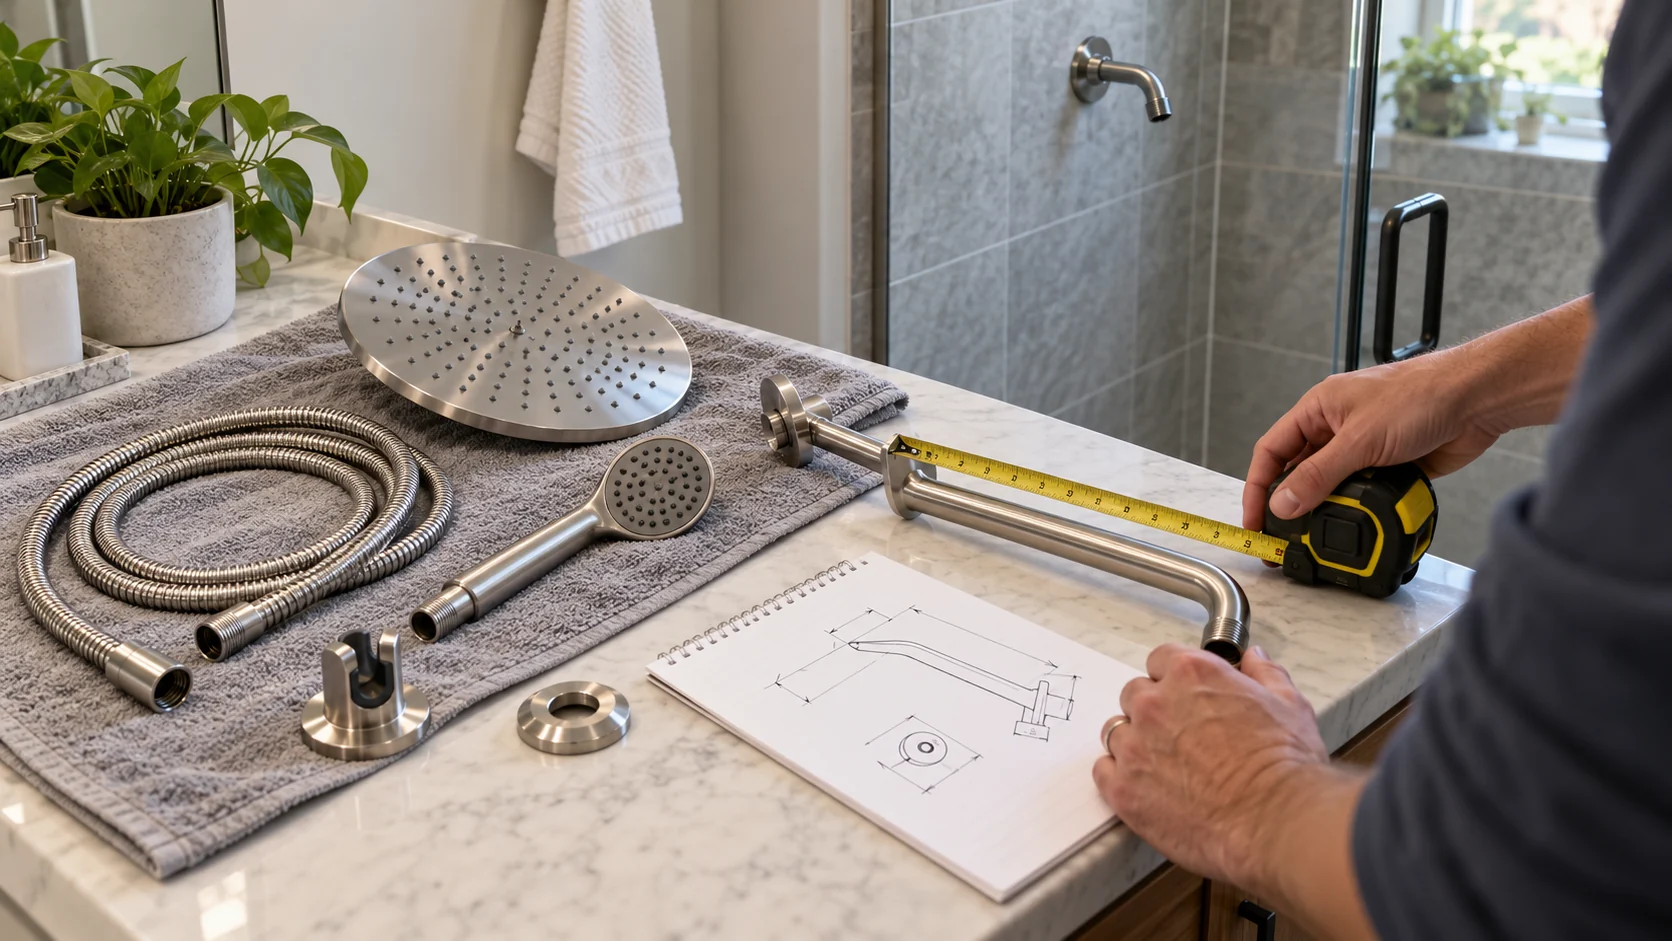
Handheld shower head combo compatibility starts with two goals: getting a broad overhead spray and reaching places a fixed head misses. But the appealing part of a listing is not always the part that decides whether the set works in your bathroom. Before choosing one, map the existing shower connection, the space around it, and where the handheld will rest. Then compare the actual parts in each package. That order prevents an attractive spray menu from distracting you from a poor physical fit.
Two current Republeq listings show why this matters. The Zovajonia 310-D12HZDTB shower head and handheld combo describes an approximately 11.8-inch rainfall head, an adjustable 11-inch extension arm, and a handheld unit. The OZERA 10-inch rainfall and handheld combo describes a 10-inch square head, an S-shaped extension arm that adds 8.1 inches of reach, a 71-inch hose, and two wall-mounted handheld holders. Each listing describes its own kit. Match those descriptions against your pipe, wall, enclosure, and local installation requirements.
Start with the connection, not the spray pattern
Look at the shower as it is installed now. Is there a fixed shower arm emerging from the wall? Is a handheld already connected through a diverter? Is there enough exposed thread and room to turn a new fitting without striking a shelf, tile edge, or enclosure? Take a clear photo before removing anything. Record the visible connection and the available space above, below, and in front of the outlet. Use the photo beside a kit diagram, then measure the room and follow the manufacturer's instructions.
Next, check the exact listing and package contents for the fitting that joins the new assembly to the existing shower arm. Both product pages describe shower-head combinations, but the saved descriptions do not establish a universal connector size, every included adapter, or compatibility with every existing fixture. If that information is missing, consult the product instructions or seller before buying. Avoid guessing from a photo of the finished shower. A kit can look complete in a lifestyle image while the part needed for an unusual installation is absent.
Do not use force to overcome a connection that does not seat naturally. Cross-threading or overtightening can damage a fitting and turn a simple swap into a leak. If the installed plumbing is damaged, nonstandard, or hard to identify, get qualified help. This guide is a shopping and setup checklist; it cannot diagnose hidden plumbing conditions. The same habit of checking the actual connection before relying on a listing appears in our countertop dishwasher faucet-setup comparison, although a kitchen faucet uses different hardware and should not be treated as a shower-installation template.
Check shower arm clearance in the real space
Shower arm clearance depends on more than the rainfall head's width. The extension arm changes where the head hangs; the handheld hose needs a route; and a holder needs a surface or mounting point. Stand where a user normally stands and imagine the overhead spray, then check whether the arm could put the head too near a wall, door, or tall user. Measure from the existing shower outlet and account for the adjustable range shown in the kit instructions. An advertised arm length does not tell you the final vertical clearance on its own.
The Zovajonia listing calls its rainfall head 11.8 inches wide even though its title says 12 inches. It also lists an 11-inch extension arm. Treat the 11.8-inch description as the more precise width claim, and verify package dimensions if a fraction of an inch matters near an enclosure. Its adjustable arm is a reason to check the final height and angle, not proof that it will clear every shower door. The listing describes a snap-fit installation and a short installation time; those are seller descriptions. Allow more time for measuring, reading the instructions, and checking for leaks.
OZERA describes a 10-inch square rainfall head and an S-shaped arm adding 8.1 inches of space for height and angle adjustment. Its listed 71-inch hose may help a person reach a tub edge or seated bathing position, but hose length alone does not tell you where the handheld can be parked. The listing says two wall sticker holders are included. Inspect the intended wall surface and the holder instructions before relying on adhesive in a wet area. If there is no suitable mounting location, plan for that limitation before purchase.
Check nearby storage as well. A bottle shelf or caddy can interfere with the shower head's sweep, the hose, or the handheld holder. Our guide to a shower caddy that keeps falling explains why the mounting method and surface need their own fit check. The caddy and shower hardware are separate products, but planning their positions together can prevent a cramped installation.
Compare handheld hose reach and useful spray modes
Once physical fit looks plausible, compare handheld hose reach with the jobs the wand must do. A wide overhead spray suits someone who wants coverage while standing still. A handheld can direct water to hair, a tub edge, or a pet without making the overhead head perform every job. If one person needs a gentle targeted spray and another wants a broad fixed spray, the switching behavior matters more than a large mode count in a title.
The Zovajonia page contains two mode descriptions that do not line up neatly: its title mentions a handheld with five modes, while the body describes three handheld spray modes—mist, massage, and rain flow. Do not resolve that discrepancy by assuming one count is correct. Check the current package instructions, images of the controls, or seller clarification if a specific mode is central to your choice. The page also describes the handheld as useful for rinsing hair, pets, and tub edges. Those are intended uses in the listing, not evidence that every user will find the spray comfortable or that every pet will tolerate it.
OZERA describes three ways to use its combination: rainfall head, handheld wand, or both. Its wording also mentions a jet spray and switching between experiences. Confirm how the diverter actually works before you count on simultaneous use; household water supply and the installed assembly can affect what the result feels like. Do not infer a measured pressure improvement from phrases such as “high pressure” or “full-body coverage.” The saved listing supplies no measured flow or before-and-after pressure test for your shower.
Make a short priority list: overhead width, handheld reach, easy docking, access to controls, and a place for the hose. If a feature does not change your daily routine, do not let it outweigh a known fit issue. For a person who mainly rinses a tub, a stable reachable holder and hose path may matter more than another overhead mode. For a taller user, head position and arm clearance may dominate. Choose the parts that fit the job and the room.
Read material claims as maintenance clues
The OZERA listing specifically calls out 304 stainless steel construction for its shower components and hose, while the Zovajonia listing describes chrome plating and an anti-drip design. Those phrases describe how the seller presents the products. They do not establish the material of every gasket, bracket, control, or hidden connector. Check the current package's component list if a particular material is a requirement for you. Cleaning and durability also depend on local water, handling, installation, and care.
Think through maintenance before installation. Can you reach the nozzles to wipe away deposits? Can the handheld be docked without twisting the hose sharply? Will the arm remain accessible for adjustment? A head that looks tidy in a product photo may be inconvenient if the enclosure door blocks a hand from reaching the diverter. The OZERA page mentions clog-resistant nozzles; the Zovajonia page mentions corrosion and leak resistance. Neither statement removes the need to follow care instructions or inspect connections after installation.
Consider finish separately from function. Both examples are presented in a silver or chrome-like appearance. A finish may coordinate with existing fixtures, but it will not correct a poor connection, a blocked hose route, or a holder placed where it cannot be reached. If coordinating finishes matters, compare the current product photos and the exact package variant. Color labels and photos can differ under bathroom lighting.
Use a controlled first run to find leaks
After selecting a compatible kit, keep the installation instructions beside you and retain the old parts until the new arrangement has been checked. Shut off or control water as directed by the manufacturer and your plumbing setup. Clean and inspect the mating surfaces that the instructions identify. Use only the seals, tape, adapters, and tightening method specified for the actual fittings. More sealant or torque is not automatically safer. If a joint cannot be assembled according to the instructions, stop and resolve the fit rather than improvising a stressed connection.
Before normal use, position the shower so you can see each accessible joint. Start the water carefully and observe the arm connection, diverter, hose ends, and handheld while changing modes. Check for drips while water is flowing and after it stops. Watch whether the hose pulls on the head or rubs a sharp edge. The point is to test the assembly as installed in your bathroom; a seller's “anti-drip” or “easy install” phrase does not replace that observation. If water appears behind a wall, at a damaged fitting, or where you cannot safely inspect it, stop using the installation and seek qualified help.
Try the handheld from its normal holder as well as in your hand. Can every intended user reach it? Can it be returned without dragging the hose over a caddy or enclosure track? Does the overhead head clear the door through its full movement? Check both the usual shower mode and any combined mode you expect to use. If a holder relies on adhesive, follow its surface-preparation and cure-time directions before loading it. Do not put the handheld in a position that could fall onto a person or fixture.
A practical choice between these two listings
Choose the Zovajonia option for further consideration if its broader described head and adjustable 11-inch arm better match the space you measured, and if the product instructions confirm your connection and the modes you need. Ask the seller to resolve its five-versus-three handheld-mode discrepancy before relying on a particular setting. The product page estimates installation time for a compatible, uncomplicated setup.
Consider OZERA if a 10-inch square head, its described 8.1-inch S-shaped arm, a listed 71-inch hose, and included wall holders fit your intended layout. Verify the mounting surfaces and the contents of the exact variant, especially if you expect to use both shower heads together. The listing's material and spray descriptions are useful starting points for questions, not measurements of performance in your own bathroom.
If neither package documentation answers your connection or clearance questions, wait before buying. One measurement or manufacturer answer is more valuable than a speculative installation. Your final checklist is small: confirm the connection, trace the arm and hose in the real space, check the holder location, verify the required modes from current instructions, and plan a visible leak check. That is how a handheld shower head combo becomes a practical bathroom choice rather than an attractive box of parts.
Keep the measurements and the product documentation together until the shower has been used several times. Recheck visible connections after the first few normal showers, when changing the handheld position, and after cleaning. If a small drip appears, identify its exact source rather than assuming the nearest visible joint is responsible. A wet wall or floor can reflect spray from an open door, a loose hose connection, or a leak that needs attention. The remedy depends on the cause and the actual fitting instructions. Keeping the original package information makes it easier to identify a seal or component if you need support.
Finally, distinguish a buying preference from a hard requirement. A wider head, longer hose, or metal construction may be attractive. A connection that fits, a reachable holder, and a stable leak-free installation are necessary for using the set. If a household member has limited reach or needs a seated setup, mock up the handheld's resting position before committing to adhesive or drilling. Ask the installer or product maker about any accessibility or structural question the listing cannot answer. That small pause at the planning stage can save the entire purchase from being judged by features that never work well in the actual room.