How-To Guides & Tutorials
How to fold an origami practice cup from one square
Fold an origami practice cup from one square, following the traditional reference pinch, crossing corners and separate flaps, with actual Pacon paper details.
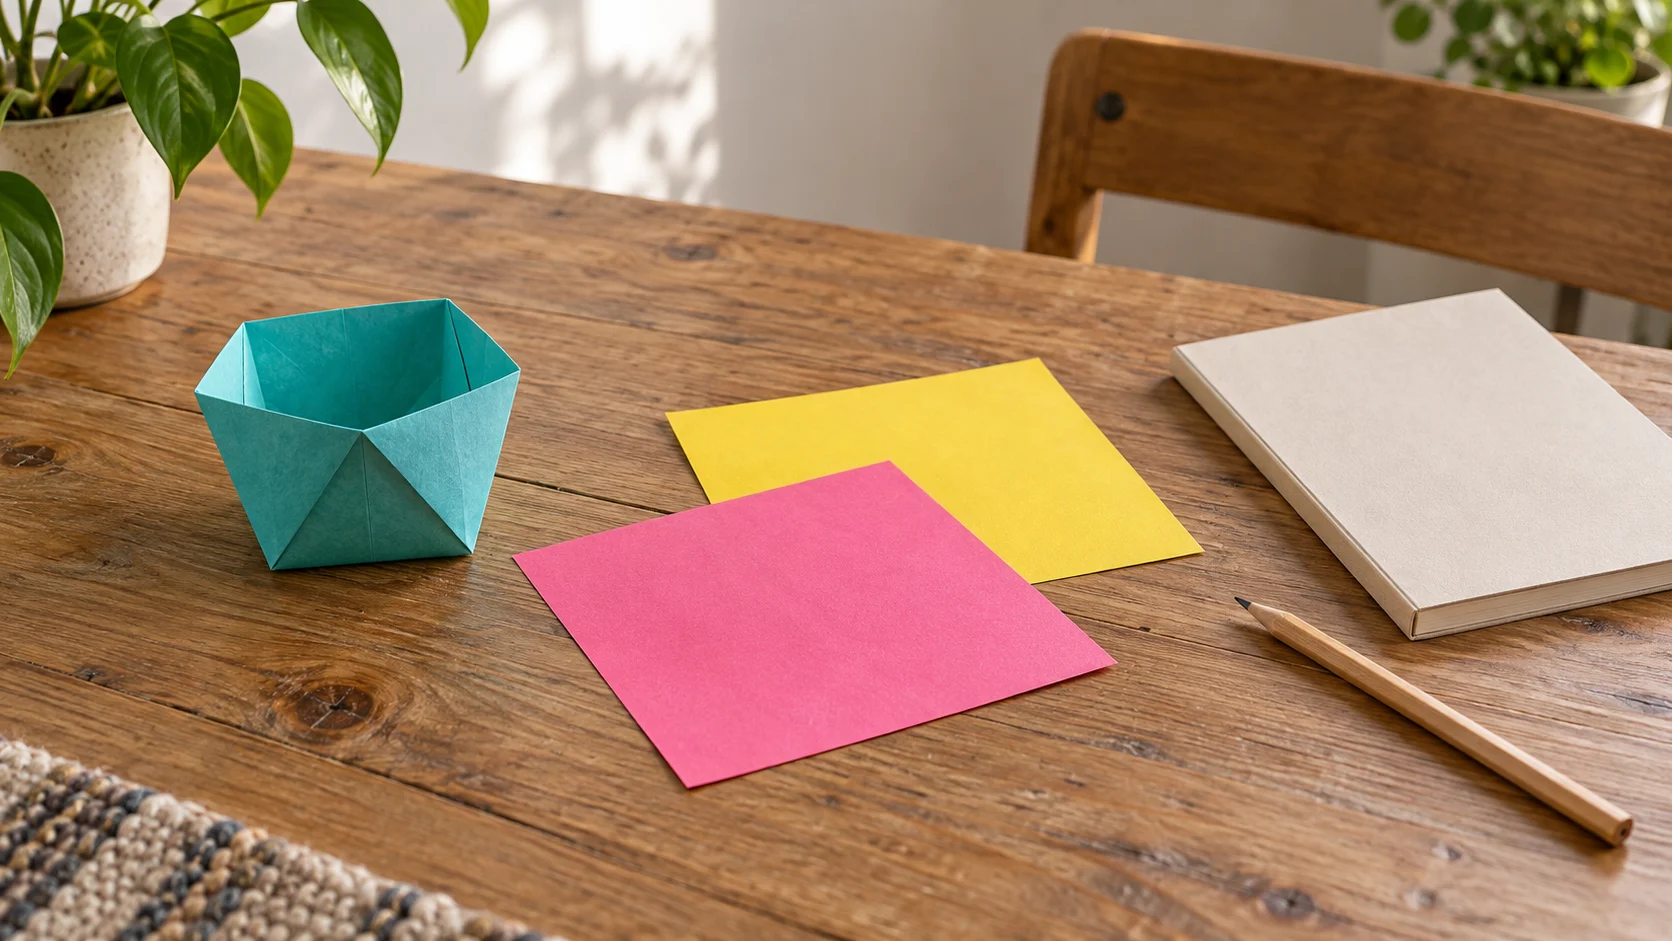
To fold an origami practice cup, begin with one square and keep the folding reference beside you. The traditional model gives you a small sequence to follow: a diagonal fold, a reference pinch, two crossing corners and separate front and back flaps. The useful result here is a paper model you can examine and fold again. This guide does not approve it for food, drinks or carrying objects.
Work through the sequence at your own pace. A completed shape is one outcome; understanding which layer moved is another. If you reach an unfamiliar instruction, look at that numbered diagram before making the next crease. You can leave the paper at that stage while you work out the movement.
Set out one square before opening a bundle
Choose a square sheet whose two sides and corners you can follow easily. Origami.me's public traditional cup tutorial uses a six-by-six-inch sheet of Kami and says a square sheet can be used. The two Pacon offers discussed below have different stated square sizes. Their descriptions provide material and package information, without establishing an exact finished cup size.
For a first practice session, take out one sheet and leave the rest together. Having a large bundle available does not make finishing a large number of models the task. One sheet is enough to follow the sequence once. Another can be useful later if you want to compare how you understood the same instruction on a second attempt.
Put the reference where you can consult it without covering the paper. If you share the space with someone else, agree where the current sheet will stay while either person looks at the diagram. This is a practical arrangement for following instructions, rather than a prescription for a special craft station or a new table.
Read the two actual Pacon paper descriptions
The Pacon nine-inch-square origami paper offer describes lightweight 30 lb bond-weight paper in assorted bright colours. It lists 40 sheets per pack and ten packs in the bundle, giving 400 sheets at that stated bundle level. Its colour field says Other, while the description says assorted bright colours. The offer does not identify a particular colour assortment for your intended model.
The Pacon 9.75-inch-square origami paper offer describes lightweight 30lb sheets in assorted bright colours. It lists 55 sheets per pack and five packs per bundle, or 275 sheets at that level. This description does not explicitly name the bond basis used in the first offer. Keep that wording difference with the size and package differences when comparing the two.
Both descriptions say instructions for folding shapes and designs are included and recommend the paper for ages six and up. Neither description identifies those included instructions as this cup tutorial. This article uses the separately identified public reference. The age recommendation also does not establish that every learner will follow the diagrams independently.
The 30 lb wording is a paper specification, not a capacity for the finished model. Neither selected description supplies paper thickness, a precision-cut tolerance or a tested load for a folded cup. Choose from the information actually given, and ask for additional material details if they matter to another project you have in mind.
Keep the reference and your sheet facing the same way
The method below follows Peter Saydak's public Origami.me tutorial for the traditional cup. Its seven numbered diagrams show the relevant corners, layers and fold directions. Use those diagrams alongside this short sequence, especially for the temporary pinch. This guide does not reproduce their artwork or require access to the separate paid printable PDF.
Before starting, distinguish a corner from an edge and the front layer from the layer behind it. These words identify different things in the instructions. If a sentence names the top layer, moving both layers would be a different action. Looking for that distinction in the diagram is more useful than guessing from the outline alone.
The opening reference uses a white side. Your selected sheet may have a different appearance on its reverse; the retail descriptions do not establish a white reverse. Treat that part of the reference as an orientation cue for the actual sheet you have, without assuming the paper will display the same colours as the illustrated example.
Making the origami reference pinch comes before the crossing corners
Start with the reference's white side upward and the square positioned as a diamond. Bring its bottom corner to the top corner, making the diagonal triangle. For making the origami reference pinch, bring the front layer's left edge to the bottom edge, mark only the point at the right edge, then return the layer. This mark is the next corner's target.
Bring the left corner to that pinch and crease. Next, bring the right corner across to meet the left corner, as the fourth diagram shows, and crease. Fold the front top flap down at the cup's upper edge. Mountain-fold the remaining top triangle behind, at that same upper edge. Separate the upper layers to open the model, then press its bottom flat.
Pause at the reference pinch if the diagram is unclear. That instruction is different from making a complete crease across the sheet. Look at the circled location in the second diagram and the destination shown in the third. Continue when you can identify that location on your own paper.
After a pause, name the next action before moving the paper. You might say, “This is the left corner, and this is the mark it goes to.” You do not need to narrate every fold aloud. The point is to connect the instruction to a visible part of the sheet when the words have become difficult to follow.
Opening the paper cup layers finishes this practice model
For opening the paper cup layers, consult the final diagram after completing the separate flap movements. Keep the front and back distinction clear as you compare your model with the reference. The diagram is there to help identify the movement; a photograph of a finished craft cannot show every earlier layer decision.
Once the model is open, leave it empty and examine the shape you made. You can notice which folded parts are visible and which are behind another layer. Describe what you can actually see. A model resembling the reference does not establish water resistance, food suitability, stability under a load or any other use beyond this folding exercise.
There is no completion-time target in this practice session. Someone already familiar with the sequence may move through it differently from someone learning to identify a mountain fold. Give yourself the time needed to follow the instructions. You can stop with an unfinished model and return to the relevant diagram later.
Use a fictional pause to recognise a layer question
Imagine Noor and Ellis folding separate sheets. Noor reaches the top flaps and asks whether both triangles should move toward the front. Ellis has already finished, but their model is sitting at a different angle. Comparing the two outlines does not immediately answer which layer the instruction names.
In this fictional example, they put the reference back beside Noor's sheet and find the fifth and sixth diagrams. Noor identifies the front flap movement and the separate back fold before continuing. Ellis turns attention to the same numbered stage rather than offering a new sequence from memory. The example illustrates how to use the reference; it is not a report of a tested class.
A second learner can help by asking which corner or layer the instruction refers to. Taking over the sheet may finish the object while leaving the question unanswered. If the learner wants to make the fold themselves, leave them room to connect the diagram with their own paper and decide when to continue.
Keep other paper tasks separate from this folding method
The postcard-writing afternoon guide discusses choosing a reader and shaping a personal message, with actual Compulabel and Avery printable-media descriptions. Its sheeted-card and cardstock information belongs to that writing project. It does not establish that those printable cards can replace a square of origami paper in this method.
That distinction matters when supplies already on your shelf look similar. Paper intended for one task can come with a different format and description. Identify the actual sheet before deciding what to do with it. You can keep a postcard message in draft and a folding model on the table without assigning the same material requirements to both.
If you are deciding whether an existing table arrangement can accommodate your materials, the coffee table layout planning guide separates actual room measurements from the stated dimensions of Safavieh Flora and Mozart tables. Its drawer and lower-tier questions can help you identify what still needs checking in a room plan. It supplies no universal craft-surface size or folding clearance.
You may already have an appropriate place to work. The folding task does not require buying either table, and a table's published footprint does not tell you how much of its top is currently available. Make the space decision from your actual arrangement and the materials you intend to set out.
Choose what to change on another sheet
If you have both stated paper sizes available, keep size separate from your progress in learning the sequence. A second attempt with a different sheet changes more than one part of the experience. You may remember the instructions more clearly while also holding a larger square. That comparison cannot establish that one offer is easier to fold or produces a better model.
You can instead use another sheet from the same available pack and revisit a single question. Perhaps you understood where the pinch belongs but lost track of the back triangle. Keep that question in mind as you return to the public diagrams. There is no need to assign a score to the model or turn a practice observation into a claim about the paper.
For a shared session, let each person decide whether to continue, start another sheet or finish for now. Different stopping points are possible within the same activity. A person who wants to study one diagram can remain there while someone else begins again. Keep each person's sheet identifiable so an unfinished fold does not get mistaken for another person's example.
Return to the fold you want to understand
If you choose to fold an origami practice cup again, decide which movement you want to follow more clearly. It might be the reference pinch or the change from the front flap to the back triangle. Follow the same identified tutorial and give that stage your attention. You do not need to turn the next sheet into a speed exercise.
Keep the completed model as a paper-folding example if you wish. The package description and the public instructions answer different questions: one identifies the offered stock, while the other gives the traditional folding sequence. Leave any proposed functional use for a separate assessment with suitable material information.
Conceptual scene for learning to fold an origami practice cup, with a whole empty generic paper model and separate square sheets; no exact retail paper or instructional fold result is demonstrated.