How-To Guides & Tutorials
Coffee table layout planning: record dimensions and drawer access
Record room boundaries, table dimensions and storage-access questions with Safavieh Flora and Mozart examples, keeping stated sizes and uncertainties separate.
Coffee table layout planning starts with your room measurements. Record the boundaries of the position you want to investigate, then draw a named table's stated footprint on a simple sketch. Add height and storage-access questions separately. The steps below use Safavieh Flora and Mozart as worked examples, including the limits in their descriptions. You will finish with a measurement sheet you can revise as information arrives. It keeps actual room measurements, published product dimensions and unanswered placement questions visible without treating any one of them as proof of the whole arrangement.
Step one: name the position you want to investigate
Choose the part of the room where you intend to consider a table and identify the furniture that will remain around it. Name the boundaries in your notes, such as the sofa edge and the room features you can measure. Avoid beginning with a statement that a particular table will fit. At this point you are defining the question. If more than one position is possible, give each one a clear identifier and keep the measurements separate. That makes a later revision easier to follow.
Write down what you need the position to allow. You may want to retain an existing route across the room or reach storage without moving another object. Record those requirements as your intended use. This guide does not supply a universal walking gap, reach distance or accessibility approval. The relevant requirement depends on the people and room involved. If you need an established standard or professional assessment, identify that need rather than turning an arbitrary gap in a sketch into a general rule.
Step two: measuring a coffee table position
For measuring a coffee table position, write the distance you establish between the named boundaries and include the units. Mark which direction you measured and the points used. Repeat a measurement where needed to resolve an uncertain reading, while retaining the uncertainty if you cannot establish it. A number without a direction can be difficult to use later. Keep the room measurement separate from a candidate product's dimension so neither gets mistaken for the other when you draw the plan.
Add fixed room features and the furniture you intend to keep. Use labels you can follow later. If you draw to a scale, state it and use it consistently; otherwise label the sketch as unscaled and rely on the written dimensions. A simple drawing can do this job well when the measurements remain beside it. Before comparing outlines, check that you can identify each boundary and its direction from the sheet alone. Keep an uncertain figure marked as uncertain so it does not acquire false precision when transferred to paper.
Step three: identify the exact table before copying its size
The Safavieh Flora 2-Tier Glass Round Coffee Table, Natural/Brass provides a round-table example. Its description gives dimensions of 29 inches wide by 29 inches deep by 13.6 inches high. Record those figures with the complete product identity and label them as stated dimensions. The description also warns that actual lengths and widths may vary from published dimensions. That limitation belongs with the figures, rather than disappearing when you copy them into a room plan.
The Safavieh COF5702D Mozart coffee table in distressed grey gives a rectangular storage example. Its current description identifies a grey table with two drawers. It lists 37.8 inches wide by 19 inches long by 17.8 inches high, then supplies assembled dimensions of 37.75 inches wide by 19 inches deep by 17.75 inches high. Preserve both sets with their labels. The address contains distressed-white wording, so keep the actual current model and grey description explicit when seeking confirmation.
Do not quietly collapse slightly different figures into one exact delivered measurement. You can draw a provisional outline using a clearly named set of dimensions while retaining the alternative wording as a question to resolve. The Mozart description also allows actual lengths and widths to vary. If the placement depends on a close fit, obtain the relevant confirmation for the actual item instead of choosing whichever figure makes the sketch work. The layout process is useful precisely because it exposes this uncertainty before a final position is assumed.
Step four: recording table footprint and drawer access
For recording table footprint and drawer access, draw the body outline first. Mark the Flora example as a round table with the stated 29-inch width and depth. Mark the Mozart example with the chosen provisional width and depth, and indicate which way it would face in the room. Keep the two candidates on separate versions of the sketch if the lines would otherwise become confusing. These outlines represent stated dimensions for planning. They do not establish the detailed base shape or exact position of every component.
Compare each outline with the room measurements and the requirements you wrote at the start. Name the boundaries or routes that remain unresolved. A body outline staying inside an available rectangle answers a narrower question than whether the arrangement works for your intended routine. Keep that distinction in the record. If the route depends on another piece of furniture moving, identify that change explicitly. Do not assume a temporary empty space will remain available once the room is in normal use.
Step five: add height as a separate check
Write the table's stated height beside the footprint rather than leaving it buried in the product description. For Flora, that is 13.6 inches. For Mozart, retain the two supplied height figures of 17.8 and 17.75 inches with their respective labels. If you need to compare a table with another object in the room, record that object's actual height separately. A top-down sketch cannot show that relationship by itself. Adding the figures makes the question visible without inventing a universal height relationship.
Describe what you intend to do with the surface and what information you still need to establish suitability for that purpose. Do not infer comfort, reach or physical accessibility from a product photograph. If a particular user requirement is decisive, obtain the relevant guidance for it. The product dimensions are a starting point for a specific question, rather than proof that every person will use the arrangement in the same way. Keep that requirement attached to the position under consideration.
Step six: keep storage access separate from the body size
Mozart's two drawers add a moving-part question. The description gives each drawer as 17 inches wide by 11 inches deep by 4.4 inches high. Those drawer dimensions do not, by themselves, specify the full opening travel or the required space in front of the table. Record the intended drawer-facing side and ask for the applicable access information. Avoid adding the drawer depth to the table depth as though the sum were a verified operating clearance. The source does not establish that calculation as the access requirement.
The Flora example is named as a two-tier table, but the information used here does not supply a separate access opening or the usable clearance between tiers. If your layout depends on placing an item on the lower level, obtain the relevant measurements before treating that use as confirmed. Keep this as a different question from the table's overall width and depth. A second level in the product identity does not establish the size of every object that can be placed there.
Put a short access note beside each outline: what have you established, and what still needs an answer? Keep a position provisional when the information decisive to using it is missing. You may have enough detail to draw the table body while still needing the drawer travel or lower-tier opening. Write that exact question on the sheet. It will then be available for a seller or manufacturer enquiry, instead of disappearing behind an impression that the table fits the room.
Step seven: record what the pictured setup does not supply
Both descriptions state that accessories in the photographs are not included. Keep your layout record limited to the actual table unless an additional item has its own verified order information. A lamp, tray or decorative object in a photograph cannot establish what you will receive or how the surface will work with your belongings. If you intend to use an accessory, add its own dimensions and requirements separately. This makes your plan reflect the items you actually intend to arrange.
Keep finish and color questions separate from the measurements as well. Flora is identified as Natural/Brass; the current Mozart description identifies distressed grey. Both descriptions note that colors can vary with a monitor. A screen image is therefore a different kind of evidence from a written dimension or an actual room measurement. If finish matching matters, obtain the relevant product information for that decision. Do not let a color assumption determine the model identity recorded on the measurement sheet.
Step eight: reconcile the plan before treating the position as settled
Review the sketch and list each item that remains unverified. You should be able to identify the room measurements, the exact table, the dimension set used, the intended orientation and any storage-access question. For a close placement, retain the description's dimensional variation warning and the need for actual-item confirmation. If the room or furniture arrangement changes, update the affected measurements before carrying the earlier conclusion forward. A plan belongs to the arrangement it describes, rather than every possible version of the room.
When the table is available for an appropriate check, use its actual dimensions and relevant instructions to reconcile the provisional plan. This guide does not prescribe assembly, lifting or installation steps. Obtain those for the actual product. Record any difference between the stated figures and the measurements you can establish, then revisit the position and unresolved access requirements. The useful outcome is a room record that matches the evidence you have, with remaining questions visible instead of a declaration that the drawing proved the final arrangement.
Keep the layout sheet with the purchase record
Save the measurement sheet with the exact model identity. A question about Mozart should carry its current grey description and both sets of dimensions; a Flora question should include the stated round-table size and any lower-tier information you obtained. Mark the next action beside the unresolved entry. You can then confirm a close measurement or access detail without rebuilding the room record from memory. If a photograph prompted an assumption that the written specifications never established, leave that assumption open until the relevant information arrives.
A coffee table order at republeq.com may involve a crypto payment question as well as a measurement decision. Before paying, inspect the options presented for the order. USDT belongs in the plan only if checkout offers it for that transaction; its availability must not be assumed from this guide. Retain the confirmation, order identity and evidence of payment with the model details you measured. That record can support a later enquiry without implying that payment establishes the table's dimensions, arrival date or suitability for the proposed position. Check the applicable terms, including the final refund restriction that applies to cryptocurrency orders. A description of a return window does not override that restriction or promise recovery of a crypto payment. Under the stated policy, the thirty day period starts on the original purchase date. Return eligibility depends on the item being unused and unwashed, with original packaging and the accessories, manuals and tags retained. Payment proof is also required. Seek support authorization and follow the instructions supplied for the actual order before sending anything back. Those conditions need to be considered before a purchase rather than treated as automatic approval afterward. If a delivery issue occurs, contact support within seven days and preserve evidence relevant to the order and the reported problem. An exchange or replacement is discretionary; reporting a problem does not guarantee either outcome. Ask for clarification wherever the terms leave your situation uncertain. Do not infer an exception because the table is part of a room project or because another payment method might have different conditions. Keep the support response with the purchase record. Your layout sheet can then remain separate from the transaction record while both identify the same product, and an unresolved payment or return question stays visible before the order is treated as settled.
The LiviNest and FFZ coffee-table placement guide for a shared reading room asks which piece in the two-table offer a published diameter describes. It also assigns different jobs to a sofa surface and a reading-chair surface. That is useful while naming the outlines on your sheet: keep each measurement with its exact table and intended position. A size from one piece cannot fill a missing entry for another. Its FFZ dimensions and LiviNest construction do not describe either Safavieh example here.
The LG and Danby refrigerator storage and apartment-dimension guide keeps an appliance's body measurements separate from doors and unresolved placement requirements. The same distinction helps when the table outline is complete but drawer travel or lower-tier access remains unanswered. Mark the body dimensions you can record, then keep the particular access question beside that outline. Refrigerator installation and ventilation requirements remain with those appliances; they provide no table clearance or drawer-opening distance.
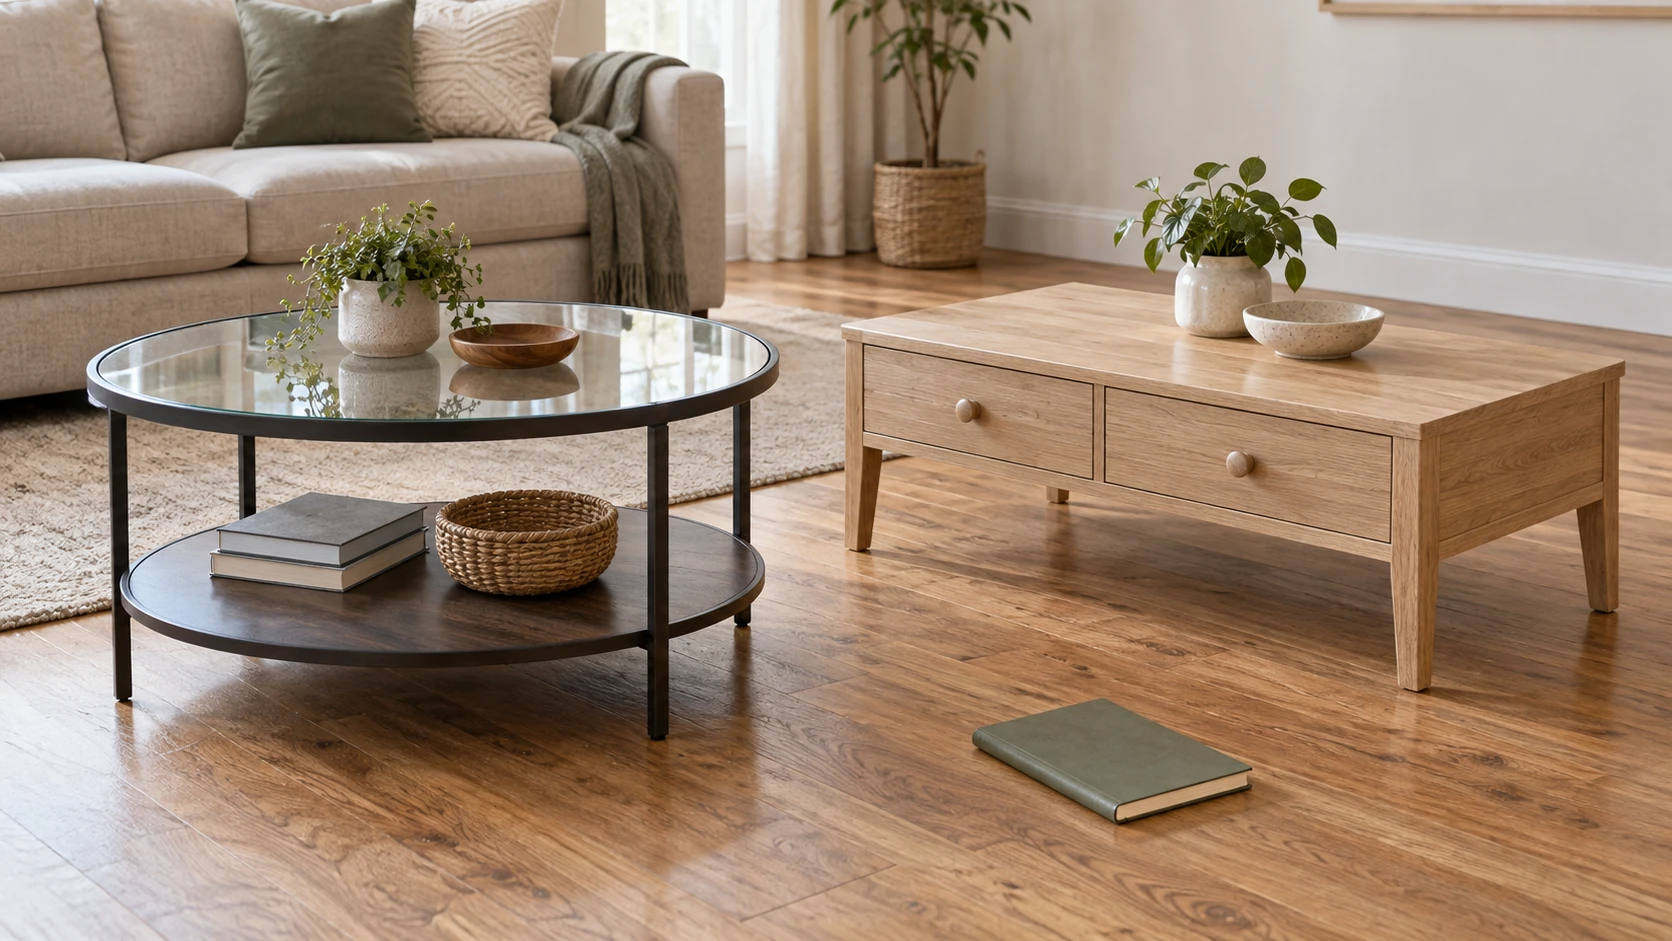
Conceptual editorial cover for Coffee table layout planning: complete generic tables beside a blank room-planning notebook; not exact retail models, measured room clearances or verified placement.