Kitchen & Appliances
electric kettle tea corner on a crowded kitchen counter
Arrange a small counter tea routine around the actual kettle, cup, outlet and drying area without relying on gallery scale or performance promises.
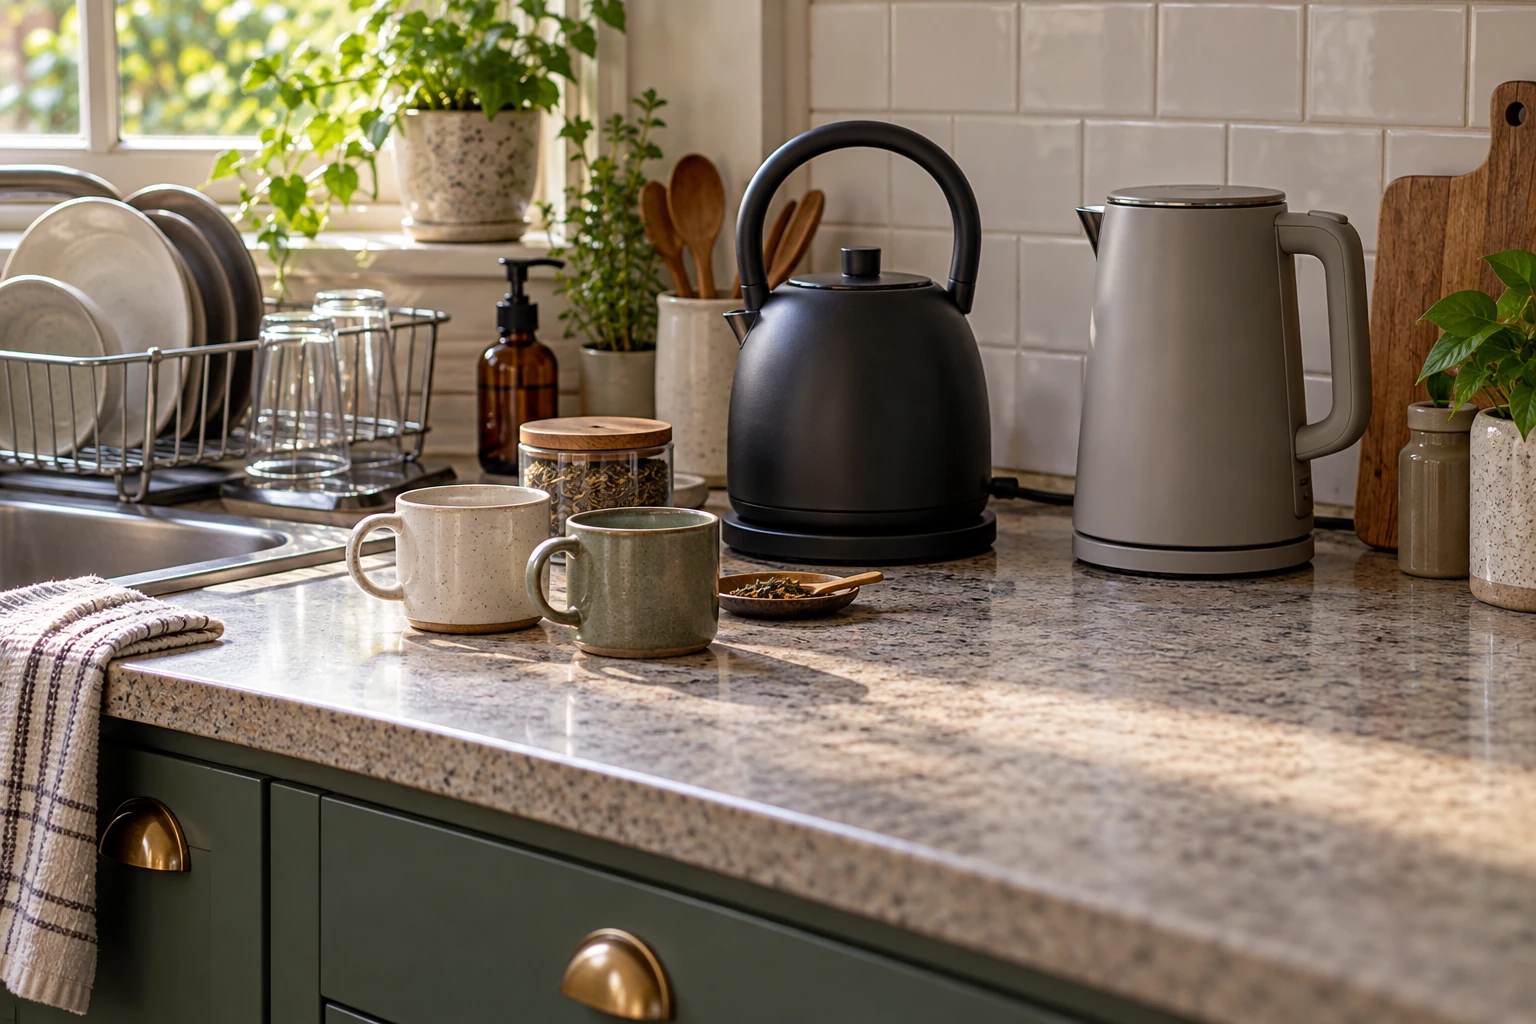
An electric kettle tea corner can fit on a crowded kitchen counter when the kettle, cup and drying area each have a defined place. The appeal is a small repeatable pause, not a new collection of accessories. Start with the counter and the exact kettle you already own. A few minutes spent arranging the landing area can make the morning routine easier to repeat without pushing other kitchen work out of the way.
The black BALMUDA MoonKettle listing shows a rounded vessel with a separate dark base and tall loop handle. The gray Haden Dorset kettle listing shows a more upright body, a separate base and a side handle. Their galleries show recognizable complete electric kettles, yet neither staged photo measures your counter. Use the pictures to understand what parts need a place, then plan from the delivered appliance and its own directions.
Start with one calm square of counter
Choose a patch near a suitable outlet where the kettle can sit as its manual directs. Clear it completely for a moment. Put back only the appliance, one cup and the item you use to make a drink. This reveals how much space the routine truly needs. If you normally use a tray, keep it; if you do not, there is no need to add one just to make the corner look like a photograph.
Notice what already happens in that part of the kitchen. Is it beside a dish rack, behind a cutting board, or next to a frequently opened cabinet? A tea corner works best when it respects those existing movements. Mark the place where you set a hot cup, where you reach for water, and where the kettle returns to its base. Avoid a layout that requires you to move the same object every time you make a drink.
Keep the outlet and cord in the sketch. The kettle needs an electrical location consistent with its manual, and the cord should follow that model's placement directions. A tidy photograph cannot establish whether a cord reaches safely across your real countertop. If the corner only works by stretching the cord behind other appliances or across a wet work zone, choose another location rather than styling around the problem.
Look at the counter from where you normally begin the day, not only from straight above. A shelf, wall cabinet or appliance door may make a theoretically open patch inconvenient. Try walking through the sequence: take a cup, fill the kettle as directed, return to the base, prepare the drink and clear the space. If one step sends you across the kitchen and back, adjust the layout while it is still just a sketch.
Give the kettle a home and the cup a landing spot
Place the actual base on the counter and make room around it as the manufacturer specifies. Then test the movement of lifting and returning the vessel while it is unpowered and cool. A tall overhead handle asks for clear space above the body, while a side handle creates a different reach. Try the motion with your own appliance and usual cup. Neither shape is automatically better; choose a spot that suits the way you move without crowding the adjacent work.
Set a cup where it can stay still while you use the kettle. You should not have to hold the cup in one hand while clearing space with the other. The cup's place can be a small patch of bare counter. Add a saucer or mat only if it serves your actual routine and is suitable for the surface and vessel. The goal is a repeatable motion from kettle to cup, with enough room to put each down deliberately.
Try the arrangement with the cabinet above open and closed. A tall handle or lifted lid may need more room than the body appears to occupy. If you keep mugs in that cabinet, check that reaching for one does not require leaning over the appliance. Use the maker's clearance and operating instructions as the constraint. The gallery images show shape; they do not supply the complete operating envelope for your counter.
Think about the cup after the drink is made as well. A morning setup can quickly collect used spoons, tea bags and empty packaging. Give those items a place in the normal kitchen cleanup path. It may be the sink, a compost container or a small dish that you empty each day, depending on your own routine. The plan should leave the landing area clear for the next cup rather than turning it into permanent storage.
Make room for the rest of the kitchen
A small tea setup often shares a counter with dishes. If water routinely appears beside a rack, use the dish-rack water path guide to identify its actual source before placing an electrical appliance nearby. Do not assume that moving the kettle a few inches solves a recurring water issue. The tea corner should be designed around the dry, usable part of the worktop and the directions for each appliance.
Other counter appliances have their own operating clearance and water paths. The countertop dishwasher placement guide illustrates why a staged photograph is a poor substitute for measuring the working area. The dishwasher is a separate product with its own installation needs; its guide is useful here as a reminder to keep every shared counter activity visible on the layout. Do not borrow its measurements or setup rules for a kettle.
Leave the ordinary food-preparation area available. If the tea corner occupies the only spot where a cutting board fits, it may be in the wrong place even if it looks pleasant. Test one usual meal-prep task with the kettle parked in its intended location. If the kettle has to be moved before each task, consider a different corner or a smaller routine with fewer items left out.
Consider when the counter is busiest. A corner that works early in the morning may collide with lunch preparation or evening dishes. Place a small paper marker where the kettle base would sit and leave it there through one normal day, with the real appliance elsewhere and unplugged. The marker lets you notice conflicts without treating a temporary trial as a permanent installation. If it is repeatedly in the way, revise the location before moving the kettle.
Keep the ingredients simple and visible
Put the tea or coffee you actually use where it can be found without covering the kettle base or crowding the cup. One small container or a nearby drawer may be enough. Do not buy a row of matching jars before you know what deserves counter space. A corner that is easy to reset after use is more valuable than one that holds every possible drink ingredient at once.
If several people use the setup, ask where each prefers to keep cups and drink supplies. A shared shelf or drawer can work better than leaving every mug on the counter. Keep the vessel and its cord as the fixed center of the plan; let the accessories change with the person and the drink. That makes the corner feel intentional without turning it into a display that interrupts normal kitchen work.
Write down a short reset routine: return the kettle to its approved resting position, handle the cup and used ingredients, and clear the landing patch. Follow the exact appliance instructions for cleaning, filling, operation and any water left inside. This article does not replace those directions or set a storage interval. A reset routine is useful because the counter is ready for the next drink and for the next kitchen task.
There is no need to keep every ingredient on display. If a box or jar is used only on weekends, a nearby cupboard may be its proper home. Save the visible counter space for the objects that earn their place every day. This choice can make a small kitchen feel less busy without requiring a new organizer. It also reduces the number of items you must lift whenever the surface is cleaned or used for cooking.
Use the two kettle shapes as planning prompts
The black BALMUDA images repeatedly show the round vessel, loop handle, curved spout and separate base in kitchen and table settings. The gray Haden images show its upright shape, side handle and a few close views of the lid and gauge. The galleries help you ask different layout questions: where does the handle travel, what area does the base use, and where will the vessel be set down? They do not prove how quickly either kettle heats or which drink tastes better.
Treat an advertised capacity figure as a product identifier, not as a reason to fill a vessel to a level that its own markings or manual do not allow. The right quantity for a particular morning depends on your actual drink and the maker's operating directions. A larger nameplate capacity does not necessarily require a larger tea corner if your cup, base and reach still fit comfortably.
Marketing panels may list controls, shutoff features or filter parts. Read the exact model's documentation if those features matter to your routine. Do not assume a photographed control is present on another version, or that a pictured collection of other appliances is included with the kettle. A collection panel can be useful visual context while saying little about what comes in the specific box you are considering.
Test a morning, then edit the corner
Try the setup for one ordinary morning without purchasing anything new. Notice which reach feels awkward. Perhaps the cup is too far from the kettle, or the tea container blocks the cabinet. Make one change and try again. A small routine is easier to improve when you can tell which movement changed. If two people use the space, let both try it before declaring the layout finished.
Keep a simple note of the final arrangement: kettle base here, cup there, drink supplies in that drawer. The note is most useful if the kitchen counter is often cleared for cooking. After a busy evening, it lets you rebuild the corner without relying on a staged photograph. It also shows which items truly belong on the counter and which only collected there over time.
Choose the everyday version of the corner over the elaborate version. A cup, an exact-model kettle and a clear landing area are enough to begin. Add a tray or storage piece only after a real use reveals a need. When a new appliance or dish rack changes the counter, redraw the arrangement and follow the current manufacturer directions. The habit should fit the room you actually have.
Give the kettle, mug and drying area separate places on the counter.