How-To Guides & Tutorials
How to crochet a practice strip from a starting chain
Crochet a practice strip with a counted starting chain, a first single crochet row and a turn, using the Craft Yarn Council’s stated right-handed sequence.
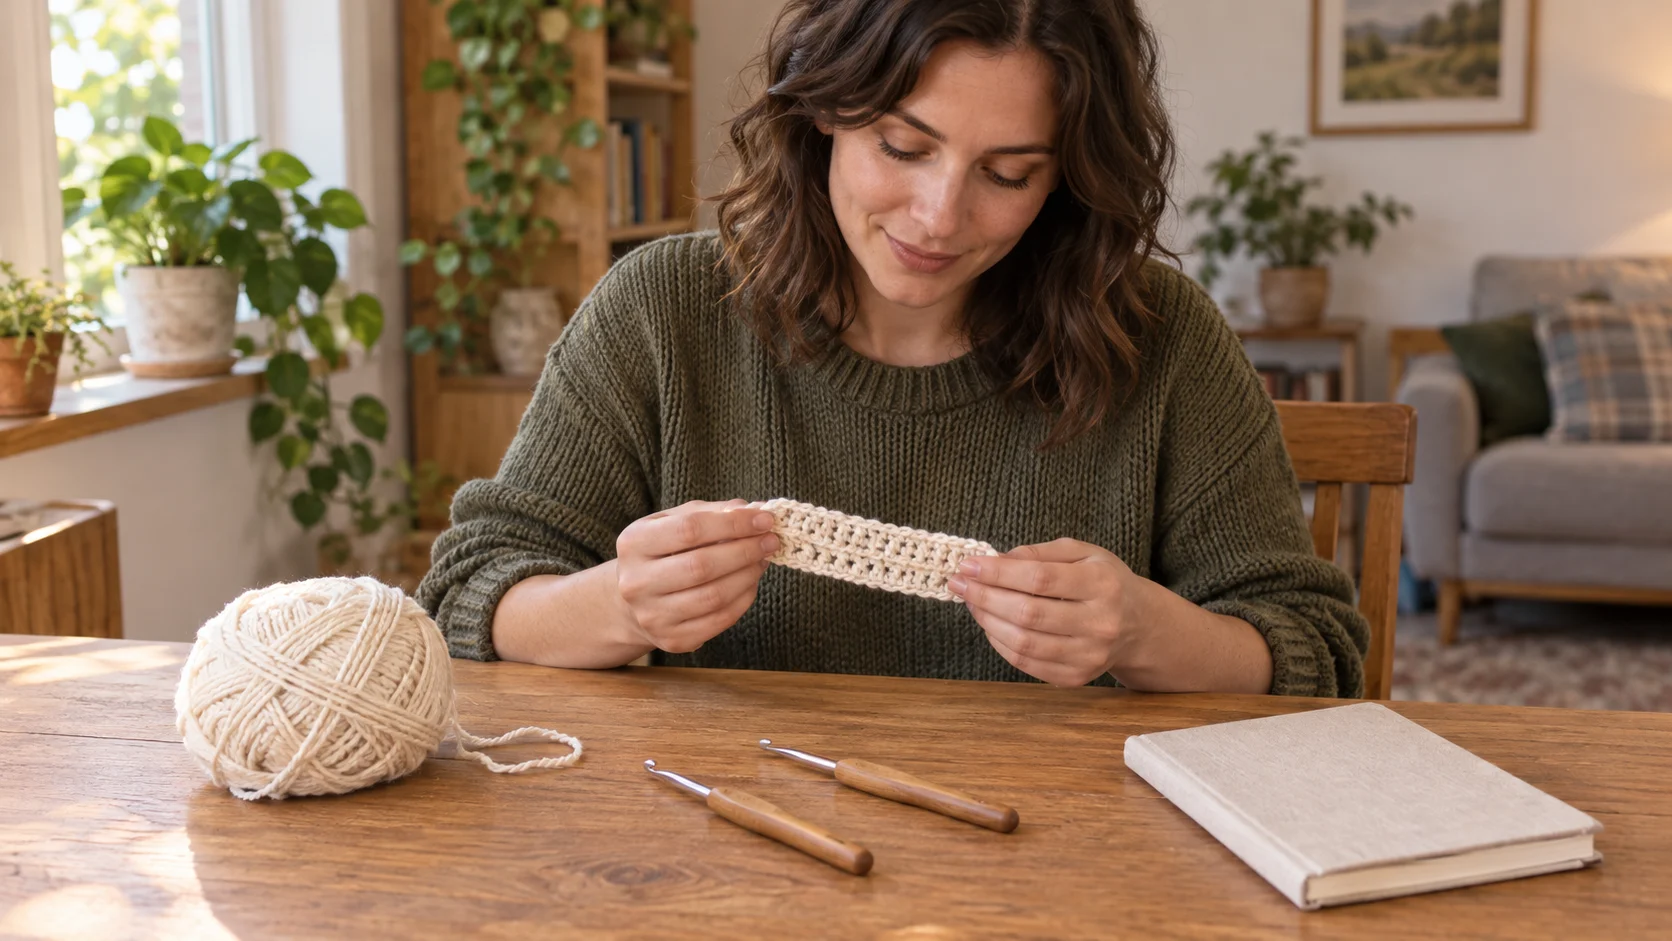
To crochet a practice strip, begin with a starting chain, work one row of single crochet into it, then turn and make another row. The useful result is a small piece in which you can identify the starting chain, the stitches above it and the edges where each row ends. Use this small piece to get familiar with those parts before choosing a larger project.
The right-handed sequence below follows the Craft Yarn Council’s Learn Single Crochet and Chain Stitch instructions. Its beginner block begins with 29 chains. This article keeps that starting count while using a short practice strip rather than promising the council’s finished block dimensions. Your yarn, hook and actual stitching affect the size of the piece.
Begin with the yarn, hook and starting loop ready
The council’s block calls for worsted-weight yarn, a size G hook, a yarn needle with a large eye and small scissors. Use the specified combination when following that setup, and confirm what the hook designation means for the actual tool you have. The two retail offers discussed below list millimetre ranges; this guide does not convert those ranges into a confirmed size G hook.
Begin with a slip knot on the hook, as the council’s first step shows. The chain instructions start from that loop. Making the slip knot is a separate action from making the first chain stitch: a knot already on the hook has not yet completed the first chain described below. If you are learning the knot too, establish that starting point before trying to count a chain.
Set the yarn where you can draw from it without continually rearranging the practice area. Keep the attached strand distinct from the short starting end. The attached strand is the one brought over the hook for each stitch. A quiet table and a short period you have chosen for the task can be enough; there is no need to prepare a whole project before learning this repeated movement.
Make one chain before trying to make many
With the hook in the right hand and the starting loop on it, bring the attached yarn over the hook from back to front. Catch that strand with the hook. Draw the caught yarn through the loop already on the hook. The council identifies this as one chain stitch, with a new loop remaining on the hook.
Pause after that first stitch. The loop on the hook is the starting position for the next repetition. Below it is the chain stitch you have just made. Keeping those two things separate now will help when the chain becomes long enough that it is tempting to count everything visible as another completed stitch.
Repeat the same yarn-over and pull-through movement. Each repetition draws a new loop through the previous working loop. You are extending one chain, rather than placing several separate loops on the hook for later work. If you are unsure what happened, compare the piece with the council’s chain diagrams before adding more stitches.
Counting the starting chain gives the first row its boundary
For counting the starting chain, count the completed chain stitches below the working loop. The council’s sequence makes one chain, then repeats the movement 28 more times to reach 29. One loop remains on the hook. That loop is stated separately from the 29 chain stitches.
You can pause after a few stitches and count before continuing toward 29. A pause is useful for keeping your place; it does not create an extra stitch. If you lose your count, return to the completed chain rather than adding a few more in the hope that the total is close enough. The next row depends on the starting count you actually have.
Look along the chain before moving on. You need to be able to distinguish the individual stitches well enough to locate the next one. Follow the sequence slowly enough to recognize each completed chain stitch. This guide supplies no guaranteed chain length, tension measurement or minimum speed for a new crocheter.
Working the first single crochet row changes the movement
For working the first single crochet row, the council tells the reader to skip the first chain stitch and insert the hook into the centre of the next chain. Draw the yarn through that chain and onto the hook. There are now two loops on the hook. Pause here with both loops on the hook before completing the single crochet stitch.
Bring the yarn over the hook from back to front again. Draw it through both loops on the hook. One loop remains, and one single crochet stitch has been completed. This differs from extending the starting chain: the stitch begins by entering an existing chain and includes the stage with two loops on the hook.
Work the same sequence in each remaining chain, including the last one. In the council’s 29-chain example, the first completed single crochet is followed by 27 more, giving 28 stitches in the row. The skipped starting chain and the completed stitch count answer different questions. Do not expect the row to have 29 single crochet stitches simply because the chain began with that number.
Take time to find the last chain. Stopping one chain early changes the row you have made. If the piece and your count disagree, identify which chain or stitch remains unresolved before starting another row. Adding rows would preserve the uncertainty underneath them rather than tell you where the first-row count changed.
Check the stage you are in before repeating it
When a movement becomes confusing, describe what is on the hook. One loop is the starting position for another chain. During a single crochet, drawing yarn through the existing chain creates two loops; the next yarn-over is drawn through both of them. These are the stages in the council’s instructions, so identifying the stage gives you a specific place to compare with its diagrams.
Do not treat the two-loop stage as two completed stitches. The loops describe what is currently on the hook, while the row count describes completed single crochet stitches. Likewise, the chain made at the end of a row has a turning role in this sequence. Keeping the names attached to the actions helps distinguish a count question from a question about the next movement.
If you cannot identify where the hook entered the chain or which stage you reached, return to the illustrated instruction for that action. The useful next step is to locate that particular movement. A longer strip would not answer it, and changing to another hook would not explain which action you had just performed.
Turn the work and begin the next row
At the end of the row, make one chain stitch. The council’s right-handed instructions then turn the work counter-clockwise while leaving the hook in that chain. The next row is worked into stitches of the previous row, rather than into another separate starting chain.
Make one single crochet in the first stitch and in each remaining stitch of the previous row. The council specifically includes the last stitch. At the row’s end, chain one and turn again if you want another row. Follow that same turning instruction consistently while learning this particular sequence.
For a short strip, a few rows can give you something to examine before deciding whether to continue. Look for the starting chain at the bottom and the rows above it. Count the stitches in a completed row separately from the turning chain. You can use the practice to locate the first and last stitches again, without setting a deadline for making a larger piece.
Keep the yarn end secure when you finish
The council’s finishing instructions cut the yarn from the skein while leaving a six-inch end. They draw the hook straight up to bring the yarn through the remaining loop, then thread the end into the yarn needle and weave it back and forth through the stitches to secure it. Keep this finishing step separate from simply putting the unfinished work down for a pause.
If you are stopping only to examine the piece and intend to continue, you have not yet reached that finishing action. Decide which result you want before cutting the yarn. The practice strip does not need to match the council’s seven-by-nine-inch block to show the chain and row sequence, and this article gives no dimensions for a donation-ready or pattern-ready piece.
Read the small strip before choosing a larger pattern
Lay the practice piece where you can see the starting edge and the later rows. Locate the first row you worked into the chain, then the next row you made after turning. This gives the written sequence a physical reference: a starting chain below, stitches worked into it, and another row worked into those stitches.
The council’s complete beginner block has a particular finished-size aim. This shorter exercise stops before that result. A strip can show the stitch sequence without establishing the size of a future garment or the amount of yarn it will need. Keep a larger pattern’s own materials, stitch counts and dimensions for the point when you choose that pattern.
Two hook offers describe tools rather than stitch results
The wood-handle crochet-hook set lists a 3.5–8.0 mm range. Its description calls the hooks smooth and ergonomic and names scarves and sweaters among projects. Those are the offer’s statements. They do not demonstrate comfort in your hand or establish that the set can complete every pattern.
The Xanye 20-piece crochet-hook offer describes a 2.0–7.0 mm range while also listing size 2.5 mm. Preserve both parts of that account when checking the selected package. The description does not provide a complete count of hooks at each size or resolve the relationship between the selected size and the whole set.
A millimetre value identifies a hook-size statement, while a chain count identifies how many stitches you made. The sewing-machine feature-label guide makes a related distinction with Brother’s stitch-function wording and Singer’s built-in stitches and adjustments. Its actual machine examples help explain why the noun beside a number matters. They provide no hook-size conversion or crochet method.
Choose what to practice next time
The sketchbook soundtrack afternoon guide treats a personal hobby session as something that can end with a small attempt and leave room to return. Its actual Select 4 Go and G2000 speaker descriptions keep music equipment optional. That approach can suit this practice session too: choose familiar background music or silence without making equipment shopping a prerequisite.
Before another session, look at the movement you want to repeat. It may be making a chain you can count, finding the last chain in the first row or identifying the first stitch after turning. Choose that specific part of the sequence rather than measuring the whole afternoon by the size of the strip.
To crochet a practice strip again, return to the verified starting combination and the same stated stitch sequence. The first chain, the two-loop stage of single crochet and the turning chain each have a distinct place. Return to the movement you want to practice next, using the strip to locate it.
Conceptual scene for learning to crochet a practice strip, with whole generic hooks, yarn and a small fabric sample; no exact hook size or stitch result is demonstrated.