How-To Guides & Tutorials
Cookie press tray planning: count rows before a batch
Build a cookie press tray planning worksheet with usable dimensions, whole rows, rotated cells and worked batch counts before preparing dough.
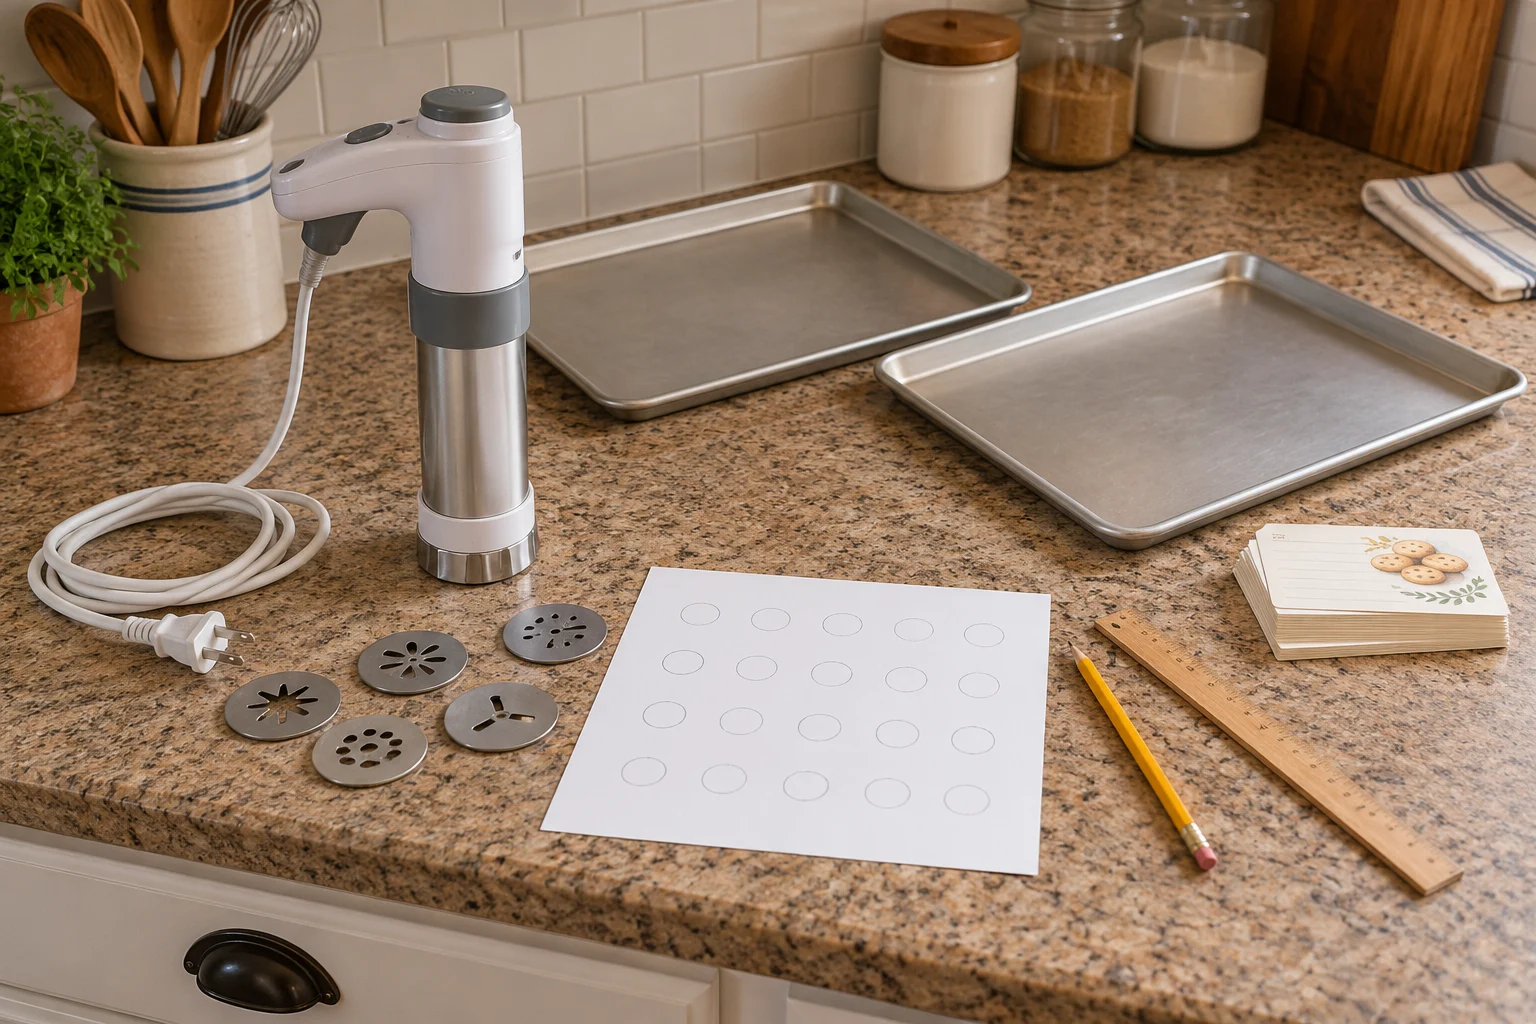
Cookie press tray planning gives you a paper estimate of how many positions fit on a tray before you prepare a batch. Start with the usable area and the space each cookie needs under your actual recipe. Then count complete rows and columns. The useful result is a tray-by-tray plan, with the unknowns still visible, rather than a promised yield from an appliance you have not tried.
This worksheet concerns planning space. It supplies no dough recipe, assembly procedure, baking temperature or operating directions. Use the applicable recipe and appliance booklet for those tasks. The dimensions and cookie counts in the examples below are invented arithmetic inputs, not measurements of the selected products or recommendations for how closely to place real dough.
Identify the press and the recipe you intend to use
The Cuisinart CCP-10 electric cookie press offer identifies a press with twelve discs and eight decorating tips. Its booklet distinguishes making cookies with discs from using pastry tips for decorating and filling. The Wearever Super Shooter 70123 offer is a separate electric food gun. Do not transfer the CCP-10's assembly or operating instructions to that product. Neither offer establishes the usable dimensions of your own baking sheet.
Put the recipe name and version at the top of the worksheet. Beside it, write the actual press and intended cookie design. Those fields keep a later change visible. A plan for one design cannot silently become a plan for another simply because the same sheet and press remain on the counter. Leave the spacing field unfinished until you have applicable guidance for the actual dough and design.
The holiday recipe-box guide addresses choosing the intended recipe version from household records. That is useful before doing the arithmetic: two cards with the same title may describe different versions. Its storage project does not establish that either recipe works in a cookie press. Confirm that separate question under your actual equipment's instructions.
Record usable baking sheet dimensions
Give each tray its own line. Write its total available rectangle, the borders you intend to leave unused and the resulting usable rectangle. For this worksheet, usable baking sheet dimensions means the rectangle you have established for positioning cookies under the relevant recipe and equipment guidance. A tray's external name or advertised size does not automatically supply that rectangle.
For an invented example, Tray A has a planning rectangle twenty-four centimetres wide and thirty-two centimetres long. Suppose the chosen plan excludes two centimetres along each of its four sides. Its usable width is twenty-four minus two minus two, or twenty centimetres. Its usable length is thirty-two minus two minus two, or twenty-eight centimetres. These borders are assumptions for the arithmetic, with no recommended value for a real tray.
Write both subtractions down. Removing one border from a dimension while forgetting the opposite border creates an oversized plan. Similarly, do not subtract all four borders from the width: the front and back exclusions belong to the length. A quick rectangle sketch, with the two horizontal and two vertical exclusions named, makes that bookkeeping easier to check.
Choose a cookie spacing worksheet cell
Use one rectangular cell to represent the space allocated to a cookie, including the clearance required by the applicable recipe. The cookie spacing worksheet cell is an allocation of room, not an assertion about the disc's diameter or the final baked cookie. The opening in a disc alone does not establish how large a particular dough will become.
Keep the cell's width and length in separate boxes. A square cell has the same value in both; a rectangular cell does not. Record where those choices came from, such as the applicable recipe's arrangement instructions or a previously established method for the same batch. If you lack a justified spacing choice, the worksheet can remain a blank template. Filling it with a guess would produce a precise-looking count from an unresolved input.
The holiday cookie-shape planning guide considers occasion and appearance through actual cutter sets. Those cutters are separate tools from press discs. Its discussion can help describe a visual theme, while this worksheet addresses allocated tray space. A preferred star or flower shape does not, by itself, settle the cell dimensions.
Count complete rows and columns
Continue the invented Tray A example with a four-by-four-centimetre planning cell. Divide the twenty-centimetre usable width by four: five complete cells fit across. Divide the twenty-eight-centimetre usable length by four: seven complete cells fit along it. Multiply five by seven to get thirty-five allocated positions. Label the result “paper capacity under these assumptions,” so the number stays attached to its inputs.
The rule is to count whole cells in each direction before multiplying. For a different invented Tray B with an eighteen-by-twenty-six-centimetre usable rectangle and the same four-by-four cell, eighteen divided by four gives four complete cells and two centimetres left. Twenty-six divided by four gives six complete cells and two centimetres left. Four times six gives twenty-four positions.
Multiplying the usable area and dividing by the cell area would give twenty-nine and a quarter for Tray B. That number is not the number of positions in this regular grid. Its leftover strips cannot automatically be combined into extra full rows. The row-and-column method preserves the shape constraints that an area-only calculation loses. This worksheet makes no claim about an optimized staggered arrangement.
Try both orientations for rectangular cells
Suppose a separate hypothetical design uses a four-by-five-centimetre cell on Tray A's twenty-by-twenty-eight usable rectangle. In the first orientation, five four-centimetre cells fit across and five five-centimetre cells fit along. That gives twenty-five positions. There are three centimetres left at the end of the length, but that remainder does not complete another five-centimetre row.
Rotate the cell on paper. Four five-centimetre cells now fit across the twenty-centimetre width, while seven four-centimetre cells fit along the twenty-eight-centimetre length. Four times seven gives twenty-eight positions. In this example, rotation adds three positions within the two simple grids tested. The advantage follows from these particular dimensions; it is not a general rule that rotating a design increases capacity.
Keep both calculations rather than overwriting the first. This leaves a clear reason for choosing an orientation and makes an input error easier to find. The worksheet compares uniform rectangular grids only. It does not prove that either arrangement is the largest possible packing, and the applicable recipe may restrict which arrangements are sensible for the real batch.
Translate positions into a batch plan
Return to the square-cell examples: Tray A has thirty-five paper positions and Tray B has twenty-four. Together they provide fifty-nine positions when both are available for allocation. For an invented target of one hundred and twenty cookies, two complete allocations cover one hundred and eighteen. Two positions remain for a partial allocation. That is a planning count, not a statement that the chosen recipe produces exactly one hundred and twenty cookies.
Keep “tray load” separate from “oven round.” Filling A and B once accounts for two tray loads. Repeating that allocation accounts for four. Placing the final two cookies on one permitted tray accounts for a fifth partial load. How those loads enter the oven depends on the actual oven and recipe instructions. The worksheet does not establish that two trays can bake together or that either tray is ready for immediate reuse.
Also distinguish a desired serving count from an expected batch yield. If the recipe gives a different yield, retain that number alongside your target. Do not alter the dough quantity or recipe ratios merely to make the worksheet total convenient. The sheet identifies a capacity question; it supplies no recipe-scaling method or guarantee about the number of successful cookies.
A smaller target can leave part of a tray deliberately unused. With an invented target of fifty and the same thirty-five and twenty-four positions, one full allocation on A leaves fifteen to place on B. Nine of B's paper positions remain unused. Write fifteen as the planned quantity for that load, rather than recording twenty-four simply because that is its capacity. Capacity and intended quantity answer different questions.
If you want to compare two proposed plans, keep the target constant. A plan containing more available positions is not necessarily needed for the intended quantity. Compare the number of planned loads and the empty positions, then consider your actual equipment constraints separately. This avoids treating the largest grid as an automatic reason to buy another tray or prepare a larger batch.
Check units and changed inputs before using the plan
Use one unit throughout a calculation. For a paper exercise, a twenty-centimetre width is two hundred millimetres; a four-centimetre cell is forty millimetres. Both versions give five cells across. Dividing twenty by forty would mix units and create the wrong result. Mark the unit next to every input, even when the figures seem familiar.
Recalculate when the tray, margins, recipe or cell changes. For example, reducing the hypothetical usable width from twenty to nineteen centimetres with a four-centimetre square cell changes five complete columns to four. The usable length can remain twenty-eight centimetres, giving seven rows. The count then becomes twenty-eight rather than thirty-five. A one-centimetre change in the input can remove a whole column in this grid.
Use a fresh line for a second cookie design rather than squeezing its figures into the first design's boxes. If several people share preparation, they can each check one calculation against the written inputs. A changed recipe or tray should be named before anyone relies on the old total. This is a check on the paper plan, with no claim that arithmetic verifies baking performance.
Check for impossible inputs before multiplying. A zero or negative cell dimension cannot describe an allocated space. A cell wider than the usable rectangle produces zero complete columns in this simple grid, even if the overall tray area looks generous. Return to the inputs and the applicable recipe instead of rounding that result upward to fit one cookie. Rounding up would change the planning rule.
Keep the worksheet separate from appliance operation
Before moving from planning to food preparation, return to the actual recipe and press instructions. The CCP-10 booklet, for example, specifies an unlined, ungreased sheet for its cookie-pressing method and gives safeguards for fitting parts and operating the appliance. Those directions are not automatically instructions for the Wearever. A paper rectangle cannot resolve a missing model instruction.
Finish with the usable dimensions, chosen cell, two whole-number row and column counts, and the resulting positions written together. Keep any unverified input visibly open. Your cookie press tray planning sheet can then answer a specific question—how the proposed allocation was calculated—while the applicable recipe and appliance guidance continue to govern the actual batch.