How-To Guides & Tutorials
Travel Scope 70 finder alignment: center one distant target
Align the Travel Scope 70 optical finder on one safe distant landmark, keeping the main view fixed and position separate from focus.
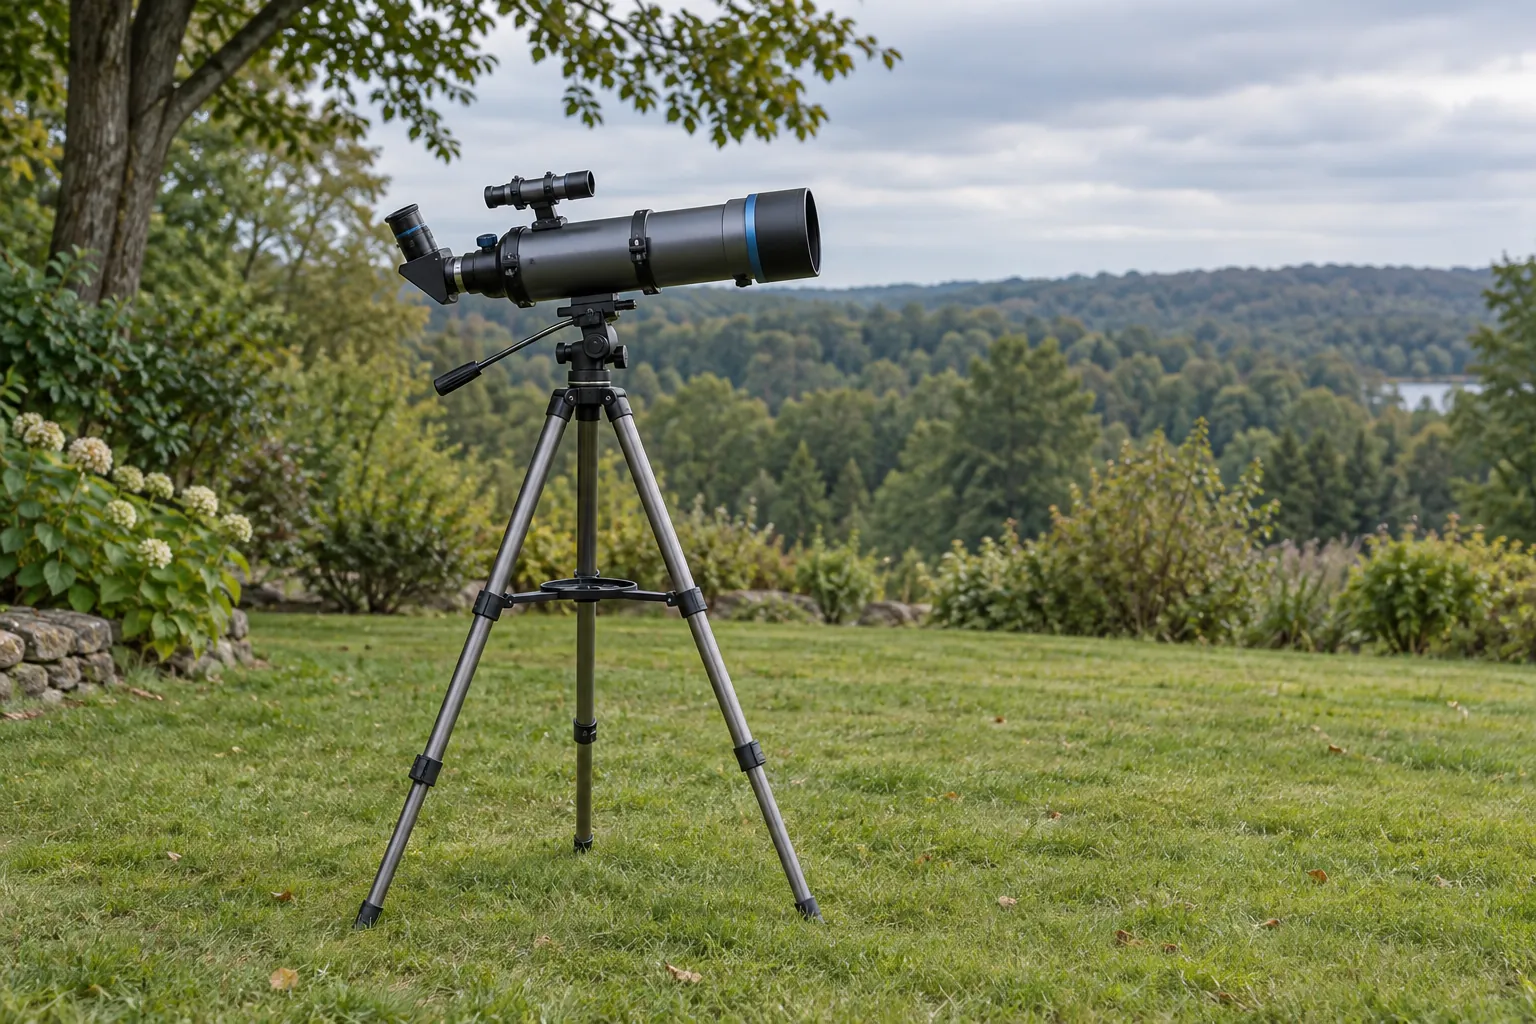
Travel Scope 70 finder alignment makes the small aiming telescope point at the same distant object as the main telescope. Begin with an identifiable daytime landmark, center it in the main view, and bring the finder's crosshairs onto that same feature. The useful result is agreement between the two views.
This tutorial follows the optical-finder instructions in Celestron's Travel Scope manual for the Travel Scope 70. Its working example uses one distant tree with a recognizable fork in its branches. The tree is an imagined practice target, without a claimed minimum distance or a promise about what detail your site will show.
Keep the Sun out of this exercise
Never point the telescope or finder toward the Sun, and never look at the Sun through either instrument. Permanent eye damage can result. Celestron also prohibits projecting the Sun, using eyepiece solar filters or Herschel wedges, and leaving the instrument with unsupervised children or unfamiliar users. This exercise provides no solar-viewing method.
Choose a practice direction that stays safely away from the Sun throughout setup and observation. An overcast sky does not turn the Sun into a suitable target. If the intended landmark or a change of position would put the instrument in an unsafe direction, abandon that target. Keep responsibility for both optical paths with the person supervising the session.
Prepare the actual Travel Scope 70
The Celestron Travel Scope 70 portable telescope describes a 70mm refractor with 20mm and 10mm eyepieces, a 45-degree erect-image diagonal and a 5x24 finderscope. Its portable arrangement makes a daylight practice session a useful first task before expecting the finder to help locate a night-sky object.
Assemble the matching instrument using its complete manual before starting this exercise. The manual identifies separate main focusing, mount-positioning and finder-adjustment controls. With the assembled telescope secure, use its 20mm eyepiece to center a distant daytime object. Look through the finder, then adjust its bracket thumbscrews until its crosshairs meet that object, without moving the main telescope.
Keep the chosen eyepiece beside its own marking during preparation. A loose eyepiece on the table can look familiar without being the one selected for the task. Once you begin comparing the views, avoid mixing an accessory change into the same observation. Finish the alignment question with the planned arrangement before deciding on a different viewing task.
Choose one recognizable point on the landmark
A whole tree can be an ambiguous target. In the fictional exercise, name the fork where one thick branch divides into two. That is the point you intend to place in both views. A second branch elsewhere in the same crown would be a different target even though both observations could be described as seeing the tree.
Make the chosen feature specific enough to describe to another observer. You might say the fork immediately above the lowest large branch, provided that actually identifies your safe distant landmark. The wording is an example of making an observation repeatable. It supplies no instruction to use private property, moving people, vehicles or an unsafe aiming direction.
If the feature cannot be distinguished in the actual view, choose a different safe, distant object rather than pretending its position is known. A blurred patch of foliage cannot tell you which fork is centered. Keep the task small: one recognizable feature, one main-telescope view and one finder view that can be compared.
Centering a distant target starts in the main view
For centering a distant target in the fictional tree exercise, agree on the reference feature before discussing its position. The fork you named is the point under examination. Merely having some branches visible would leave that point uncertain. Another recognizable part of the crown would answer a different target description.
Separate recognizing the landmark from judging its position in the view. You could recognize the correct tree while the chosen fork remains near one side of the view. Before treating that view as the reference for the finder, decide whether the actual feature you named is the feature being centered.
A helper can make this easier by repeating the agreed target description. One person may have chosen a different fork without realizing it. Resolve that disagreement in words before making another adjustment. Otherwise, two accurate descriptions of different branches can sound like a mechanical problem when the immediate issue is simply that the observers selected different points.
Read the finder view on its own terms
Celestron notes that the optical finder's view is upside down and reversed. Its eyepiece can be rotated to focus the finder image. Main-telescope focus and finder focus therefore concern their respective views; finder-bracket adjustment concerns where the crosshairs fall. Keep these distinct when describing what you see.
In the example, look for the same recognizable branch pattern even though its orientation differs. Do not decide that an unfamiliar direction automatically means you found another tree. Describe the feature relationships you can actually see: the fork, the adjoining thick branch and the part of the crown around them. If those details cannot be recognized, the comparison remains unfinished.
Resist drawing a remembered left-or-right correction from an unrelated instrument. The practical question here is whether the chosen landmark feature meets the crosshairs in this actual finder. A small sketch of the observed feature can help communicate its identity, but an invented sketch cannot establish where a real feature lies in either view.
Aligning an optical finderscope keeps the main reference fixed
For aligning an optical finderscope, Celestron separates the bracket thumbscrews from telescope-positioning controls. Keep the main reference fixed while adjusting the finder. Moving the tube would change the reference you are matching.
Imagine that the fork is centered in the main view, while the finder crosshairs fall on another part of the tree. That is a position observation. Write it in those terms instead of calling the whole instrument unfocused. The report identifies which view contains the chosen point and which aiming reference still differs.
After the documented finder adjustment, compare the same chosen feature again. Ask whether it is now at the crosshairs, rather than whether the whole tree looks more familiar. Familiarity grows while practicing, but familiarity alone is not the result being checked. The result is the location of a particular feature relative to the aiming mark.
Separate a soft image from an offset aiming point
Suppose you can recognize the chosen fork but its position is away from the crosshairs. That description differs from being unable to distinguish the fork at all. Keeping those observations separate helps you explain why you are considering the finder-position adjustment or the view's focus. Neither description establishes an internal fault or a required replacement part.
The B120C microscope viewing guide makes a related distinction within a different instrument: the binocular head's field alignment and the relative sharpness of its two eyepiece views have separate documented adjustments. Its left-ocular procedure belongs to that microscope. The connection here is descriptive: identify whether the observation concerns position or sharpness before naming a control.
If a helper reports that the view is wrong, ask what is actually visible. The correct tree with the fork off-center, a different tree and an indistinct image are three different reports. Give the next observation enough detail to distinguish them. Avoid choosing a cause merely because one general complaint could fit all three.
For a worked observation, suppose the main view contains the agreed fork, while the finder shows a thinner branch beside it. The statement that both views contain the same tree is true but incomplete. Use the actual fork as the comparison point. When reporting the outcome, say where that fork appears relative to the crosshairs, so the next person can understand exactly what has been checked.
Confirm agreement before changing the task
Return to the selected fork in the main view and compare it with the finder view. Keep the same landmark description through this check. If someone has moved the main telescope in the meantime, the earlier statement about its centered target no longer describes the current arrangement. Re-establish the reference under the applicable instructions before judging the comparison.
A useful session note can be short: chosen fork centered in the main view; the same fork at the finder crosshairs; both observations checked by the current user. Record an unresolved difference just as plainly. A note that says alignment attempted records activity, while a note describing the two observed positions records the result.
This daylight result concerns the arrangement you checked. It does not guarantee that an unidentified star will be easy to locate, that every eyepiece arrangement is supported, or that another transported setup will need no attention. Move to a separate observing task only with its own applicable instructions and safety requirements understood.
Keep the other telescope's package distinct
The Celestron PowerSeeker 60AZ, model 21041 is another actual telescope offer, with a 60mm aperture, tool-free setup, slow-motion-control wording and a 3x Barlow lens in its description. Those disclosures describe that offer. This Travel Scope exercise supplies no PowerSeeker assembly or Barlow-installation sequence.
If the telescope on your table is the PowerSeeker, use its applicable manual for its own finder and controls. Keep the observed task specific when asking for help: exact telescope, installed eyepiece, chosen safe landmark and the position visible through each optical path. A broad request to make the telescope stronger would leave the alignment question unanswered.
At a shared session, finish one person's comparison before handing over responsibility for the instrument. Tell the next observer which feature was selected and whether agreement was actually confirmed. If the exercise stopped with an unclear finder image, say that. A handover should preserve the unresolved observation rather than turn an unfinished task into an assurance that the telescope is ready for every intended use.
Carry the practice result into the next setup
The Benro and Neewer tripod transport guide separates a support's stated folded length from the complete carried configuration and its accessories. That matters when planning a portable observing session: identify the actual telescope equipment that must arrive together. Its camera-tripod specifications provide no attachment approval or operating instruction for the Travel Scope.
Before packing, make sure the next session's plan identifies the scope, its intended eyepiece and the finder that belongs with it. A successful practice observation is useful experience to carry forward, but the remembered arrangement is not a substitute for checking the equipment actually unpacked next time. Keep the manufacturer's setup instructions with that equipment.
Finish Travel Scope 70 finder alignment with the two views agreeing on your chosen safe, distant feature, or with the remaining difference clearly described. The practical skill is being able to name the target, recognize it through both optical paths and check the aiming relationship without confusing it with sharpness or a different instrument's controls.
Travel Scope 70 finder alignment uses a recognizable distant target; conceptual cover shows a generic inactive refractor and optical finder without an exact-model claim or operating diagram.