Tools & DIY
Snow pusher route planning: leave room for the end of each pass
Plan wheeled snow-pusher passes around a real path, the space at each end and the side available for snow, keeping blade-angle and handle adjustments distinct.
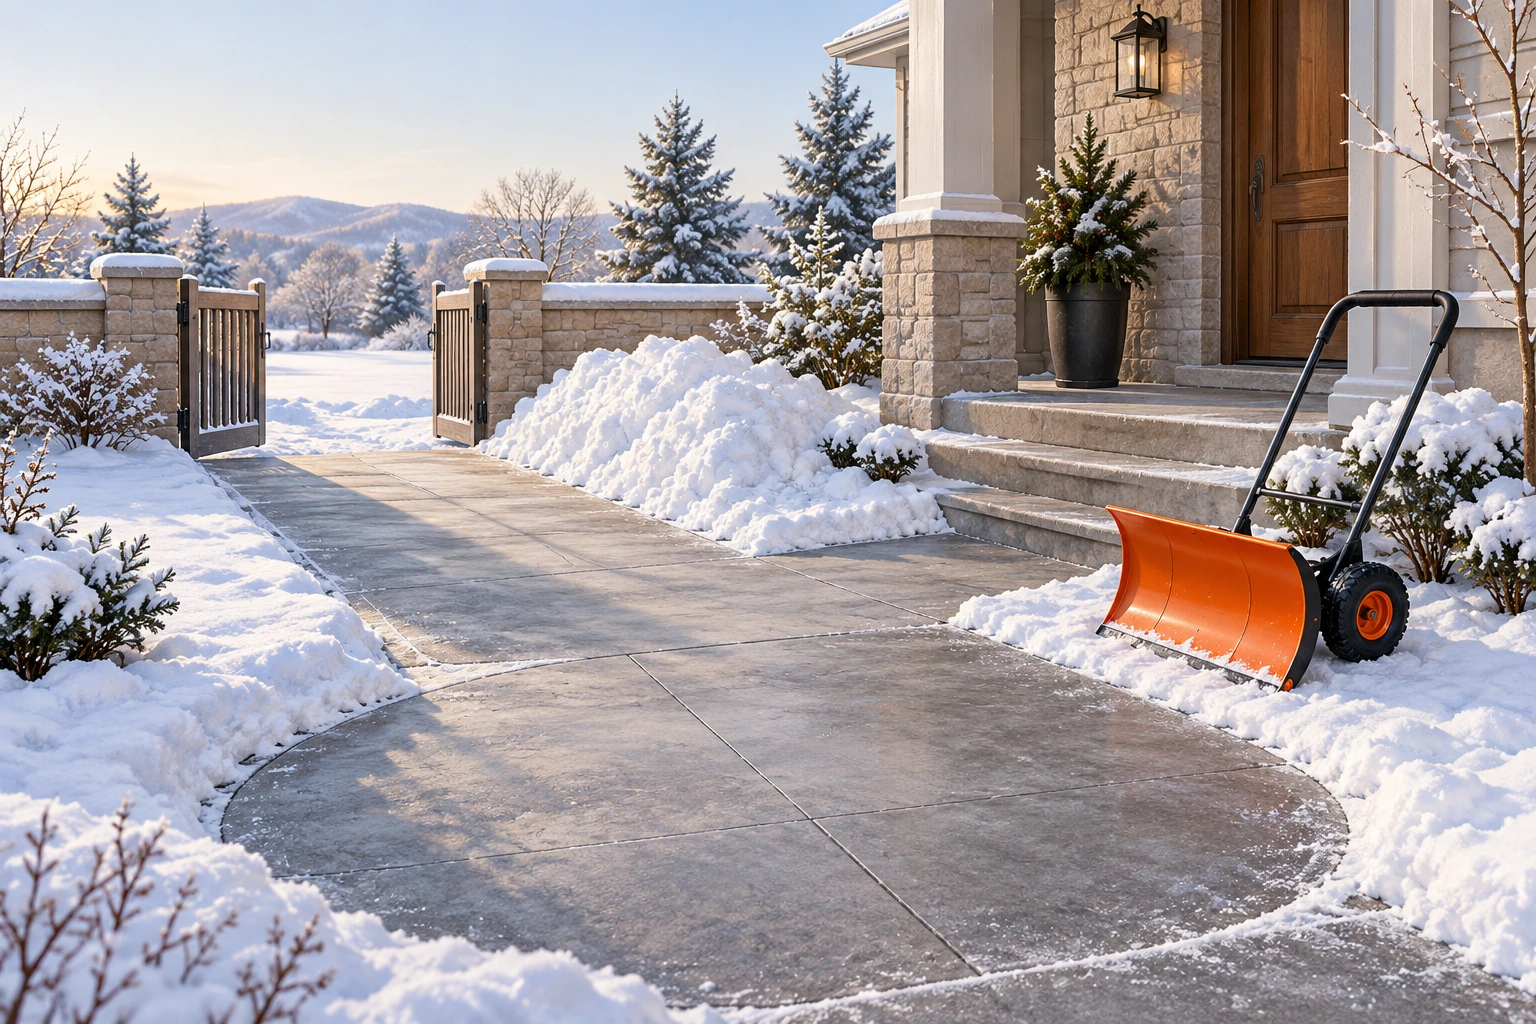
Snow pusher route planning starts with a question that a wide blade cannot answer: where will this pass finish? Picture the path after the snow has been moved, including the space occupied by the pile. A route that looks straightforward from the doorway may finish against a fence, across a gate or beside the car door you still need to open.
Work through that layout before winter makes its edges harder to see. The purpose is to decide which stretches suit a wheeled pusher and which need a different clearing arrangement. This is a planning exercise, without a prescribed snow load, lifting technique or promise that a particular person can safely do the work.
Start at the end of the path
Walk the actual route while its surface and boundaries are visible. Look back from its far end toward the entrance. The view can reveal something missed from the door: a narrow space between a parked vehicle and a wall, a gate that swings into the intended collection area, or a corner that has no usable exit.
Choose the place where collected snow may actually remain. Keep that choice separate from the space people need for walking and the space needed to move the tool. An empty patch in a photograph is not permission to use it. Establish the arrangement for your own property and leave shared or uncertain areas out until their use is settled.
Consider the next movement as well as the forward pass. At its end, you still need a way to leave the collection area and reach the next starting point. Describe that return route in ordinary terms: back toward the door, around an open end or along a separate stretch. If you cannot describe it, the plan is unfinished.
Make the decision about a closed end before beginning there. A fence does not become an exit because the path leading to it is straight. Decide whether the approach should run in another direction, stop at a different collection area or be handled by another method. Buying a larger tool leaves the same boundary in place.
Distinguish blade direction from handle adjustment
The Costway 30-inch wheeled snow pusher has a listed 30-by-10-inch blade and an adjustable handle. Its ET10073 manual shows a bracket, two wheels, two lower handle sections and one upper handle. The blade attaches to the bracket; the manual does not give it the other model's separate steering-board adjustment.
The Costway 29-inch wheeled snow pusher instead lists a 29-by-19.5-inch blade with five positions. Its ET10072 manual identifies a steering-board connection with five angles secured by a D-style pin. A separate connection sets the lower handle at five angles using another D-style pin. These are different adjustments on that model.
Use that distinction when comparing a route that ends ahead with one that needs snow directed to a side. A comfortable handle position and the direction of the blade answer different questions. Follow the identified tool's complete instructions for its connections; do not copy a pin arrangement, adjustment sequence or setting from the other product.
Neither listing supplies a verified turning circle for your path. The advertised blade dimension also does not measure the person behind it, the space beside a wall or the room available at a gate. Treat the site's actual clearance as its own decision. A shopping comparison should not stand in for seeing the place where the tool would be used.
Keep three spaces separate
First identify the route you want people to use after clearing. Include the part that joins the entrance to the rest of the walk. A neat strip that ends short of the doorway leaves an unfinished connection. Decide what a completed route means for the people who use this particular entrance, without assuming a universal required width.
Next identify the space available for snow placement. Look at what else must happen there during winter. A bin may need to be rolled out, a gate may be used for deliveries or someone may need access to a shed. An area can be empty today and still have a job that conflicts with using it for a pile.
Then identify the movement space. This includes the place where the tool and its operator would change direction or return to the start. Do not mark the same small corner as both the collection destination and the turning area without resolving that conflict. Give each part of the layout a real location rather than leaving all three under a vague “clear here” instruction.
Take a photograph of the snow-free layout if it will help you remember a concealed edge later. Keep the actual gate, path end and intended collection area in the frame. The photograph is a reminder of the layout, not a report of future footing or a guarantee that the arrangement will remain usable after a snowfall.
Work through a fenced-path example
Imagine a private path with the house door at one end, a fence at the other and an open area along one side that the owner has agreed may receive snow. This is an invented layout for thinking through the decision. It is not a test of either selected pusher or a recommendation for an unseen property.
Begin with the tempting plan: move everything along the path toward the fence. Follow the plan to its finish. The destination is now the closed end, which is also where the operator expected to turn. That is a conflict in the layout before any claim about clearing speed or equipment size enters the discussion.
Consider a different orientation that finishes at the permitted side area. Identify the exact part of that area intended for collection and the path that must remain open beside it. The useful comparison is where the material ends up and how the next pass begins. Do not assume that any blade setting will make an unsuitable destination work.
Now add a gate halfway along that open side. Its movement divides what first looked like one continuous collection area. Revise the plan around the gate's actual use: keep its movement space available and decide separately where snow from each stretch may go. The gate should not appear as an afterthought once a pile occupies its opening.
Finally, imagine a parked vehicle beside the house end. Include the door that will be used and the route around the vehicle. A plan that preserves the long walk but strands the person at the car still misses the intended result. Changing where the vehicle is parked, if that is available, is a different choice from changing the pusher.
Plan the join between two stretches
A corner creates a new starting point. Look at each leg from its own end and identify its collection destination. Do not assume that the direction chosen for the first stretch also works for the second. One may open toward the intended collection area while the other points toward a wall or a doorway.
Give the join its own space in the plan. Notice where a person would stand while moving from one stretch to the next and whether that place overlaps a door's movement or an area reserved for snow. If the join cannot accommodate the proposed movement, divide the work differently instead of describing an uninterrupted sweep through the corner.
Keep people passing through the entrance in mind. Decide how the clearing task and ordinary arrivals will be separated when both are expected. The practical question is where a person can wait or pass without entering the work area. A plan for an empty driveway may need changing when a delivery or school departure uses it.
Describe an alternative for a stretch that does not suit the planned pusher route. That may mean arranging another method or leaving the task with the responsible clearing service. The alternative should identify the actual location. “Use something else if needed” leaves the same corner undecided when it becomes inconvenient to change the plan.
Use the right instructions at the tool
The ET10073 manual calls attention to the orientation of a small limiting plate during assembly, saying it helps lift the blade when an obstacle catches it. Read that direction with its diagram. It is not permission to drive into an obstruction, improvise a lifting maneuver or use the ET10072 steering-board arrangement on this model.
Prepare the identified tool according to its applicable instructions before relying on the route. A layout exercise does not verify assembly. Keep any missing part, uncertain connection or damaged component separate from the choice of path. Resolve that actual equipment problem rather than treating an open collection area as evidence that the tool is ready.
Look at the route again when conditions change. A bin left outside, a vehicle parked differently or a collection area already occupied can invalidate the earlier arrangement. Make the practical decision at that point: change the route, use the alternative arrangement or stop that part of the task. Do not treat yesterday's clear space as available without looking.
Reconsider the destination as it fills. The place reserved for collection and the place needed for the next movement may no longer remain separate. Decide how that remaining stretch will be handled before continuing into the conflict. This guide gives no pile height, snow depth or amount of force that would make continuing appropriate.
When reviewing the result, approach the entrance from the direction normally used to come home as well as from the house. Follow the connection past the gate and toward the intended destination. This can expose a disconnected section that looked complete from the starting point. Describe the part still needing work instead of calling the entire route finished.
Keep the rest of winter preparation connected
The before-first-snow planning guide covers the wider responsibility and equipment-availability arrangement. Settle that alongside this specific layout. A person agreeing to clear an entrance needs to know which route and destination are intended, as well as who will arrange an alternative when that plan cannot be used.
The winter car snow removal guide addresses the separate vehicle-preparation task. A path to the car does not establish that its windows, lights or other relevant areas have been prepared. Keep the completed path and the remaining vehicle work distinct when deciding what still needs attention before a departure.
Before ordering a pusher through republeq.com, match the selected item to the route decision you have made. Keep the actual product reference with the order and resolve any unanswered supplied-item question with the merchant. Review the delivery and return conditions applying to your basket. Choosing a payment method comes after understanding what you intend to buy. If you want to use cryptocurrency, including USDT, check the current checkout for that option rather than treating a general payment label as confirmation that a particular token or network is available. This article supplies no payment address, required amount, exchange rate or promise about processing speed. Follow the merchant's current instructions for the basket you selected and seek clarification when a step is unclear. Do not reuse payment details from an earlier order or somebody else's transaction. If you change the selected product while considering payment, review the displayed order again. Keep the actual order reference and payment response together so an inquiry can identify the transaction concerned. An uncertain outcome needs reconciliation with the merchant before another payment is considered. A transaction confirmation does not establish that the tool fits your path or that the planned clearing arrangement will work. Obtain any remaining product answers before proceeding, and resolve changed payment instructions through the merchant's current support route. If a payment request no longer matches the displayed order, ask the merchant to reconcile that discrepancy before proceeding. Retain the current order details so the inquiry concerns the exact basket you intended to purchase. Keep any later merchant answer with that reference before deciding whether the transaction needs further action.
Finish with a route you can explain on the ground: where the pass begins, where the snow may remain and where the person and tool go next. Keep the entrance, gate and return space usable within that plan. Snow pusher route planning is complete only when those choices make sense together for the actual place.