Home & Living
Self adhesive measuring tape installation: set a wall scale you can check
A practical installation and checking method for a fixed self adhesive measuring tape on a wall or other smooth surface.
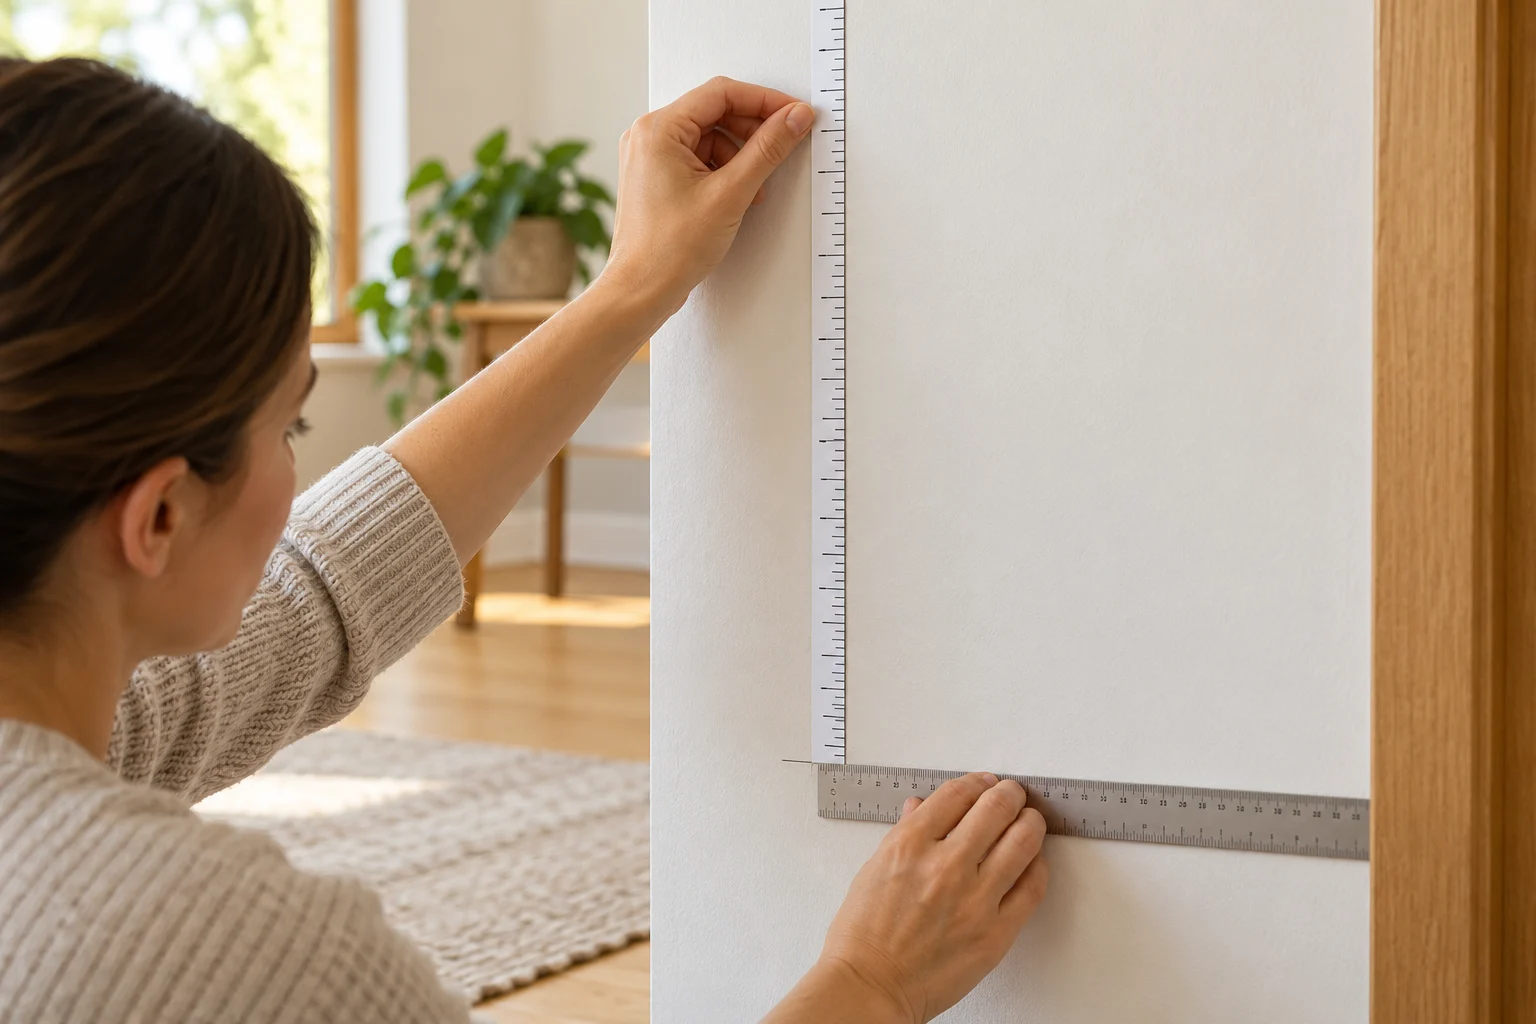
Self adhesive measuring tape installation is a small job with an easy mistake: the printed strip can look straight while its starting point is wrong. Once a tape is fixed to a wall, desk or door, people may read from it without checking that first mark again. Choose the place where you actually intend to take readings, check the scale against a separate measuring tool, and mark its starting position before peeling any backing. The two tape listings discussed here describe single adhesive measuring strips. Neither page proves that a particular painted wall will hold the adhesive, that removal will leave the finish untouched, or that the printed scale meets a stated accuracy tolerance.
Check the starting mark before fixing a measuring tape in place.
Decide what the fixed scale should measure
A fixed strip makes sense when you want to return to the same place for the same kind of reading. A child’s height check, a mark on a worktable, and a scale beside a storage shelf put different demands on the location. For a height station, you need a flat vertical stretch of wall and a floor reference that will not change underfoot. For a table, the useful direction may be horizontal along the edge where work begins. Decide which edge is your reference, where the numbers must face, and who needs to read them before choosing a surface. A tape that looks tidy behind a shelf is no help if the shelf hides the marks you use.
Think through ordinary use of the space. A door swings and may be bumped; a desk top may get wet or be covered by projects; a wall beside a doorway may have trim that interrupts the flat surface. If someone must stand against the wall for a height reading, leave enough clear space for that person to stand naturally. Do not attach the strip across a hinge, outlet, moving panel, or other interruption simply to reach a convenient number. If the intended spot is rented, freshly painted, textured, damp or valuable to you, obtain the surface maker’s or property owner’s guidance before applying adhesive. The product pages do not supply finish-specific removal instructions.
The OUNONA self adhesive measuring tape listing describes a strip that sticks to a smooth surface such as a wall, table or door. It describes the material as waterproof and tear resistant and says the package contains one tape. Its sole gallery image shows one coiled printed measuring strip. That picture helps identify the physical item; it does not show the adhesive holding on your particular wall or establish a measured service life. Use the seller’s surface claims as questions to check against the actual package and the surface you have.
The DEEPCRAFF adhesive measuring tape listing also identifies one strip. Its description says it attaches to a flat surface and can be repositioned. The one-image gallery shows a coiled printed tape. The native title calls it a multicolor tape, while the description and exact product URL identify its measuring role. Neither source gives a measured limit for how many times it can be moved or a guarantee about the finish beneath it. If repositioning matters, read the instructions on the delivered tape and try an inconspicuous permitted area first.
These two listings give examples of the same basic form: a printed strip intended to stay in one location. Their photos do not establish a difference in scale precision, adhesive strength, length, unit layout, or suitability for a named wall finish. Confirm those details on the exact selected variant before buying. If the product lacks the unit scale or length needed for your job, choosing a different location will not fix it. A conventional hand-held tape or ruler may serve better when you need to measure many objects in changing positions rather than make repeated readings from one fixed reference.
Check the actual strip before choosing a starting mark
When the package arrives, unroll only enough to inspect the printed scale without stretching or creasing it. Identify the first printed mark, the unit labels, the direction in which numbers increase, and any blank border before zero. Check whether the number layout can be read from the side where a person will stand. A gallery image can be cropped or staged; the strip in your hand is the one that will be installed. Do not assume its first visible edge is the zero mark. If its end is trimmed unevenly or its scale begins away from the edge, placing that edge at the floor will give every later reading the same offset.
Lay the strip beside a separate ruler or tape whose markings you can read clearly. Align their zero marks and compare at more than one labeled point within the part of the scale you will use. This check can reveal a unit mix-up, a reversed orientation, a damaged printed section, or a difference that makes the strip unsuitable for your purpose. It cannot certify laboratory accuracy. If the marks do not agree well enough for the decision you plan to make, stop before applying adhesive and resolve the difference with the seller or a more suitable tool. Do not stretch the strip until two chosen marks appear to line up; that changes the scale you are trying to check.
For a wall height station, decide whether the tape’s printed zero should meet the finished floor or a separate baseline above it. Baseboards, uneven floors and thick rugs complicate a zero-at-floor installation. One workable plan is to choose a clearly marked baseline above the obstruction, measure its height from the same floor point with a separate tool, and keep that offset with your record. Later readings then need the offset added deliberately. If you cannot explain that calculation to everyone who will use the station, choose a simpler location or a strip whose starting mark can be placed directly at an accessible reference. Avoid inventing a fixed offset from a photograph or another home.
Use a light pencil mark or other surface-safe temporary marker for the chosen starting point. Verify it from the actual floor or table edge that will matter in future readings, not from a nearby trim line that only looks parallel. A second person can hold a separate tape while you mark, but both people should read from the same reference and in the same unit. Write down whether the baseline is at the printed zero or a known offset. That short note prevents a later user from reading the number as if the tape began at a different place.
Prepare the surface under the tape’s instructions
Read the package instructions for surface preparation, application temperature, cleaning, drying and removal before exposing the adhesive. The current product pages describe adhesive use in general terms and do not establish one universal cleaning method. A cleaner that is suitable for one painted finish can damage another, and moisture left behind can change adhesion. If you do not have instructions for the actual strip and surface, ask the seller or surface maker rather than guessing with a solvent. For a removable test, choose an inconspicuous location only if the maker permits that test. Keep household cleaners away from children and follow their own labels.
Look along the intended path at eye level and from the side. A strip can bridge a groove or textured patch and then sit off the surface at its center. That can make the printed line look straight from a distance while parts of the adhesive never contact the wall. A flat, sound section is easier to prepare and to read. Move the planned station if the only route crosses a seam, loose paint, damp area or a surface you cannot safely clean. Do not use extra glue or tape to force the product onto an unsuitable wall unless its maker expressly recommends that method.
Before peeling, hold the strip in place with its backing intact. Check the starting mark, the direction of the numbers, the top end, and whether the strip will remain visible after nearby furniture returns. Stand where a future reading will be taken. Can you see the marks without leaning or twisting the tape? Is the intended object or person aligned with the same plane as the scale? This dry placement is the last easy point to change the location without testing the adhesive. Mark a light guide at more than one height or distance if the product instructions allow, then remove the strip and check the guides with a separate straight reference.
Apply without changing the scale
Follow the strip’s supplied application directions. Where they permit gradual backing removal, expose a short starting section, align the printed starting mark with your verified baseline, and press that section into place. Keep the remaining backing on while you check alignment again. Continue a little at a time, letting the tape lie against the surface without pulling it taut. Pulling can stretch a flexible strip and spoil the comparison you made before installation. Press it as directed rather than smoothing so aggressively that the printed material shifts. Stop if the strip wrinkles, veers away from the guide, or lands on a different surface finish.
Reposition only when the actual product instructions permit it. The DEEPCRAFF page uses the word repositioned, but gives no count of safe lifts, no hold-strength test after moving, and no promise that every finish releases cleanly. The OUNONA page describes easy installation without tools, not a right to lift and replace it indefinitely. If alignment is lost, preserve the printed scale and surface first. Peeling a long adhered section back under tension can deform the strip or the wall finish. If the correct position cannot be recovered under its instructions, use a new strip or choose another measuring method rather than accepting a visibly crooked scale for regular readings.
Once attached, compare its zero or recorded baseline with the independent reference again. Then check a second mark farther along the installed strip. A first mark can remain correct while a stretched or slanted upper section drifts. If the second check disagrees beyond what your intended use tolerates, do not write a permanent correction next to the tape and assume every point is fixed. Find whether the issue is the reference, the strip, the application angle or the surface. For decisions that need controlled precision, use a tool and method designed for that level of measurement instead of a decorative fixed strip.
Make a repeatable reading from the same place
A fixed scale is only one part of a repeatable reading. Mark where the object begins or where a person’s feet stand. Keep the same floor covering and reference point, and read the mark straight on rather than from an angle. For a height check, use a level, flat object to locate the top point if appropriate, and record the date and the method. The tape itself does not decide whether a change is meaningful, and a household mark is not a medical assessment. If the station has an offset baseline, put the offset visibly in the record so the printed number is not mistaken for the final reading.
Check the strip periodically for lifted edges, a shifted baseline, worn printing and changes to the surface beneath it. If the station moves with a door or piece of furniture, its reference may move too. A peeling edge invites someone to press the strip into a slightly different position. Compare zero and another labeled mark with the independent tool again after any such change. Replace or stop using the station if it cannot hold position under the product directions. Keeping an old log with the installation date and reference method makes it easier to tell which readings came from which setup.
The window insulation film cutting guide asks readers to name the exact surface being measured before cutting material. That article solves a purchase and cut-plan problem; its film dimensions and attachment advice do not apply to a wall scale. The useful habit here is to label the reference surface in your note. “Wall height from finished floor beside bedroom door” is more helpful than “height at door” if the room has trim or a changing rug. A future reading should return to the same reference, not whichever edge is easiest to see that day.
The air fryer liner fit guide likewise records where each basket dimension came from. Its appliance permissions and heat concerns belong to that separate task. For a fixed measuring tape, the transferable practice is a small record of the actual reference: product identity, installation date, surface, baseline, units, second-check result and any offset. That record is especially useful if you replace the strip. Do not join two sets of readings as one uninterrupted scale merely because the new tape has similar looking numbers.
Keep the decision tied to the installed result
Choose an adhesive strip if the exact package has the length and units you need, its directions allow your surface, and you can establish a clear starting reference. The OUNONA and DEEPCRAFF pages each describe a single self adhesive measuring tape; neither establishes that it will perform better than the other in your room. After installation, the useful result is a scale whose starting point and another mark agree with a separate check and remain in place during ordinary use. If those checks fail, return to a hand-held reference or seek a product with the missing instructions. Keep your measurement notes with the method you actually used.