Crypto Commerce
Use repeat photography planning to compare a changing subject
A photograph of a household plant today and another in a few weeks might seem easy to compare. Then you notice that the container is closer to the camera in the second image, the leaves overlap differently, and the window behind them is much brighter. Which differences belong to the plant, and which belong to the photographs? Repeat photography planning gives you a way to ask that question before taking the first picture. Choose a visible feature, preserve a view you can return to, and record anything that changes about the setup. You can then describe what the images show without treating an apparent difference as a measurement or a diagnosis.
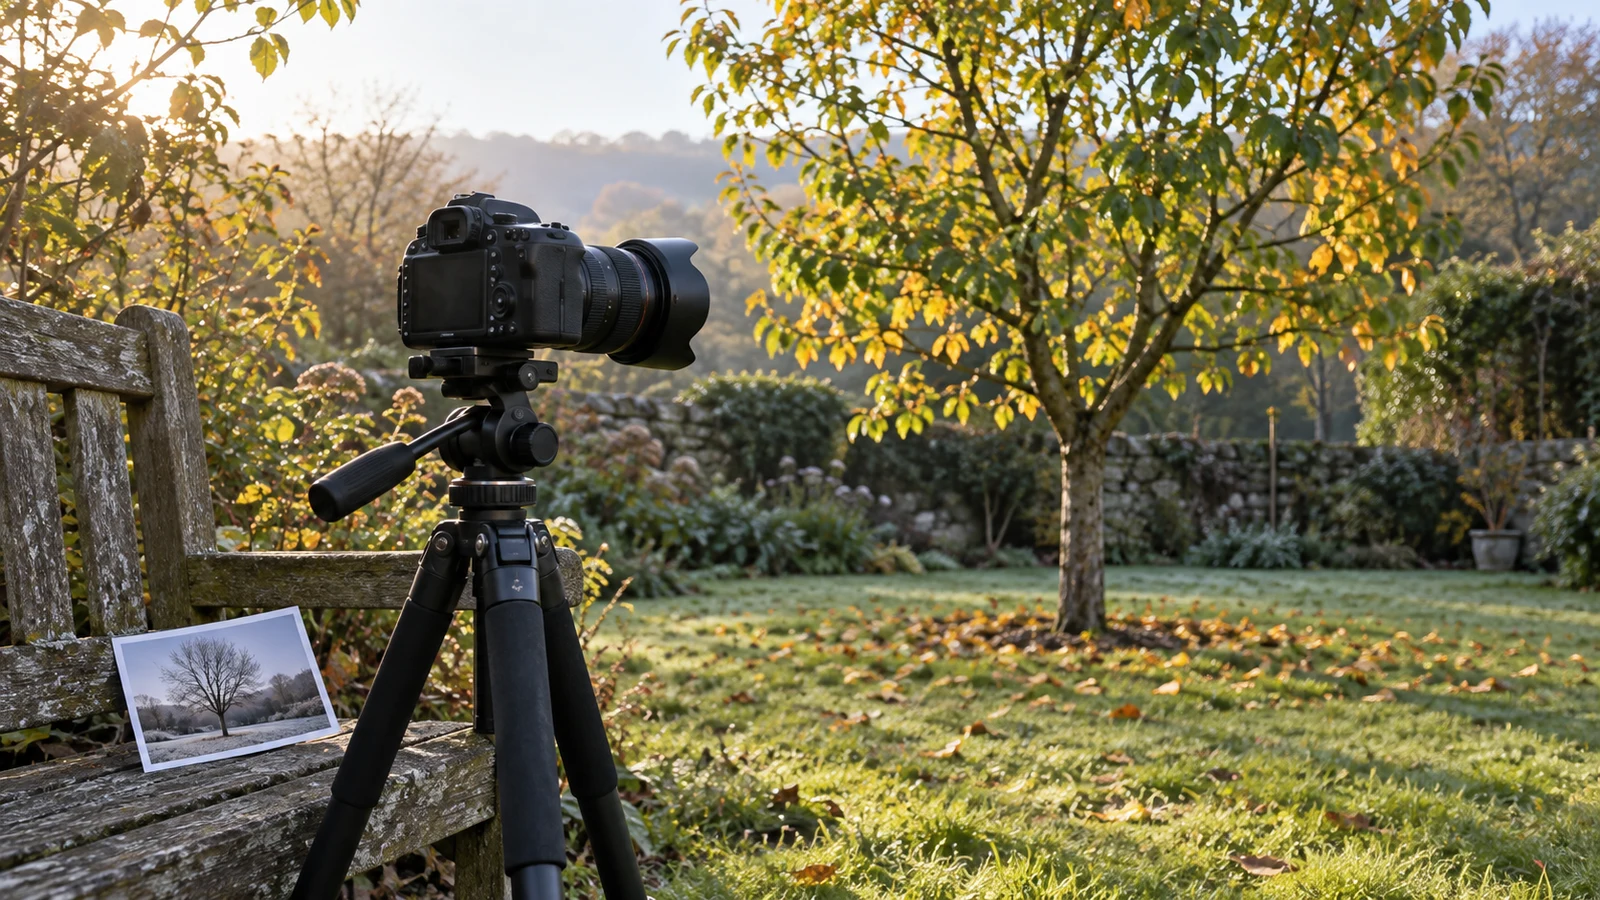
A photograph of a household plant today and another in a few weeks might seem easy to compare. Then you notice that the container is closer to the camera in the second image, the leaves overlap differently, and the window behind them is much brighter. Which differences belong to the plant, and which belong to the photographs? Repeat photography planning gives you a way to ask that question before taking the first picture. Choose a visible feature, preserve a view you can return to, and record anything that changes about the setup. You can then describe what the images show without treating an apparent difference as a measurement or a diagnosis.
The method works best when the question is narrow. For the plant, you might ask whether the arrangement of visible leaves looks different from the front of its container. That gives you something to look for while leaving open whether a partially hidden leaf has moved, fallen, or merely disappeared behind another. A picture alone cannot settle the plant's health or explain why its appearance changed. The point is to make the visual comparison honest enough to tell you when another photograph would be more useful than a stronger claim.
Choose A Visible Question Before Photo Description Writing
Start by saying what you want to compare in words that refer to something a photograph could show. “Do the leaves nearest the left rim appear in the same arrangement?” is workable. “How fast has the plant grown?” asks for a measurement that a pair of loosely repeated pictures cannot supply. “Is it healthier?” asks for a conclusion about the plant that visible differences alone do not justify. A question about arrangement keeps your attention on appearances you can actually inspect.
Pick one side of the subject as your intended view. In this example, imagine a container on a shelf with a plain book spine visible just to its right. Decide that the left rim of the container and the cluster of leaves above it will be the comparison area. The book spine is a reference for where the view was taken, not evidence about the leaves. If you later photograph the opposite side of the plant, you may still have a useful image, but it will answer a different question.
Write the comparison question before the first session. It is easy to notice a striking difference later and silently change the question to fit it. A note such as “compare the visible leaf arrangement above the left rim, from the shelf-facing view” gives the later pictures a shared purpose. It also tells you what should remain in the photograph: enough of the container and shelf to recognize the view, along with the leaves you intend to inspect.
Do not ask every later photograph to answer everything you have noticed about the subject. A leaf at the back might be hidden on one date. A different camera position might reveal it on another. Treat that as an opportunity to note the visibility difference, rather than count leaves as though the pictures exposed identical parts of the plant. If the question changes, write a new question for a new set of photographs.
Keep Reference Landmarks For Photo Description Writing
The first image becomes a visual reference. Keep it where you can inspect it before each return visit, rather than relying on memory of where you stood. Note where the camera was relative to the shelf in ordinary language: for instance, “facing the front edge, with the container centered and the book spine visible at right.” The note is meant to help you repeat a viewpoint, not to promise that you can reproduce it perfectly.
Choose landmarks outside the feature you are observing. The shelf edge, the rim of the container, and the book spine can help you recognize a similar view even if the leaves themselves have changed. The container rim also helps you see when the whole subject sits higher or lower in one frame. If a movable landmark, such as the book, is taken away, record that departure instead of pretending it was always there. A reference that disappears is less useful, but the remaining details may still orient you.
Keep the original photograph alongside a short description of its intended view. On the next date, look at that actual image before making the new one. Check whether both the front of the container and the background landmark appear from roughly the same direction. You are looking for a recognizable return view, not a flawless overlay. A small difference in where you stand can change what overlaps what, particularly when leaves project toward or away from the camera.
If the container has moved, note where it is now rather than moving it solely to make the photograph look identical without recording what happened. The subject's position is part of the circumstances of the later picture. The same applies if a book has been replaced or the shelf looks different. A brief note about the scene helps you distinguish a changed environment from a changed subject when you read the two images together.
Plan The Camera Position With A Compact Camera Kit
You can make the repeat-view plan before settling on particular equipment. For a still-photograph exercise, the White Sony ZV-1 II compact vlog camera is one listed option that takes stills; its product page is linked here for repeat photography planning. The camera listing establishes that it can take photographs. It does not establish that the camera will remember where you placed it or recreate the same view on a later date. Your reference image and location notes do that work.
The Canon PowerShot G7 X Mark II international-version camera bundle is another catalog example: this compact camera kit can be considered for the same still-photo exercise. The reference-view question stays the same if you use it. Do not infer a particular repeat-framing aid from the word “kit” or assume that a bundle title tells you how to recreate a camera position. If you change cameras between dates, add that change to your notes so you do not silently treat the setup as identical.
The useful choice here is a manageable routine, rather than a specification contest. Can you keep the first picture available while making the next? Can you recognize the same landmarks and see the comparison area in both photographs? If the answer to either question is no, make a clearer first reference view or narrow what you hope to compare. More detail in one image cannot recover a part of the subject that was hidden or left outside the other image.
A repeat view need not turn your room into a permanent photography station. You can write down where you stood in relation to fixed furniture and what objects appeared behind the subject. If the room is rearranged before the next photograph, your note helps you identify the lost reference instead of forcing a false match. The plan is useful because it records the comparison conditions; the chosen camera is only one part of those conditions.
Log Departures From The Compact Camera Kit View
On each return date, first ask whether the intended view is available. Is the container still on the shelf? Does the background landmark appear in the frame? Is the same part of the rim visible? Write down departures in plain terms before interpreting the leaves. “Container moved toward the window” says more than “setup different,” because it identifies the change a reader of the photographs should consider.
Camera position deserves its own note. If you are farther to the left, the leaves can overlap differently even if their arrangement has not changed. If the second photograph includes less of the shelf, you might mistake a tighter frame for a larger subject. You do not need to calculate the difference to report it. “Second view taken from farther left; right edge of the container is cropped” is enough to warn that a comparison of apparent size or spacing is uncertain.
Light also changes what you can see. Suppose the first photograph shows the cluster clearly, while the later one puts that cluster against a bright window. An outline that looks thinner in the second picture might simply be harder to distinguish. Record “leaves against brighter background” and limit any comparison that depends on those edges. If another date offers a clearer view, photograph the subject again rather than claiming the ambiguous outline proves a change.
You may have several departures at once. Separate them in your note instead of writing “not comparable” and discarding the picture. The later photograph may still show that a particular leaf is visible above the rim, even if it cannot support a claim about that leaf's position relative to others. Some comparisons survive an imperfect repeat view; others do not. Naming the departure helps you decide which is which.
Keep the notes attached to the dates they describe. A short entry can state the intended landmark, the camera-position difference, any subject movement, and anything that makes the comparison area hard to see. Avoid turning a guess about why something looks different into a fact about the subject. “The left cluster is partly hidden in the second image” is an observation. “The left cluster shrank” demands a cleaner view than the pictures may provide.
Use Photo Description Writing To Separate Changes From Conditions
Compare the images in two passes. First describe what is visible in each photograph on its own, with no claim about what happened between dates. Then compare only features that both photographs show from a sufficiently similar view. The related guide to photo description writing is useful for finding observation-only language. Here, that language serves a narrower purpose: testing whether the two views allow the specific comparison you planned.
Suppose the first image shows two leaves crossing above the left rim and the second shows a broad leaf in front of that area. You can say the visible arrangement looks different. If the camera moved left, you cannot confidently say that a leaf changed position merely because its overlap changed in the picture. The word “visible” matters. It tells a reader you are comparing appearances in photographs rather than reconstructing an unseen sequence of events.
Ask yourself whether the same edges, surfaces, and landmarks remain visible on both dates. When the answer is yes, describe the difference carefully and stop short of an explanation. When it is no, state the limitation alongside whatever the photographs do show. A less comparable picture is still a record of what was visible on that date. It just cannot bear every conclusion you might want to draw from it.
Repeat photography planning also makes a useful next step easier to identify. If the mismatch concerns the camera's position, return to the reference view for another photograph when possible. If the landmark has moved, make a note of the new surroundings. If the area is obscured, wait for a view that actually reveals it. A later image can improve the comparison, but it cannot turn an uncertain older pair into proof of a cause or an exact change in size.
A Repeat View Worksheet For Photo Description Writing
Consider this fictional example. The intended subject is a plant in a container on a shelf. The question is whether the leaves visible above the container's left rim have a different arrangement on separate dates. The first photograph shows the front of the container, the shelf edge beneath it, and a book spine to its right. A note says the camera faced the shelf from in front of the container. That picture and note are the reference for the next visit.
In the later photograph, the plant is still on the shelf, but the camera is farther left. The right side of the container is outside the frame and the book spine no longer appears. The leaves above the left rim are visible, although one appears to cover more of the cluster than it did in the first photograph. Write these departures beside the later date before making the comparison. The missing book and cropped container tell you that the views differ even though both pictures show the same general subject.
- Intended view: the front of the container, its left rim, the shelf edge, and the book spine at right.
- Later view: taken farther left, with the right edge of the container cropped and the book spine absent.
- Bounded observation: a leaf covers more of the visible cluster above the left rim in the later photograph.
- Unresolved comparison: the pictures do not show whether the leaves changed their positions or whether the different camera position changed their apparent overlap.
- Next photograph: return to the first viewpoint, include the original landmarks if they remain in place, and photograph the same comparison area.
The worksheet does not need a verdict about the plant. Its job is to show which comparison is supported and where the view fails you. Even the next photograph might leave a leaf hidden, and the book may have moved by then. Record those circumstances too. If the pictures ultimately permit only a description of what appears on each date, that is a complete and useful result for this exercise.
For your own subject, write the visible-feature question, keep the first view available, and note changes to the viewpoint each time you return. Choose a camera option only after you know what the reference view needs to show. When a later image makes a difference look dramatic, check its landmarks before describing the subject as changed. A careful description can end with “uncertain from these views” and a precise idea of what to photograph next.