How-To Guides & Tutorials
Quasar+500 comb binding: open, load and close the comb
Follow the matching Quasar+500 manual to open a plastic comb, test the edge guide, load punched pages from the front and close the bound document.
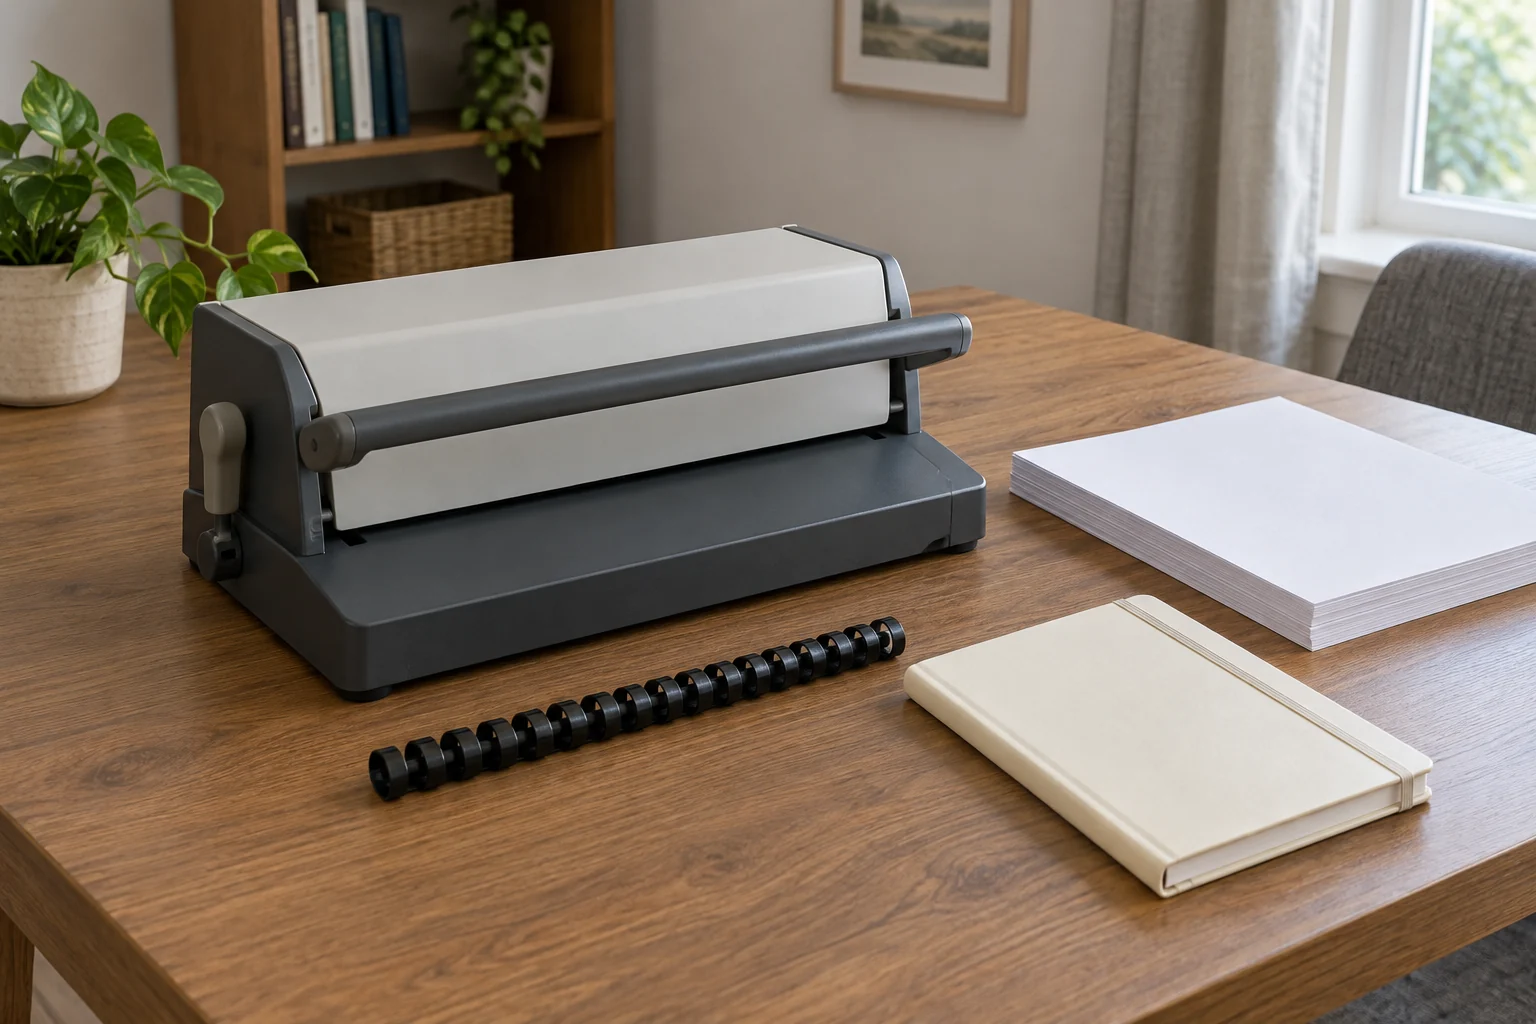
Quasar+500 comb binding uses separate actions for punching paper and opening the plastic comb that will hold it. Prepare the machine, check the edge position on scrap, load the punched pages onto the open comb and close it when the document is complete. Keep the page order beside the mechanism throughout the job.
The procedure here comes from Fellowes' Quasar+ 500 manual, revision D, document 408727, dated 2017 in its official file name. Its illustrated English instructions describe an A4 configuration. Use the sequence only when your actual unit and its applicable manual match. The retail model name alone does not verify every regional configuration or supplied accessory.
Identify the machine before following its controls
The Fellowes Quasar+500 comb binder offer identifies a Multicolor machine, model Quasar+500, SKU 5002311089. Its brief product description supplies no punching capacity, paper dimensions or control sequence. The detailed operations below are attributed to the matching Fellowes manual, without pretending the sparse catalogue account contains them.
Check the plus sign in the model designation and the actual machine instructions. A Quasar 500, Quasar-E or wire-binding name is not a substitute for Quasar+500. If the unit or its available manual differs from the documented configuration, resolve that difference before using a diagram from this guide as an instruction for its controls.
The manual distinguishes a punch handle from a comb-opening lever. The punch handle works the paper-punching stage; the other lever opens and closes the plastic comb. Locate both on the actual matching unit before beginning. Do not test an unidentified control by applying force simply because its position resembles a photograph of another binder.
Put the document in its intended reading order
Begin with the pages and covers you intend to bind. Check that the front cover, first page and last page belong to the same version of the document. Check the loose stack for missing pages before loading its first batch onto the comb.
Use a small fictional project to think through the order: a front cover, a short set of numbered household reference pages and a back cover. This is an example of arranging a document, without a supplied page count, paper specification or comb size. Your actual paper and covers must meet the requirements for the matching machine.
Remove staples and other metal items before punching, as the manual directs. Keep unsuitable or unresolved materials outside the working stack. Read the actual paper and cover specifications before choosing the punching batches. A thick cover and an ordinary paper sheet belong to their own stated material categories, even when both are called pages in conversation.
Prepare the matching Quasar+500
Fellowes' setup sequence begins with a stable surface and an empty, correctly fitted waste tray. Lift the lid, make sure the comb-opening lever is pushed back and bring the punch handle upright. These are the manual's distinct starting positions. Check them on the actual matching unit rather than treating an open lid as proof the rest is ready.
The lid also serves as document support in the illustrated machine. Keep the working area clear enough for that setup and the paper you need to handle. Do not use a half-cleared stack of other documents as the machine's support. If the machine cannot sit steadily in the space available, resolve the working position before using it.
The manual gives separate punching limits for paper, transparent covers and other standard covers. Its paper limit is 25 sheets at the stated 80 g/20 lb specification. That number is not a universal batch allowance for every material in a mixed stack. Follow the actual applicable category limits, and keep the total binding capacity separate from a punching batch.
Use the document measure before opening the plastic comb
For opening the plastic comb, first select its suitable diameter using the manual's comb-storage and document-measure provision. Then place the plastic comb in the mechanism as illustrated. Pull the comb-opening lever forward to open it. This is the comb-opening action, separate from using the upright punch handle on paper.
Check the actual comb against the matching machine's requirements before loading it. The manual's overall capacity and its comb-size chart contain different maximum-size wording, so this guide does not prescribe a size from that table. Use the instructions applicable to your particular machine and comb, resolving a conflicting size statement before buying or binding.
A correctly selected plastic comb remains a different component from a wire spine. The binding spine compatibility guide reads the actual wire-binding offers' format, pitch and sheet-count statements separately. Those wire specifications do not establish a plastic comb's fit or provide an opening sequence for this Quasar+500.
Check the edge guide on scrap first
Fellowes calls for a scrap-sheet test before punching the final document. Set the edge guide for the actual document size and test the position. Inspect the test sheet before committing the front cover or the first finished page. A familiar paper-size name does not show that someone left the guide in the position your current job needs.
Look at whether the punched row sits where the intended document needs it. If the position requires adjustment, use the matching guide instructions and another suitable scrap check after that adjustment. This is a changed setting being checked, rather than repeatedly feeding a final sheet whose holes were already misplaced.
Keep the approved scrap sheet separate from the finished document. It records the alignment you inspected, without becoming an extra page in the booklet. If the paper size or guide setting changes during the job, the earlier scrap cannot establish the new position. Check the actual changed setup before continuing with the remaining final pages.
Punch covers and pages in their own batches
The illustrated binding sequence punches the front and back covers first, with the edge guide set for the document. Then punch the paper in small batches that stay within the applicable limits and are manageable for the user. Adjust the edge guide as needed under the matching instructions. The manual does not turn a 500-sheet binding figure into a 500-sheet punching allowance.
Keep track of which covers have been punched and which still need that stage. Place each with its intended document role. A front cover and back cover can have similar outward appearances, so use the actual document order you checked rather than allowing their position on a crowded table to decide which comes first.
If a sheet is already punched, inspect its existing state before presenting it to the punch again. Keep any page with an unsuitable hole position outside the final stack while you decide how to replace it. This guide provides no repair for misplaced holes or permission to exceed the machine's limits to finish a batch faster.
Begin loading punched pages from the front
For loading punched pages, Fellowes directs you to put them directly onto the opened comb, starting at the front of the document. Keep the prepared order visible as each part joins the comb. Continue through the actual pages and finish with the intended back cover, without silently inserting the scrap alignment sheet.
In the fictional reference-page project, pause after the front cover and first page are in place. Check that they belong at the beginning before adding the remaining prepared pages. This order check does not establish the paper's fit or the comb's capacity; those require the actual matching instructions and selected components already identified.
If another person hands you a batch, ask which pages it contains and which way the document runs. Check the handed-over batch's first and last page against your document order. Read its actual page order before loading it. Keep an unresolved batch beside the document instead of treating the helper's handover as confirmation that it belongs next.
Close the comb after the complete document is loaded
When all the intended punched sheets are on the comb, the manual directs you to push the comb-opening lever back. This closes the comb so you can remove the bound document. Keep that closing action distinct from the punch handle. The document is ready for an order check after removal, without another punching operation.
Read the finished sequence from the front cover through the final page and back cover. Check whether a page is missing, duplicated or in the wrong position. The manual allows sheets to be added or removed by opening and closing the comb again in the described manner. Use that procedure only with the matching unit and suitable components.
If a correction changes the document's thickness, revisit the applicable comb requirement instead of assuming the earlier selection still covers the larger stack. The ability to reopen a comb does not establish unlimited page capacity. Keep the changed document and its actual size beside the requirement you are checking.
Keep the focusbinding account with its own machine
The focusbinding FSD-2088 comb binder offer describes a manual metal machine requiring no electricity. It names plastic combs with 19 loops, a binding figure up to 500 sheets and a punching figure up to 25 sheets of 20 lb paper. Keep those retail limits attached to the FSD-2088 rather than the Quasar controls.
The FSD-2088 description also names 8.5 by 11-inch letter paper, 3 by 8 mm holes, a stated 14.3 mm spacing and 21 removable punching dies. Keep 19 loops and 21 dies attached to their different labels. Its hole-to-edge marking is written “3,6,9m”; this guide does not silently change that literal text into an assumed unit.
The bobbin and bobbin case compatibility guide separates the replacement component from the sewing-machine model it must match. Its Brother and Singer examples do not establish binder compatibility. The relevant habit is keeping a component's identity beside the exact machine, without borrowing another machine's controls because the part sounds familiar.
Finish with the document and the machine accounted for
Fellowes locates the waste tray underneath the machine, accessed from the right, and calls for it to be emptied regularly. Its storage sequence lowers the punch handle to horizontal and closes the lid. Follow the actual machine instructions for these actions after the binding work is finished. This article supplies no internal cleaning or jam-clearing procedure.
If you stop before loading all the pages, keep the remaining batch identifiable with the document it belongs to. Tell the next user whether the comb is open and which pages still await loading. Leave a note identifying the first page still to load before another user handles the unfinished booklet.
Quasar+500 comb binding ends with the actual pages in their intended order and the comb closed through its own lever. Keep the tested alignment, manageable punching batches and front-first loading together as one document task. For another machine or comb, read its applicable instructions before starting the next document.
Quasar+500 comb binding separates paper punching from opening and closing the plastic comb; this conceptual cover shows generic inactive binding equipment and loose paper without an exact model or operating diagram.