Crypto Commerce
Calculate print image resolution before choosing a print size
To calculate print image resolution , divide the photograph's pixel width by its intended printed width in inches, then do the same for its height. Those results describe pixels per inch, or PPI. Before dividing, check that the file and the proposed image area have matching proportions. Otherwise, the calculation needs a decision about cropping or leaving some space around the image.
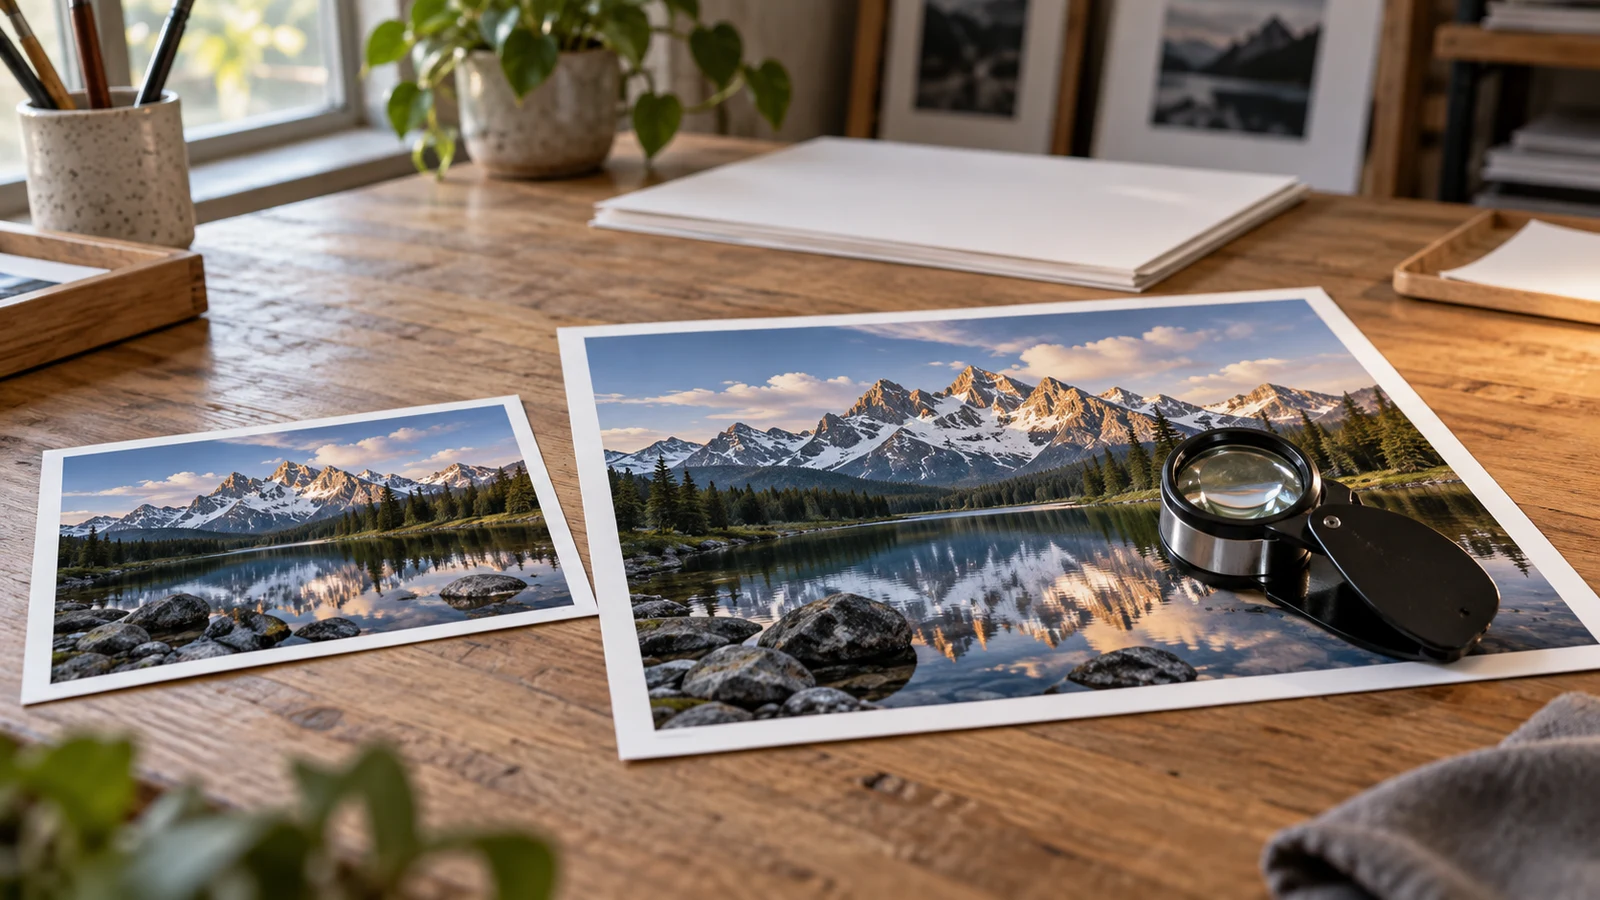
To calculate print image resolution, divide the photograph's pixel width by its intended printed width in inches, then do the same for its height. Those results describe pixels per inch, or PPI. Before dividing, check that the file and the proposed image area have matching proportions. Otherwise, the calculation needs a decision about cropping or leaving some space around the image.
Start with the photograph you intend to print, not the camera's megapixel label. You need the dimensions of that particular file and the physical rectangle it will occupy. The result gives you a specific proposal to discuss with a print provider. It does not establish a universal acceptable print size or guarantee how the finished photograph will look.
File Dimensions And Electronics Product Checks
Record the file's width and height in pixels, keeping the labels attached to the numbers. A landscape image's width belongs with the landscape print's width. If you turn the image to a portrait orientation, turn the corresponding physical dimensions with it. Comparing a long pixel edge with a short printed edge would answer a different question.
Use the version you actually plan to submit. An original photograph, a cropped copy and a smaller exported copy need separate dimension records. A familiar filename does not tell you which dimensions apply. Identify the selected version clearly enough that you can return to it after discussing the proposed print.
For the worked examples here, imagine an existing photograph measuring 3,600 pixels wide by 2,400 pixels high. These are fictional dimensions chosen to make the arithmetic readable. They are not claimed output dimensions for either camera discussed below. Keep your own file's measurements separate from this example rather than treating it as a camera specification.
If you cannot establish your file's pixel dimensions, leave the calculation unfinished. A camera model name or advertised megapixel count cannot supply the missing width and height of a particular saved image. Even a known total pixel count would not, by itself, describe the shape of its rectangle. Both dimensions matter for the proposed print.
Next, write down the intended image area in inches. Distinguish that area from the sheet of paper, the outer dimensions of a frame or a border around the photograph. The denominator in your calculation is the space occupied by the image itself. Dividing by a larger paper dimension would describe a different placement.
For example, specify an image area 12 inches wide by 8 inches high, without a border included in those measurements. If a provider's size label does not make that distinction clear, ask what it measures. Keep width and height in the same unit throughout the calculation; a pixel count divided by inches produces pixels per inch.
Aspect Ratios Within Electronics Product Checks
Compare width divided by height for the file and the intended image area. The fictional file has a ratio of 3,600 divided by 2,400, which is 1.5. The proposed 12-by-8-inch image area also has a ratio of 1.5. Their proportions match, so the complete image can occupy that rectangle without changing its shape.
A 10-by-8-inch rectangle has different proportions. Its width divided by height is 1.25. You cannot assume that the complete fictional image will fill it unchanged. Decide whether you want to preserve the whole image within that space or use a crop that matches the rectangle. This is a choice about the calculation's boundaries, not advice about what the photograph should show.
If you preserve the full image at a width of 10 inches, its height would be approximately 6.67 inches. That leaves unused space within an 8-inch-high rectangle. The image's PPI must then use its actual printed height, not the height of the surrounding space. Record the unused area separately if it will become a border.
If you instead propose a crop measuring 3,000 by 2,400 pixels, that retained rectangle matches a 10-by-8-inch image area. The crop supplies new inputs. Do not keep the original width of 3,600 pixels in the calculation after proposing that narrower retained image. Confirm the actual retained dimensions before treating the proposal as a finished specification.
Calculating Density During Electronics Product Checks
With proportions settled, calculate print image resolution separately along each edge. Use retained pixel width divided by printed image width, then retained pixel height divided by printed image height. Keeping both divisions visible helps reveal a swapped dimension or a crop assumption that has not been carried through.
For the fictional uncropped file at 12 by 8 inches, the calculation is straightforward. Width: 3,600 pixels divided by 12 inches equals 300 PPI. Height: 2,400 pixels divided by 8 inches also equals 300 PPI. The matching results describe the same image density along both edges under the stated placement.
That result means the proposal allocates 300 file pixels to each printed inch in either direction. It is not a finding that every part of the photograph contains clear detail, nor a recommendation that every print must use that density. The arithmetic describes the relationship between this file and this image area. The provider's requirements remain a separate question.
Suppose you had divided the uncropped file directly by 10 and 8 inches. You would have obtained 360 PPI horizontally and 300 PPI vertically. Do not average those results to hide the disagreement. They show that the chosen rectangles have different proportions. Return to the placement decision and specify the retained image or the smaller image area before continuing.
Write units beside each result. A bare number such as 300 is easy to detach from its meaning when you return to your notes. Also distinguish your calculated file PPI from a provider's printer specification. If its instructions use a resolution label without explaining what it measures, ask how that requirement applies to the image file you will supply.
What The Canon PowerShot G7 X Mark II Kit Listing Establishes
Republeq's supplied catalog description for the Sony ZV-1 II white bundle advertises 20.1MP stills, but that listing-level figure cannot establish a particular photograph's print image resolution at your chosen size. The product page is a camera listing, not evidence of the dimensions retained in your selected file.
The supplied description of the Canon PowerShot G7 X Mark II kit identifies an international-version camera with a 20.1MP sensor. That wording describes the sensor. It does not establish the width and height of an individual photograph after saving, cropping or exporting. Use the actual file dimensions for those inputs.
The similar advertised counts therefore do not resolve this print exercise or rank the cameras. One description names stills; the other names a sensor. Neither description supplies your photograph's retained rectangle and intended physical size together. You can complete the print calculation for an existing file without making an equipment purchase or inferring a camera's performance.
Crop And Enlargement Arithmetic In Electronics Product Checks
Return to the proposed crop of 3,000 by 2,400 pixels. At an image area of 10 by 8 inches, its width calculation is 3,000 divided by 10, or 300 PPI. Its height calculation is 2,400 divided by 8, also 300 PPI. The result uses only the retained pixels; the discarded portion contributes nothing to this placement.
Now keep that crop unchanged but propose an image area of 15 by 12 inches. Its proportions still match. The width calculation becomes 3,000 divided by 15, or 200 PPI, and the height calculation becomes 2,400 divided by 12, also 200 PPI. The file has not lost additional pixels. The same retained rectangle is being spread over larger physical dimensions.
The uncropped fictional file shows the same distinction. At 18 by 12 inches, its 3,600-by-2,400-pixel dimensions produce 200 PPI along both edges. This is a separate proposal from enlarging the cropped version. Label each option with its own file dimensions so that a discussion about print size does not quietly switch between different image boundaries.
Changing a resolution metadata value without changing pixel dimensions does not create image detail. If your chosen physical image area also remains fixed, the division still uses the same inputs and gives the same result. Do not substitute a newly entered metadata number for the density you calculated from the file and the intended print dimensions.
Resampling needs a separate record because it changes the pixel grid. Imagine that the 3,000-by-2,400-pixel crop is resampled to 6,000 by 4,800 pixels. At 10 by 8 inches, the new grid calculates to 600 PPI in both directions. That number describes the resampled file; it does not establish that additional scene detail was captured.
Keep original dimensions, retained crop dimensions and any resampled dimensions distinct. If you do not know whether the selected file was resampled, record that uncertainty rather than claiming an untouched original. The proposed density can still describe the file you have, while the history of its pixels remains unresolved.
A Print Specification Beyond Electronics Product Checks
Turn your chosen calculation into a short specification before ordering or uploading. For the fictional cropped example, the specification below preserves the inputs and the result together. It also makes clear which production questions the arithmetic has not answered.
- Starting file: hypothetical image, 3,600 pixels wide by 2,400 pixels high.
- Proposed retained crop: 3,000 pixels wide by 2,400 pixels high, without resampling.
- Intended image area: 10 inches wide by 8 inches high; paper and border dimensions still to be agreed.
- Calculated density: 300 PPI horizontally and vertically.
- Open question: whether this proposed file and image area meet the intended provider's requirements.
Ask the provider whether its named print size refers to paper or image area, how it handles mismatched proportions, and whether it applies automatic cropping or resizing. Request its file requirements for the particular output you want. If its answer changes the crop or physical image dimensions, update those inputs and repeat the calculation before proceeding.
For equipment, configuration or software suitability, use the separate electronics product checks guide. If you later consider buying equipment with cryptocurrency, keep that choice conditional on the product and payment options available at the time. An equipment decision does not replace the measurements needed for the photograph already in hand.
Choose one existing photograph and write its pixel dimensions beside one proposed image area. Resolve the proportions, calculate both edges and keep any unknowns visible. Take that specification to the intended print provider before submitting the file. The useful outcome is an agreed image rectangle with traceable arithmetic, rather than a print-size promise inferred from a camera label.