Home Decor & Table Settings
place card holder setup: place low labels and tall table signs
Count the labels, test the actual cards in each holder, and walk the table approach before fixing the final placement.
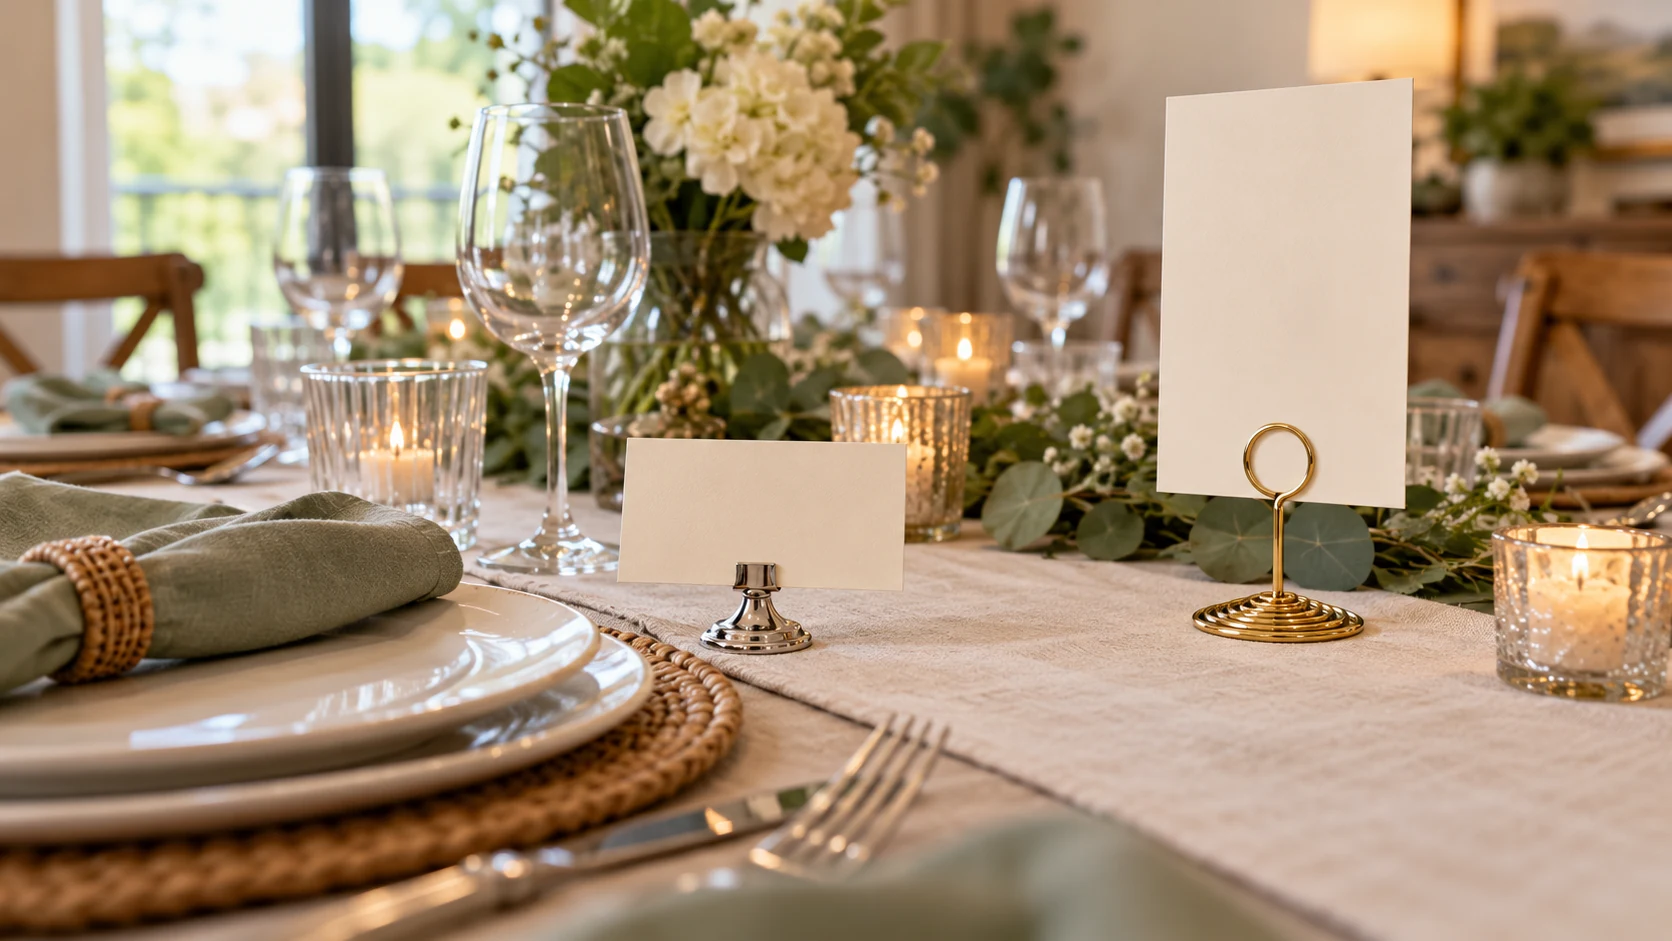
A place card holder setup begins with the table, not a product photograph. A low holder can keep a guest label close to the plate, while a taller stand can identify a table or station from farther away. The useful height depends on the real card, the objects around it, and the direction guests approach. Start by listing each label you need. Then test a short stand and a tall stand with sample cards before you assign the rest of the room. The two linked offers here are physical examples, not a promise that either will hold every card securely or read clearly in every venue.
Count the stations and labels first
Draw a simple map of the room or table. Mark the entrance, serving area, seated places, and any table number guests need to find. Count labels by role rather than by the number of holders in a package. A guest name beside a plate does a different job from a large table number at the end of a row. Write down what each card must say and where someone will look for it. If a station changes during setup, change the map before you distribute the holders. One current list is easier to use than several partial guesses.
Make one sample of each type of card you plan to use. Use the actual paper size and roughly the same amount of text. A blank rectangle does not tell you whether a long guest name will fit or whether a table number will be easy to spot. Put the card in a holder and stand at the place where a guest will first search for it. You are testing your own arrangement, not measuring the seller's staged scene. Check both sides if people can approach from more than one direction. Keep the sample cards until the final setup is complete.
Set the tables before placing every label. Plates, flowers, serving dishes, and seating cards all use the same limited surface. A stand that looks clear on an empty table may disappear behind a centerpiece after the room is dressed. Walk around with a single sample holder and move it to each proposed station. Leave space for people to sit and reach the things they need. If a holder falls or wobbles with your actual card, stop and use another placement or card size. A product listing cannot settle that test for you.
Read the two holder offers as different forms
The benagee mini menu sign stand listing identifies small stands for menu signs, place cards, and table numbers. Its one native Product gallery image shows a group of short silver-toned stands with a card slot above a broad base. This is a useful example of a low label position. The picture does not show your chosen card stock, guest name, or table surface. Check the exact offer and test one real card before treating the form as suitable for all the labels on your map.
The Fayrimi tall card stand listing identifies a gold-colored party tableware stand with an 8.75-inch height in its native description. Its one native Product gallery image shows a card held above a spiral base beside a decorated cake. That image illustrates a taller sign position, but it does not measure how a printed table number will read from your entrance. The two offers have different heights, bases, brands, and photographs. Use their forms to plan a test, not as a controlled comparison of stability or visibility.
Neither seller picture can tell you whether a particular guest can read a name from the other side of your table. The short stand's photo uses a small display card; the tall stand's scene uses a birthday card. Your cards may have different lettering, color, and weight. Write those differences down rather than borrowing a claim from the pictures. The reliable next step is to place each actual sample card in the proposed position and walk the same path your guests will use. That keeps the setup tied to the room you have.
Test a low label beside the place it names
Put a low holder near the place it identifies. Step back to the table approach, then sit down. The label should be easy to associate with the right setting without blocking a plate, glass, or shared dish. Try one position just above the plate and another to the side. If you must lean over someone else's setting to read it, move the holder. If a centerpiece hides it from the main approach, you may need a different position or a separate table number. Do this with a sample before placing a full set of names.
Check the card in the slot rather than assuming it will stand upright. A folded card, thick printed card, and thin paper slip may behave differently. Use the size and stock you intend to put out. If the card curls, leans, or slides during your test, change the card or holder plan. Do not add an improvised clip or adhesive and then assume the listing has approved that modification. The goal is a label guests can find without nursing each stand through the event. Make one sample that survives normal handling at the actual table.
A small holder can serve several roles, but keep each role clear. If it labels an individual seat, use a name or another identifier the guest expects. If it labels a food item, place it close enough to the dish that nobody has to guess which one it names. If it marks a table number, check whether its small size is still visible on the approach. Those are separate tests. A package count does not make the stand appropriate for every role. One clear sample at each kind of station is more useful than opening all the holders at once.
Give a tall sign a clear destination
A tall stand can lift a card above nearby table objects, but the added height also changes where its base sits and what it may obscure. Put a sample at the end of the table, then view it from the entrance and from the aisle. Check whether the card faces the arriving guest rather than a wall or another table. If people come from both directions, test both approaches. Move the base away from the edge if normal table activity might knock it. Judge its behavior with your actual card and layout; the native party photograph is only an illustration.
Keep tall signs tied to a specific station. A table number placed in the middle of several similar tables can make guests pause and guess which one it means. On your map, draw a line from the card to the table or service point it identifies. Then stand where a guest will see it first. If that line crosses another table, shift the stand or adjust the wording. The sign does not need a decorative speech. It needs to direct the reader to one place. After moving it, update the map so helpers set it in the same location.
The holiday place card keepsakes guide addresses whether a guest may take the card, holder, both, or neither at the end of an event. Decide that policy separately. This setup tutorial is about where the holders sit while guests are arriving and using the tables. A stand can be well placed and still require a clear end-of-evening instruction. Tell helpers which items belong to the venue or household, and keep that ownership note with the station map. The visual position of a label does not answer whether it is a gift.
If a tall card blocks a shared dish or a guest's view across the table, move it toward an end or a separate station. Try a lower card in the same holder only if it still fits and remains readable during your test. Do not assume all tables need the same sign height. A crowded serving area and a quiet seated table ask people to look at different things. Choose a position that works for each role, then repeat it consistently across matching stations. The final arrangement should help people find their places without turning the tables into a line of competing signs.
The two product photos show why visual height is a planning input. The benagee image presents ten compact stands against a plain background. The Fayrimi image puts one taller stand beside a party cake. Neither scene reproduces your tables, card lettering, or approach path. Use the photos to recognize the holder forms; use your sample cards to decide the placement. If you use both kinds in one room, give them distinct jobs. Low stands might mark individual settings, while taller stands might mark table groups. Verify that division in your own walk-through before treating it as the final setup.
Walk the room and save the final map
Once the tables are dressed, walk from the main entrance without consulting the map. Can you find the first table number, then the correct individual label? Ask another helper to do the same if one is available. Notice where they stop or look twice. Move one sign at a time and repeat the walk. This is a practical check of the room, not a measured claim that one holder is universally more readable. Photograph the finished positions if helpers will reset tables later. A picture paired with the map makes the placement easier to reproduce.
The Thanksgiving dinnerware count guide starts with the number of seats before calculating plates and other pieces for a meal. The same seat count can tell you how many individual labels to prepare, but this article does not plan dinnerware. Keep the two lists separate. A holder count may include spare pieces, while a place-card list should reflect the actual guests and table positions. If a seat changes, update the card, the station map, and any helper instructions together so the label does not point to an old arrangement.
Before guests arrive, make one final pass with the actual cards in place. Check that names or table numbers face their readers, that a short stand has not been hidden by flowers, and that a tall base does not sit where someone will move a dish. Pick up any spare holders and cards so they are not mistaken for active stations. Leave the map with the person who will answer seating questions. If the room changes after the check, revise the map instead of relying on memory. Small corrections are easier before a guest has to ask which table a sign means.
The finished setup is a set of tested locations, not a claim about a package. Keep the exact offer URL and selected quantity for whichever stands you buy, but do not treat a listing photo as your placement proof. The benagee and Fayrimi products are different forms with different heights and bases. If neither works with your cards, choose another verified holder or change the card design. Save one example of the final card and the station map for a later event. That lets you reuse the useful decisions without assuming the next room has the same sightlines.
Keep checkout details with the station plan
If you consider cryptocurrency or USDT while buying holders on republeq.com, settle the product and quantity before opening the payment screen. The benagee small stands and Fayrimi tall stands are separate offers. Keep the exact product URL, selected variant, quantity, delivery address, and current total with your station plan. Recheck the checkout's current instructions in a live session; do not use an old screenshot, a message from another person, or a payment address copied from a previous purchase. Read any network or transaction details immediately before authorizing a transfer. If the method you expected is unavailable, stop and use the site's current instructions or its support channel rather than guessing a destination. Save the confirmation and any transaction reference after checkout. If a transfer is pending or the result is uncertain, verify the order state through the merchant's current account or support channel before trying another payment. An uncertain result does not prove that no payment happened. The same care applies to the holders: a gallery picture can show a form, but the confirmed offer identifies what you ordered. Keep the sample card dimensions and final station map nearby so you can check the delivered holders against the setup you actually planned.