How-To Guides & Tutorials
How to name an angle in a paper sketch
Identify the vertex, two rays and intended opening before naming a paper angle. Distinguish the Faithfull and QLoztyse protractor descriptions.
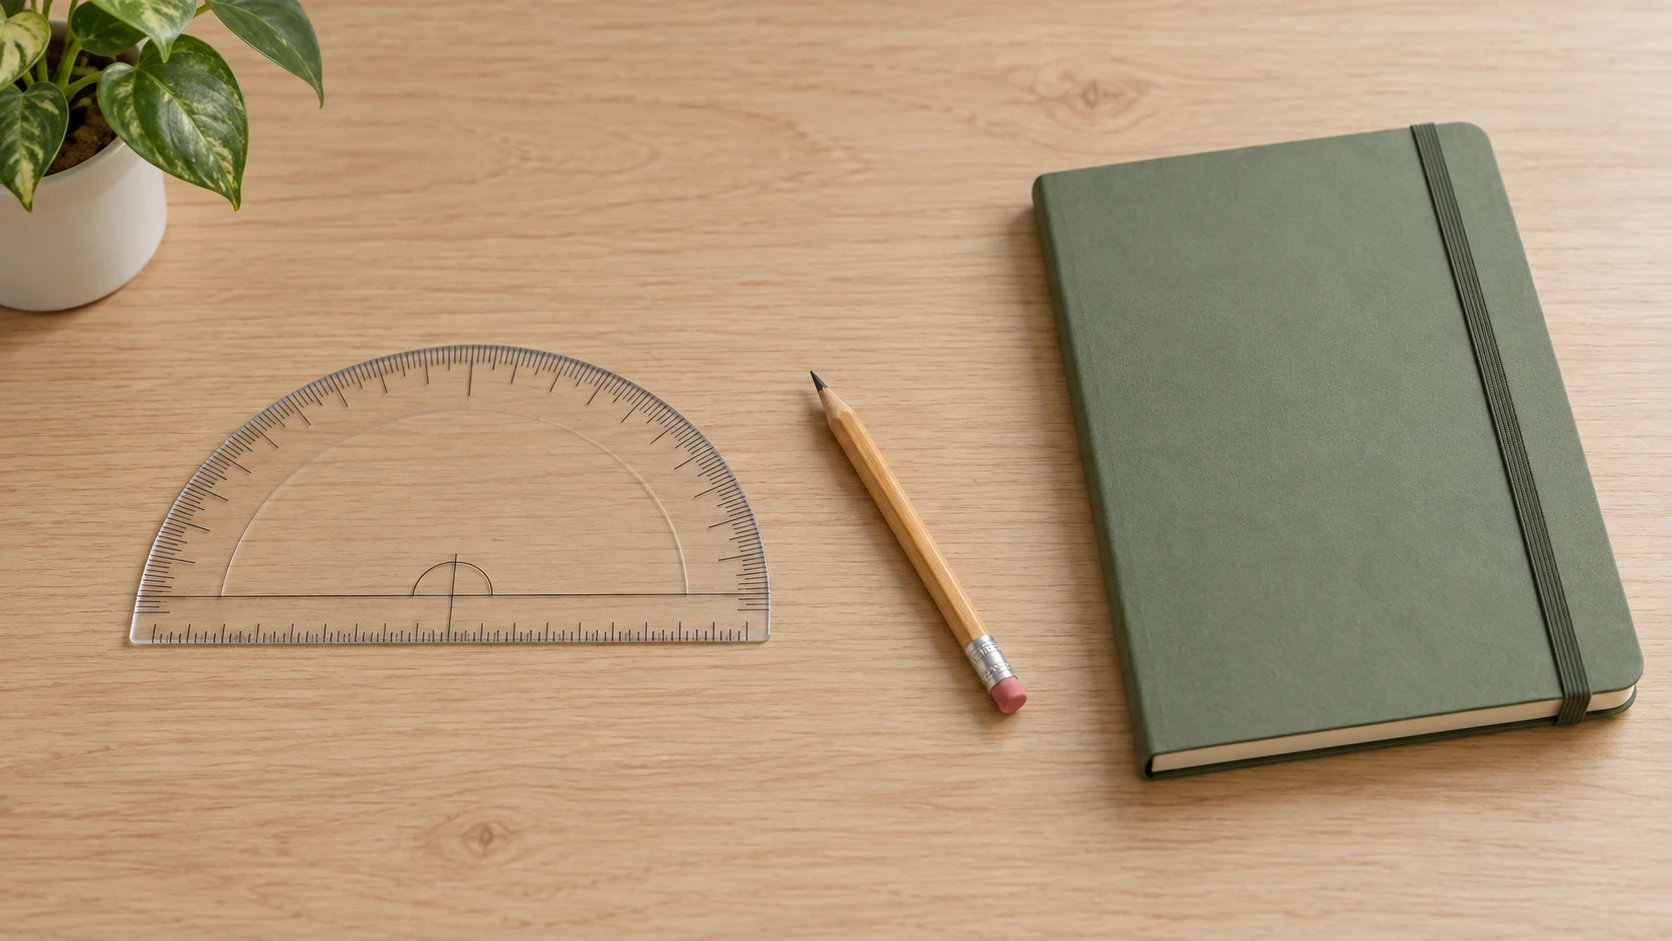
How to name an angle in a paper sketch starts with finding its meeting point and choosing the two directions that form it. Mark those references, indicate the opening you mean and give the angle a name another reader can follow. Add a numerical measure only when you have a basis for that number.
This tutorial concerns ordinary geometry notes on paper. It draws on the angle definitions in John Casey's 1885 edition of Euclid and uses original worked examples. The Faithfull and QLoztyse protractor offers illustrate different equipment descriptions. Their listing details supply no shared control sequence or certified measurement procedure.
Step one: identifying the vertex and rays in a sketch
For identifying the vertex and rays, begin where the two intended directions meet. In the ordinary angle diagram discussed here, that common endpoint is the vertex. Give it a clear letter, such as O. Then identify a point along each intended ray, away from the vertex, and give those points different letters.
A ray begins at its endpoint and extends in one direction. A short drawn stroke can represent part of it without claiming that the stroke's visible end limits the mathematical ray. Be clear about which direction leaves the vertex. Two strokes lying on the same straight line can represent opposite directions or the same direction, depending on the references you intend.
Casey's angle section calls the two lines the legs and their meeting point the vertex. It also treats an angle through the turning from one leg's direction to the other. Those definitions help distinguish the opening from the lengths of the marks on the page. A longer drawn stroke does not, by itself, make the angle larger.
If several lines cross at the point, select the pair before naming the angle. Looking only at the crossing leaves several possible openings. You can temporarily point to one ray and then the other while explaining the sketch, but the final note should identify the intended pair without depending on that conversation.
Step two: put the vertex in the middle of the name
Use three letters when they are needed to identify the angle. If O is the vertex, A is on one selected ray and B is on the other, write angle AOB. The middle letter identifies the vertex. Angle OAB instead puts A at the vertex and therefore describes a different arrangement.
Place A and B far enough along their respective rays to make their association clear in your own sketch. Avoid placing a label exactly where another line crosses, if that makes the intended point ambiguous. The letters name the chosen points; they need not be the physical tips of the visible strokes.
In a triangle labelled A, B and C, angle ABC has B as its vertex. Angle BAC has A as its vertex, and angle ACB has C. The same three point letters can therefore identify different corners when their order changes. Check the middle position each time rather than treating the letters as an unordered list.
Casey's designation rule uses three letters with the vertex in the middle. Keep that convention visible when checking your own name. Read it back by finding the first ray, the middle vertex and the second ray. If you cannot follow that sequence unambiguously on the page, revise the labels before adding more information.
In an original example, draw three rays from O toward A, B and C. Angle AOB uses the rays toward A and B. Angle BOC uses those toward B and C. The names share a vertex and one ray, while identifying different pairs. Do not write only angle O if the surrounding diagram leaves several possibilities.
Step three: indicate which opening you intend
The same pair of directions can be joined by turning in either direction around the vertex. Casey discusses the smaller opening and the larger re-entrant opening. If your sketch needs the larger route, make that intention explicit. Two letters along the rays and a vertex alone may not communicate the full route you mean.
A short curved mark near the vertex can identify the chosen opening in an ordinary sketch. Place it within the intended region rather than across an unrelated gap. If a larger outside route is intended, indicate that route clearly and explain it in the accompanying note. This is diagram annotation, without a prescribed protractor operation.
For a simple smaller opening, you can say so beside the name when ambiguity would otherwise remain. Naming angle AOB does not supply a numerical measurement. The letters identify references; the annotation identifies the intended opening. Keep those roles distinct before trying to attach a number.
The paper circle and compass tutorial similarly begins with a named centre and a recorded radius before drawing. For an angle, the vertex and two directions are your references. Its radius-setting and compass-handling steps do not provide an operating method for a protractor.
Step four: describe the angle without inventing a measure
When your information establishes a right angle, you can describe it as right. An acute angle is smaller than a right angle; an ordinary obtuse angle is larger than a right angle and smaller than a straight opening. These classifications describe size relationships. They do not make an approximate freehand sketch into a measured result.
When reading the older source, its phrase right line means a straight line. It should not be mistaken for a right angle. The angle section names those concepts separately. Read the definition around an unfamiliar term before carrying that wording into a modern note or treating it as a feature of an instrument.
Casey's definitions explain a right angle through equal adjacent angles formed where one line stands on another. His acute and obtuse definitions compare the angle with a right angle. Use the relevant relationship when it is given or established. Do not promote an almost square-looking corner to an exact right angle solely because of its appearance.
If an exercise supplies the type, retain that information with the named references. If you are only making a visual estimate, call it an estimate. A sketch can communicate an intended acute opening even when it is not drawn precisely to scale. Distinguish the intended geometry from the quality of your pencil marks.
A numerical measure, where known, needs its angular unit. A note containing only a number may leave the reader wondering whether it concerns the opening, the length of a ray or an equipment size. Write the unit and angle name together. Keep the source of the number clear, whether it is supplied by the problem or obtained using an appropriate method.
Step five: separate protractor dimensions from angle markings
The Faithfull Multi Purpose Angle Protractor is named as 100 millimetres, with a four-inch expression in the title. Its native description repeats that name. It does not identify the dimension's axis, the graduation interval, the measuring range or the scale layout in the captured text.
The 100-millimetre title therefore supplies no angular measure for your sketch. Nor does it establish the angle markings you would find on the actual item. Ask for the scale details and matching instructions if you are considering it for a particular task. The sparse description cannot be completed with another protractor's specifications.
The QLoztyse Braille Protractor has a different account. Its description identifies a double-layer design with a blue semicircular protractor and white pointer above a blue base and red rotating arm. It names five-degree angle marks, raised circles every thirty degrees, diamonds every fifteen and an elongated bar at ninety.
Its Braille labels identify forty-five, ninety and one hundred thirty-five degrees. The record describes PP material and one protractor in the package. It states dimensions of eighteen by twenty-four by half a centimetre, alongside an allowance for a one-to-two-centimetre manual-measurement difference. Retain that stated allowance rather than treating the dimensions as a verified tolerance.
Those features describe the QLoztyse offer. They do not establish its measured accuracy, certify accessibility for an individual reader or supply a method for embossing paper or moving its arm. This article teaches no Braille reading procedure. Obtain applicable instructions and appropriate support for the actual person and activity before relying on those features.
The tape-measure numbers guide separates physical dimensions, scale divisions, package quantity and accuracy. Apply that distinction to these offers: a centimetre dimension describes size, a degree interval describes angular markings and a package count describes the order. One cannot answer the others' questions.
Step six: checking an angle name against the drawing
For checking an angle name, return to the references before judging the page's neatness. Find the middle letter of the written name and locate that vertex. Follow the two rays toward the outside letters. Then inspect the annotation showing the intended opening. These checks answer whether the note identifies the geometry you intended.
In an original example, suppose O is the meeting point of rays toward P and Q. Your intended name is angle POQ, but you have written OPQ. The middle letter in the written version is P. Correct the name to match O as the vertex; making the strokes darker would not resolve that naming error.
If two labels refer to points on the same selected ray, explain which name you are using. Consistent labels make two readers' notes easier to compare.
If the letters are correct but the curve marks the wrong region, change the annotation. If the diagram is crowded, redraw the relevant pair separately and retain the same named references. Treat that redraw as another representation of the intended geometry, without claiming that its freehand opening provides a new measurement.
You can turn the sheet to inspect the references from another position. The physical orientation of the page does not change the named pair's intended opening. Check that labels still refer to the same points after moving it. If you redraw the figure instead, deliberately preserve the relationships rather than assuming every new pencil stroke reproduces them.
Keep the naming exercise distinct from a precision task
A clear angle name can help explain a paper diagram without establishing a tolerance for physical work. The naming rule identifies the selected rays and vertex. It does not approve a machining setup, navigation method or clinical measurement. Those activities require their own equipment, procedures and evidence.
When passing the sketch to another reader, ask them to identify the vertex and intended opening from the note. Their answer can reveal an unclear label or annotation. Agreement about the name still does not independently verify a numerical measure. Keep any measurement record beside the sketch with its method and applicable requirements.
Retain the actual protractor offer when considering an order
When considering a protractor through republeq, retain the exact equipment reference alongside the angle task you intend to explain. Buyers preferring crypto, including USDT, still need the actual scale and instructions before selecting an instrument. Faithfull's short title identifies a length expression without supplying the complete marking layout. The QLoztyse description names angular intervals and raised features, while leaving measured accuracy and the applicable handling method to establish separately. Read the payment methods offered for the resulting basket after investigating the equipment questions that matter to your task. Both native offers list cryptocurrency among payment categories. Neither record specifies the complete asset selection, network requirements or payment arrangement at checkout. A reference to USDT cannot fill those gaps. Follow the current instructions for the offered method and seek clarification if an essential detail is absent in that checkout. This tutorial supplies no wallet address, network selection or transfer procedure. Review delivery and return information for the actual order rather than inferring it from an equipment dimension or a planned lesson date. Retain any supplier answer about markings, package contents or matching instructions with the exact item it identifies. Save the order confirmation and the payment confirmation together so later questions concern the same purchase. If another instrument is proposed, inspect its own scale, identity and offered payment options before accepting it. The geometry in your paper sketch can remain unchanged while you investigate equipment. A completed transaction cannot confirm an angle measure, certify accessible use or establish that a particular protractor meets a precision requirement.
Finish by reading the name back against the sketch: outside point, vertex, outside point, followed by the opening you marked. Leave an unknown numerical measure open until it has its own evidence from an appropriate method of measurement.