Problem-Solving Articles
Hot glue strings: bring the nozzle closer to the work
Use the P305 manual to check nozzle position, free glue flow and careful withdrawal on scrap before applying hot glue to a finished craft joint.
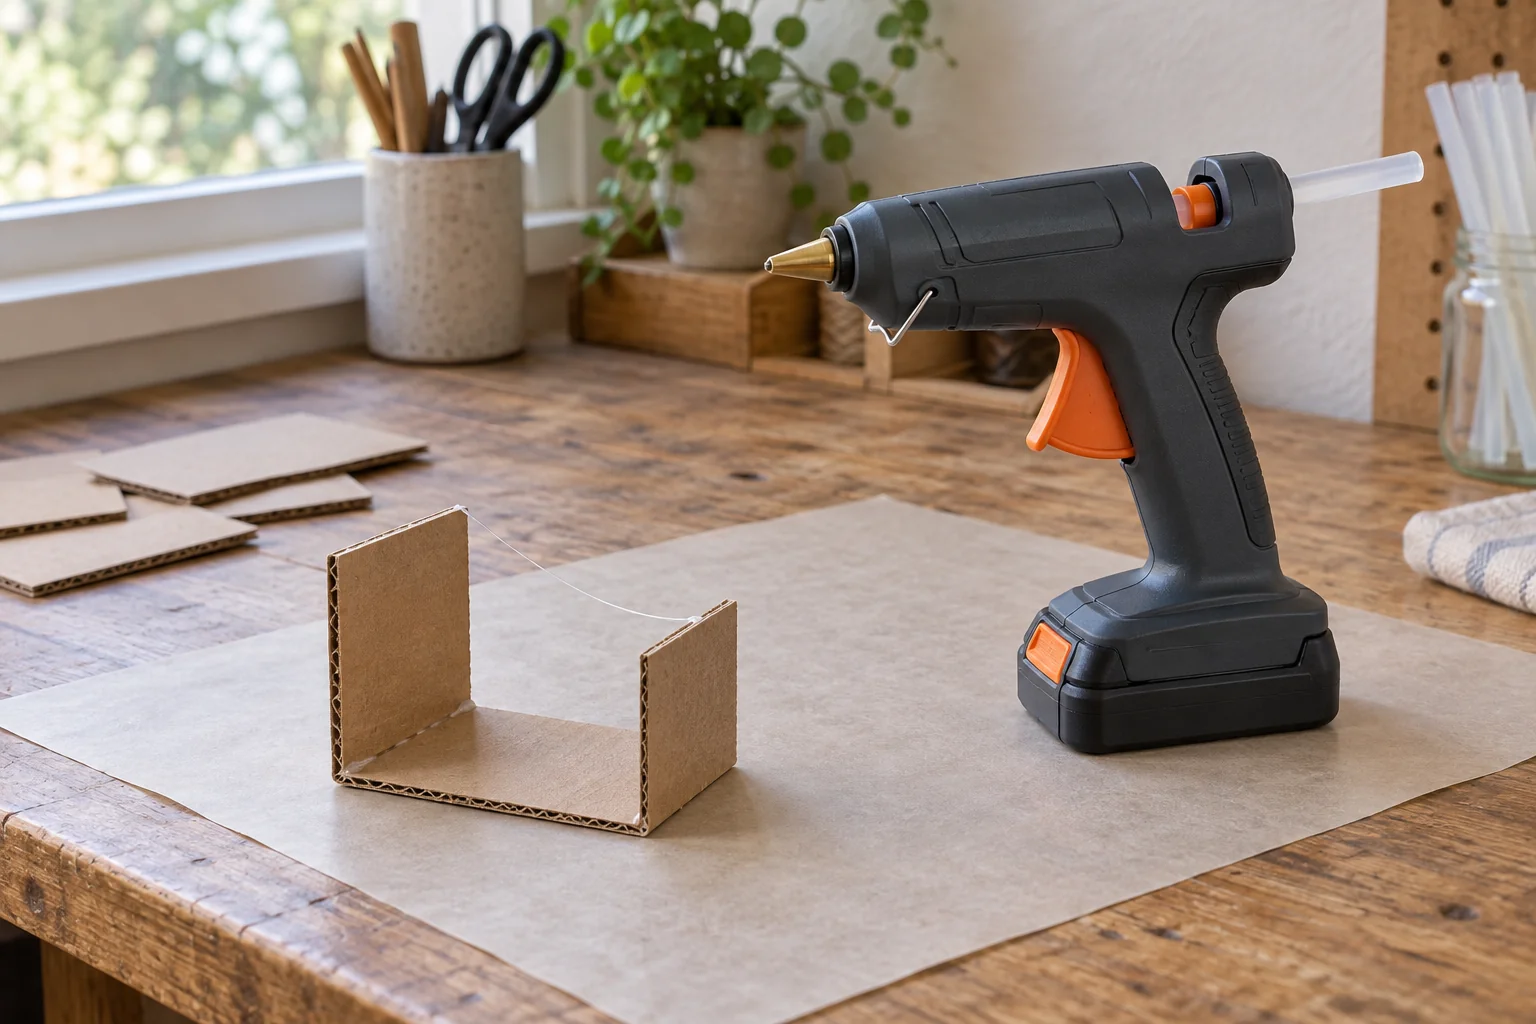
When a strand follows the nozzle away from a craft joint, pause before squeezing out another bead. The Ryobi P305 operator's manual identifies a specific contributor to hot glue strings: holding the gun too far from the intended surface. It also describes a finishing movement after releasing the trigger, tilting the nozzle slightly to the side and carefully drawing it away. Try those controls on scrap similar to your project before changing the amount of adhesive or starting another finished piece. Keep your fingers clear of the hot nozzle and newly applied glue throughout the test. Wear eye protection with side shields marked to comply with ANSI Z87.1, as Ryobi directs.
A useful test separates the application from the withdrawal. Watch where the glue lands while you dispense it, then watch what happens after you release the trigger. A strand across the gap during dispensing calls attention to the gun's position. A strand that develops as you lift away calls attention to that final movement. Both can happen in the same application. Changing everything together makes it harder to discover which adjustment helped, especially on small decorations where another squeeze quickly leaves more glue than the joint needs.
Glue gun nozzle distance starts with a clear approach
Arrange the pieces so you can bring the nozzle close to the intended application surface without touching nearby objects. For a small paper embellishment, that might mean working on the flat component before joining it to the rest of the project. This is an example of planning access, not permission to use hot glue on every paper or finish. Ryobi cautions that thin or porous material can let the glue affect the underlying surface or adhere where it is difficult to remove. Include the actual layers beneath your proposed joint when deciding what the scrap test needs to represent.
Check the approach with the gun switched off and cool before you begin. A tall ornament, an upright box wall or another loose tool can obstruct the route to the joint. Move those obstacles while nothing is hot. The useful glue gun nozzle distance is the position from which adhesive can reach the intended area under control; the manual does not supply a universal gap measurement. Avoid inventing one from the length of an existing strand. The shape of your work and access to its bonding surface determine whether you can follow the manufacturer's instruction comfortably.
Keep a suitable place for the gun beside the working area so you do not have to carry it across the project between applications. The P305 instructions call for an upright position with paper underneath to catch drips during heating, and require the nozzle to remain clear of anything it could contact. Keep that parking position separate from the loose pieces you are arranging. A strand landing on an unused component can otherwise send you back into cleaning or remaking work before the intended joint has even been assembled.
Use a hot glue flow test before the finished joint
The Ryobi P305 glue gun offer identifies an 18V ONE+ set with a P163 battery and charger. For the P305 gun itself, the manufacturer's manual specifies standard 0.45-inch glue sticks and notes that different stick types reach working temperature at different rates. Its instruction is to test on scrap to establish that the adhesive is ready. A battery installed and an illuminated indicator do not replace that flow test. The manual treats an illuminated gun as hot, which is a safety condition to respect while checking its application behavior.
For a hot glue flow test, use a scrap piece similar to the intended work and let the glue melt until it flows freely. Pulling harder on a reluctant trigger is specifically discouraged because it can damage the gun. If the test will not dispense without forcing, stop pressing. Recheck the stick and operating instructions for your exact unit before attempting the project. Do not try to resolve resistance by inserting another tool into the feed opening or by bringing your fingers near the nozzle. A difficult feed and a trailing strand are different observations and need separate attention.
Make the test easy to compare with the real application. A bead on a large open offcut does not show whether you can reach a narrow corner without drawing glue across the adjoining face. Use an accessible scrap arrangement that resembles the joint's orientation. A simple practice corner can reveal whether the approach is awkward before you commit a finished box or decoration. There is no need to reproduce the finished object in full; represent the part of the movement that caused the problem and leave room to put the gun down safely.
Release the trigger before withdrawing the nozzle
With the P305, apply only the quantity needed for the job. The manual's application sequence releases the trigger when that quantity has been dispensed, then tilts the nozzle slightly sideways and carefully pulls it away. Rehearse that sequence on the test piece. Notice whether you are still squeezing as you lift: continued dispensing would make the movement difficult to assess. Use a slow enough pace to see the transition from placing adhesive to leaving the joint, without turning the exercise into a long pull across the workbench.
Compare two test applications by changing the withdrawal while keeping the intended joint and glue quantity similar. Describe the result simply: a strand still bridges the gap, the nozzle catches an adjacent edge, or glue lands where you intended. These observations tell you what to adjust next. They do not measure bond strength. If the strand becomes less troublesome but the cooled parts still separate, treat that as a bonding question and consult the adhesive's material guidance. A tidier application alone does not establish that a joint will withstand its intended use.
Avoid chasing a fresh strand with a fingertip or pressing down a newly glued component with bare fingers. Ryobi explicitly warns that pressure can force hot glue out at the edges or heat the bonding surface enough to burn. For very small objects it recommends tweezers or tongs to keep fingers away from the nozzle. Plan the joining movement before dispensing. When two objects are involved, the manual directs the user to bring the other object to the one already carrying glue, rather than picking up the freshly glued object.
A temperature selector needs its own instructions
The Stanley Dual Melt 80W bundle offers a different set of controls: its actual description identifies high and low temperature settings with a one-touch switch. It is listed as a bundle of five. Those features are useful to distinguish from the P305's documented operating sequence, but they do not establish a shared warm-up time or an interchangeable glue-stick specification. The Stanley offer does not identify an exact manufacturer model, so check the supplied unit's own instructions before choosing its setting or adopting a model-specific procedure.
Do not make a temperature change merely because a strand looks fine or thick. First use the controls that the instructions for your gun actually describe, and check the adhesive's stated use. A high/low selector gives you a choice whose applicability still needs to be established for the material and glue in hand. If you cannot establish that pairing, leave the finished project untouched until you can. The wattage and bundle count describe the offer; neither tells you which setting will protect a delicate component or produce a suitable joint.
Decide whether the finished object needs hot glue
Some paper projects need pages to remain accessible or removable after assembly. Before adding adhesive to a stack, consider how it will be opened and handled. The thick paper packet fastening plan helps define that job separately from the tool chosen to hold it. An application can be free of strings and still make a packet awkward to use. Establish the required finished behavior while you can still choose the construction method.
For a card intended for the post, check the whole mailing after deciding which layers and decorations belong on it. The greeting card budget guide considers the finished mailing alongside the card supplies. Keep a trial assembly for checking that plan before making a batch. Let every hot-glued trial cool completely before moving it, as the P305 manual requires. Once the result suits the project, arrange the remaining pieces so the same clear nozzle approach and safe joining movement remain available.
After the last application, follow the P305 shutdown and storage instructions as carefully as the dispensing sequence. Turn its switch off, place it on a protective surface while it cools, and allow the stick and nozzle to cool completely before removing the battery. The manual requires at least thirty minutes of cooling before storage and removal of the battery for storage. It also identifies dried glue around the nozzle as something to remove to help prevent later drips and clogs. Keep that maintenance separate from trying to catch a hot strand during use. A clear, cooled tool and an unobstructed work area give the next session a more useful starting point than yesterday's scattered scraps.
Check the order before paying with USDT
If you choose USDT for a glue-gun order at republeq.com, confirm the exact offer and supplied contents before approving payment. The Ryobi description identifies a P305 with a battery and charger; the Stanley description identifies an 80W dual-temperature bundle of five. Keep the product reference and the order confirmation so a single tool, a kit and a multiple-unit bundle remain distinguishable. Ask the merchant about any unresolved contents or identification question through its published support route before placing the order. Then follow the payment instructions actually presented for that transaction. A general cryptocurrency payment label does not specify the supported token network or receiving details. Verify those details at checkout before authorizing a wallet transfer, and retain the payment reference with the order information. Review the delivery terms for your destination and the merchant's current cryptocurrency purchase policy. Its published terms exclude refund returns for cryptocurrency purchases; exchange eligibility remains subject to the stated conditions and product availability. Do not replace those merchant terms with a tool manufacturer's separate warranty. When the goods arrive, compare the supplied units and accessories with the retained order before putting a gun into service. Use the relevant reporting process if the shipment differs, and read the instructions supplied for that actual unit. Paying with USDT does not settle which adhesive suits your material, whether a selector should be high or low, or when glue is ready to apply. Those decisions still depend on the tool and adhesive instructions and the result of a safe scrap test on material representative of the intended work.