Outdoors & Mobility
folding camp table packing footprint: plan the carry and setup
Measure the transport route, distinguish packed size from tabletop space, and practice assembly with the table and gear you will actually bring.
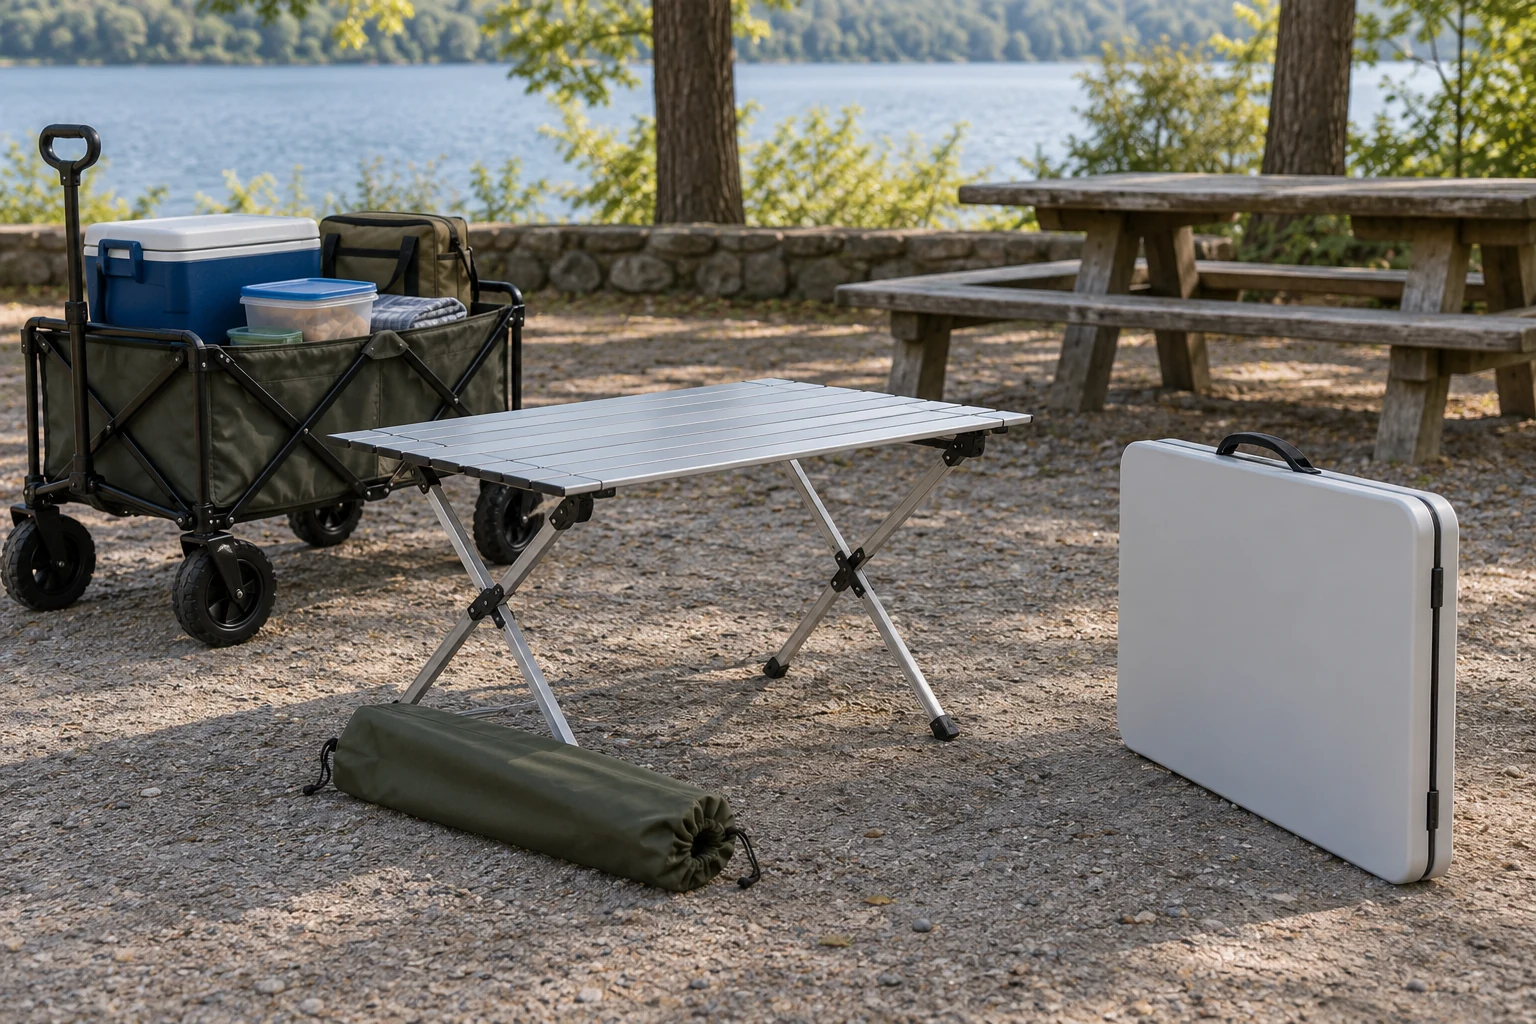
A folding camp table packing footprint is the space the table takes while you get it to the outing, not just the space available after it stands up. Measure the car opening, the storage spot at home, and the route from parking to the place where you will use it. A table that looks right beside a picnic blanket may still be awkward to carry through a narrow gate or assemble with other gear underfoot. A short rehearsal at home lets you choose the table and carrier arrangement from your own route.
Two current listings offer different starting points. The YYEAN folding utility table offers a selected four-foot variant in a range that also mentions other lengths, and describes a carry handle and a fold for storage. The Nice C roll-up camping table describes a 22.5 by 16-inch top, an aluminum frame, and a nylon carry bag. Their shapes suggest different transport questions. Neither description tells you which one fits your vehicle or how easily your group can assemble it on a particular patch of ground.
Trace the folding table carry route first
A folding table carry route has several short segments: the storage shelf or closet, a doorway, a vehicle opening, and the walk to the picnic or campsite. Write those segments down. If you use a wagon or cart, include its cargo opening and the point where the table must be lifted in or out. Measure the tightest opening with a tape measure. A planned carry that assumes a clear trunk can fall apart when cooler bags or chairs occupy the same space.
Carry the empty table or an object of comparable shape through the route before the outing. Keep the path free of people and fragile objects. Notice where you need to turn, where a handle changes the angle, and where you would set the table down to open a door. If the table is still in a box, use the box dimensions only as a temporary planning aid; the packed product may have a different shape. For a shared outing, assign one person to the table and another to the food or seating gear so no one is balancing everything at once.
The YYEAN listing describes a folding design and a handle. It does not give a reliable packed length, width, or thickness for the selected four-foot option in the captured description. Do not substitute the four-foot tabletop label for a folded dimension. Ask for the exact selected variant’s packed measurements or measure the item you receive. The Nice C listing provides a folded size, which makes the first doorway check easier, but the actual bag, straps, and packed parts should still be measured together.
Separate packed table dimensions from tabletop space
Keep two columns for packed table dimensions and in-use surface. The Nice C listing states a medium top of 22.5 by 16 inches, with a folded package about 16 by 5.5 by 2.5 inches and a stated weight of 2.8 pounds. Those are seller-stated figures for the identified item; the rounded “about” belongs with the folded size. Put your own measured bag dimensions beside them once the table is in hand. If your carry bag bulges when all parts are inside, use that filled bag measurement for the route.
For the selected YYEAN option, note “four-foot variant” under the tabletop column and “measure exact packed item” under the transport column. The public description mentions three-, four-, six-, and eight-foot options, so do not transfer a dimension from another size to the one you plan to carry. A four-foot surface may suit a wider spread of dishes or projects, but the listing’s use examples are not a measurement of how many people can sit comfortably around it. Lay out the actual things you expect to place on the top before calling it enough space.
The visible top is only part of the setup. Legs, frame joints, and the path people take around the table occupy room too. Place a cardboard rectangle or taped outline on the floor to rehearse where the top might stand. Give a person room to approach without stepping over a bag. Check the table’s own setup instructions for clearance and support requirements; a product photograph does not show the ground conditions at your site. Keep this step about placing and opening the table, leaving lighting decisions to the separate campsite guide.
Run a camp table setup rehearsal
A camp table setup rehearsal begins with every component laid out on a clean surface. Count frame pieces, top sections, brackets or clips, and the carry bag. Read the instructions for the exact unit you own. Practice once in daylight with enough room to work, then return each part to the bag in a repeatable order. If another person will set it up at the destination, have that person run the rehearsal too. A table that one person has memorized may still be puzzling to someone opening the bag for the first time.
The Nice C product description says its frame and top fold into a nylon bag and presents setup as opening the frame, clipping brackets, and securing the top corners. Treat that as the listing’s outline, then follow the actual instructions and parts supplied with your unit. Keep small brackets together when packing. If a corner will not seat without force, stop and inspect the part orientation instead of assuming the tabletop will flatten under a load.
The YYEAN description says the table folds and can be stored in a closet, garage, or car trunk. It does not provide a precise step-by-step assembly sequence for the selected variant in the captured copy. Open and close the actual unit as instructed before transporting it. Learn where hands should grip and where fingers could be caught at a hinge. Record the folded orientation that fits your own storage space, then use the same orientation when loading the vehicle.
Put a simple setup card in the bag if the table has loose parts: “frame, top, clips, bag” is enough if those are the actual components. Do not copy a generic checklist onto a product with different hardware. The aim is a complete count at both ends of the trip. A missing bracket discovered at home is easier to address than one discovered when food is ready to be served.
Match the table to the work planned on it
List what will go on the tabletop during the outing: plates, covered containers, a game board, a map, or a small preparation tray. Sketch the largest arrangement at home using those real objects. The tabletop should be able to hold them without requiring one person to keep a drink in hand the entire time. Keep a clear edge for lifting lids or handing food across. Move extra bags below or beside the table only if they do not interfere with the frame or with people walking around it.
The YYEAN listing presents its table for indoor puzzles, crafting, games, picnics, camping, and parties. Those are use examples, not a certificate that every activity fits every size. A four-foot top gives you a different layout from the Nice C medium top. Put the actual container and dish shapes into your sketch. If the chosen arrangement is crowded, change the objects or bring a second surface. Do not claim the smaller table fails simply because it holds fewer items in one hypothetical layout.
The Nice C listing states a support figure of up to 110 pounds or 50 kilograms. That is a seller claim, not an independent test of your table, the ground, or the way weight would be distributed on it. Follow the current product instructions and avoid using the figure as a safety guarantee. A person should never sit or stand on a table intended for gear merely because a number appears in a listing. Keep heavy equipment low and stable according to the actual table’s instructions.
Example: a short walk to an afternoon picnic
Imagine four friends meeting at a park where parking is a few minutes from the approved picnic area. They have one cooler bag, two folding chairs, a blanket, and several food containers. One friend measures the vehicle opening and the narrow gate on the walking route. Another lays the food boxes on the intended tabletop outline at home. This is an invented planning example, not an observed test of either product.
If they choose the roll-up table, they can compare its stated folded package with the vehicle and cart openings, then check the actual filled carry bag. They practice fitting the frame and top together and assign a person to carry the bag. If they choose the handled four-foot table, they measure that exact folded unit first because the captured listing does not supply its packed dimensions. They then walk the gate route with an empty table before bringing food. Either path turns the product description into a question the group can answer with its own gear.
At the picnic spot, they place the table only where it is permitted and reasonably level, away from the path other visitors use. They unfold it by its instructions and test that it stands as intended before placing their containers. Their blanket layout is a separate decision about room for people, food, and bags. This article’s rehearsal ends once the table is carried, set up, and assigned a workable surface for the group’s own items.
Keep the evening-lighting choice separate
If the outing extends into the evening, the camping lantern table layout guide helps decide where a light belongs relative to hands, food, and the route around camp. Make that choice after the table is standing and the working area is known. A table can be easy to transport yet leave little safe room for a lantern alongside the meal. Keeping the lighting plan separate also stops you from buying a table based on an imagined night arrangement rather than its measured carry path.
When packing to go home, count the same components you counted during the first rehearsal. Fold or roll the top as its instructions require, let dirty or damp parts dry as the manufacturer directs, and place small pieces back in their assigned pocket. Check the route once more while other gear is still packed; the table needs its own space in the return load. A repeatable pack-up is part of the footprint decision because the table has to fit the car twice.
Choose from the route and the real objects: the doorway, the vehicle, the carry distance, the assembled top, and the parts that must return in the bag. The seller descriptions can identify which measurements to seek. Your rehearsal supplies the missing answer about your own outing. If neither table makes the route and setup workable with the gear you plan to bring, revise the plan before departure.