Tools & DIY
exterior vent cover fit: match duct and wall opening
A replacement-hood fit check that compares an eight-inch Fuliko terminal with a four-inch HYKE terminal without guessing system approval.
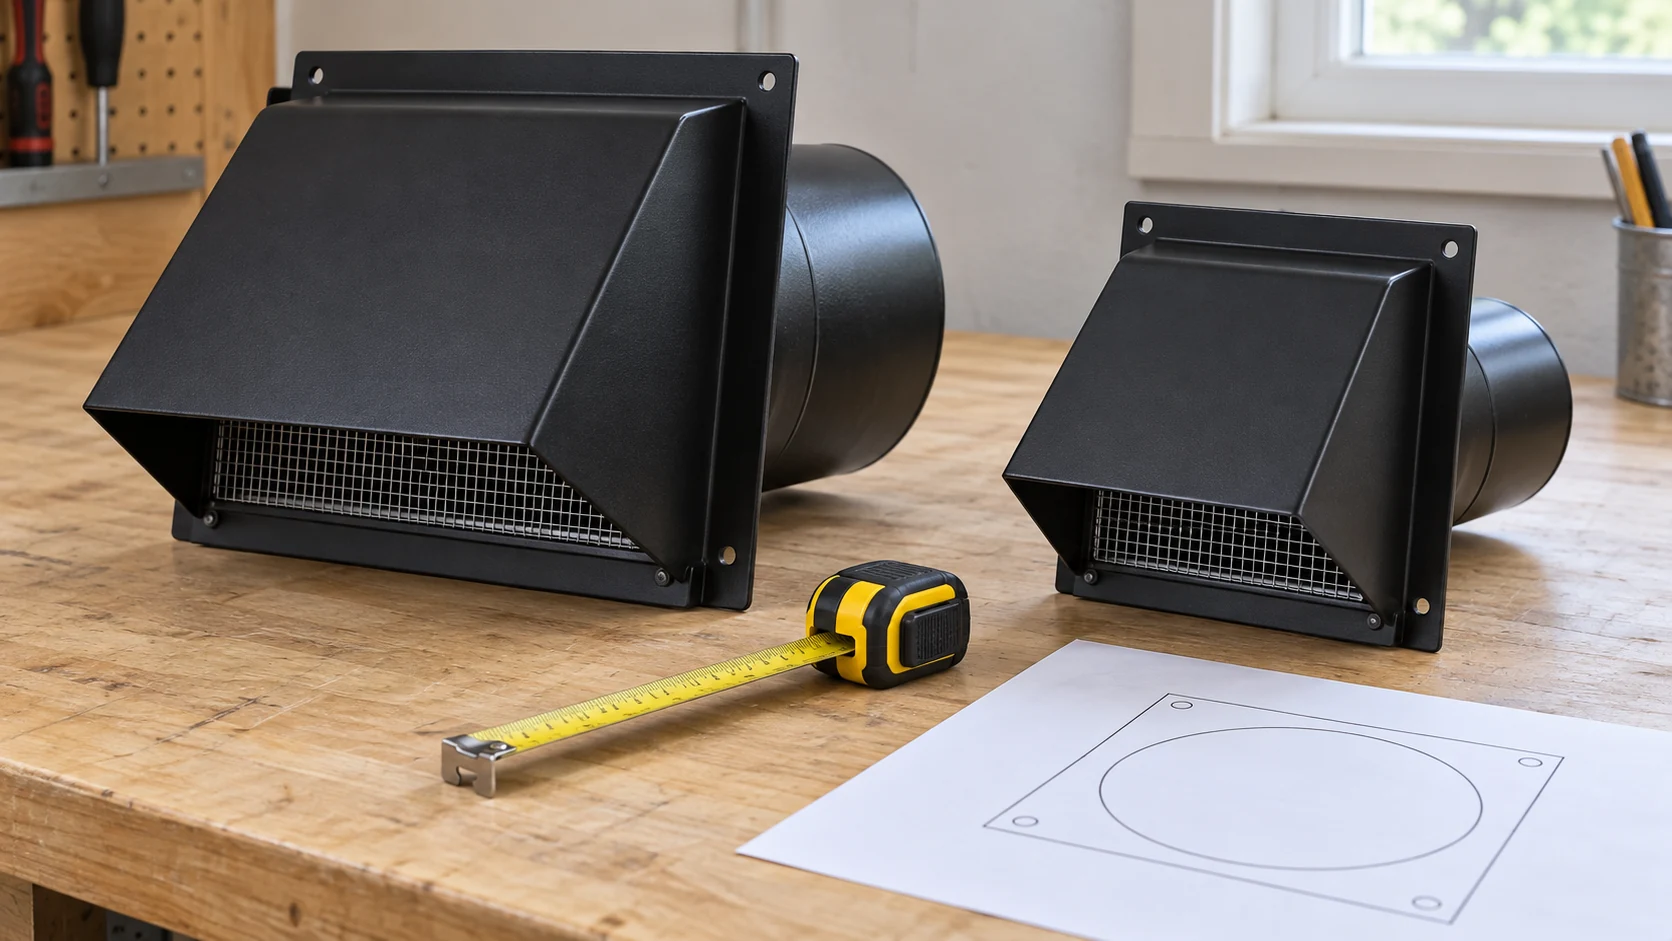
An exterior vent cover can look like a small finishing piece, but it has to meet an existing duct and an existing wall opening. Start with those two measurements before choosing a shape or color. A cover whose face hides the old opening may still have the wrong duct collar behind it. A collar that matches the duct may leave old screw holes exposed or put a new flange against an uneven surface. Exterior vent cover fit is a connection problem with several parts, not a choice between photographs.
Measure the connection, not just the visible face
Identify what you are replacing. Photograph the current exterior face, the opening around it and the duct connection visible from a safe access point. Record the duct’s actual outside diameter or the opening’s measured size as directed by the replacement cover’s installation instructions. Do not call a large square front an “eight-inch vent” until you know which dimension the maker means. The wall face, collar and duct can have different measurements. Keep the measurements labeled, including whether each is an opening, a pipe, a mounting-hole span or a decorative face.
Check the existing duct route before shopping for a replacement terminal. The related under-cabinet hood duct guide shows why an appliance’s outlet arrangements and the route already in a kitchen matter to a fit decision. It is about range hoods, not exterior vent-cover approval. Use that adjacent lesson to identify the actual duct route, then return to the exact terminal and appliance instructions for the cover you plan to buy. The presence of a duct does not by itself identify the right cover diameter or terminal design.
Also record where the fastening surface begins and ends. A broad face may cover old marks, but the mounting holes can still land in damaged material or at an unusable position. Measure the spacing between the existing holes if reusing them is appropriate, and inspect the material that new fasteners would enter. The wall-hook mounting path guide explains the more general distinction between an attachment and the surface supporting it. A vent cover needs its own installation details; the hook guide is context for thinking about the substrate, not a substitute set of vent instructions.
Read the two cover listings as different interfaces
The Fuliko black eight-inch exterior vent cover is presented as a hooded terminal for an eight-inch duct. Its single gallery image shows a dark metal hood, a round collar, a screened outlet and a flat mounting flange. Small screws, anchors and a roll of metallic-looking tape appear alongside it in that image. The native description states an eight-inch fit and describes galvanized steel with a coated surface. It also makes performance claims without a stated comparison method in the captured account; this guide does not use those claims to rank covers or promise an airflow result. The visible collar and the stated duct size are fit clues, not proof that your wall opening and exhaust system accept it.
The HYKE four-inch hooded vent cover shares the broad hooded-terminal role but has a different stated connection. Its native description names a four-inch dryer vent pipe diameter and an 8¼-inch duct length; the whole gallery shows a dark angled hood, a round metal duct section, a screened outlet area and loose mounting screws. Those are the features visible in the captured offer, not a guarantee that the supplied screws or duct section fit every wall. The four-inch diameter describes the intended duct connection, while the pipe length is another dimension to check against wall depth and the existing connection.
Do not compare the Fuliko eight-inch duct diameter with the HYKE 8¼-inch pipe length as if they measured the same part. Both listings name a connection diameter, eight inches and four inches respectively; the HYKE listing also gives a length. Put like measurements in the same column of your notes. If the existing duct is four inches, the Fuliko cover is not made compatible just because its flange hides the wall opening. If the existing interface is eight inches, the HYKE collar is not a direct substitute without a separately documented design for that transition.
Check the opening, wall face and clearance in order
First, establish the system’s required terminal and the duct size from the actual equipment or installation documents. The product descriptions can tell you what their makers claim for each offered cover. They cannot determine what your appliance, local installation or existing exhaust path requires. This matters especially when a listing mentions a screen, damper or broad range of uses. Do not infer approval for a dryer exhaust or another appliance from a generic “vent cover” title. Confirm the relevant system instructions before choosing an exterior terminal.
Second, compare the connecting part with the duct. For a round collar, a stated diameter is a starting point; note whether the listing describes the collar’s inside or outside dimension if it says so. Check whether the current duct end is rigid, flexible, protruding, recessed or joined to another fitting, but do not force a trial fit on an energized or operating system. A wall opening can be wider than the duct inside it. The replacement must match the intended connection method, not just occupy the same visual patch of wall.
Third, compare the mounting face. Mark the current opening edges and any old fastener positions on a sketch. Both gallery images show mounting flanges, but neither captured short description supplies a complete hole-spacing drawing for your wall. Do not assume a photograph at an unknown scale provides the screw pattern. Ask for a dimensioned drawing or follow the specific model’s installation guide if that spacing decides the purchase. A neat face covering the opening is useful only after the duct connection and support surface work.
Fourth, check outside clearance. Both examples have hoods with an outlet direction and a projection from the mounting surface, but their shapes and collar sizes differ. Nearby trim, siding steps, handrails or walkways may limit how a cover can sit and how easily it can be inspected. The captured images show each cover as an isolated product, not installed on your wall. Measure the space around the real opening and use the manufacturer’s mounting clearances. Avoid inventing a required projection or airflow figure from a marketing photograph. If the wall surface is irregular, identify how the maker expects the flange to seat.
Keep the screen and damper questions separate
The Fuliko description mentions a screen and backdraft damper; the HYKE description also refers to a screen and hinged damper. Those parts have distinct roles in the listings, and their presence is not proof that either design is right for every exhaust system. Some equipment instructions may specify a terminal arrangement or place limits on screens and restrictions. A cover should be selected for the actual system and maintained according to its directions. Do not add a screen to a different cover, remove a part, or block an opening merely to make one listing seem equivalent to the other.
Inspect the physical condition of the current termination while taking measurements. A stuck flap, missing fastener, accumulated debris or cracked frame may explain why replacement is being considered. Do not assume a new face alone corrects a problem deeper in the duct. Record which part failed and which part is sound. If you cannot safely see or measure the connection, stop short of a fit claim and obtain the proper installation information or qualified help. The article’s decision is the buying match, not a diagnosis of airflow or a repair procedure inside the duct.
The two gallery images also raise accessory questions. The Fuliko image shows a hood with loose screws, anchors, an angled driver and a metallic-looking roll nearby. The HYKE image shows a hood with screws and a short metallic-looking roll. A gallery is a visual clue, not an inventory of every included item. Check the actual package contents and installation guide for the model you order. If a suitable seal, fastener or joining piece is needed but not explicitly included, add that question to the purchase list. Do not silently assume the wall material accepts the photographed hardware.
Make a fit record before ordering
Write a short record with five fields: equipment or exhaust source, existing duct diameter, wall opening and face dimensions, mounting-surface details, and the replacement model’s documented interface. Add an “unconfirmed” line for anything the listing does not settle. For the Fuliko example, that record could carry its stated eight-inch duct fit while leaving your own duct measurement and flange dimensions pending. For HYKE, it could carry its stated four-inch duct diameter and 8¼-inch pipe length without assuming a fit to a wall of unknown depth.
Then compare source to source, not one photograph to another. A seller title, native specification, dimensional drawing and actual equipment instructions can each answer a different question. If they conflict, preserve the conflict and seek a model-specific answer before buying. Do not use the word “universal” or an attractive face size to erase an unresolved duct mismatch. If a transition fitting is proposed, it becomes another product requiring its own documented compatibility with both ends and the system. The two covers in this guide are alternatives for different measured interfaces, not a kit intended to connect to each other.
A paper dry fit can prevent a misleading yes/no answer. Draw the measured duct as one circle and the usable wall opening as another, then mark the flange footprint and old fastener positions around them. Write the source of every number next to it: your tape, the exact product description, or a dimensioned installation drawing. Keep unknown measurements blank instead of filling them from a photograph. The sketch does not certify an installation, but it reveals when you are comparing a duct diameter to a cover width or a pipe length to a hole spacing. If the drawing leaves the joining method unclear, treat that as a purchase question for the manufacturer or installer. Record the answer with the model number so it cannot be transferred accidentally to a similar-looking cover.
When the replacement arrives, compare the exact model and the physical part to your fit record before removing the existing cover. Check that the stated diameter, projection and mounting points match what was ordered. Leave any uncertain installation or operating-system question open until the manufacturer’s instructions or a qualified installer resolves it. A correct exterior vent cover fit is a chain of confirmed connections from equipment to duct to terminal to wall. Keeping the measurements separate makes that chain easier to verify and helps prevent a wrong-size accessory from becoming a rushed installation problem.