Sewing & Crafts
Embroidery back check with a rotating hoop stand
Use a rotating hoop holder for a limited front-to-back observation of one stitched area. Keep access, stitch diagnosis and correction as separate decisions.
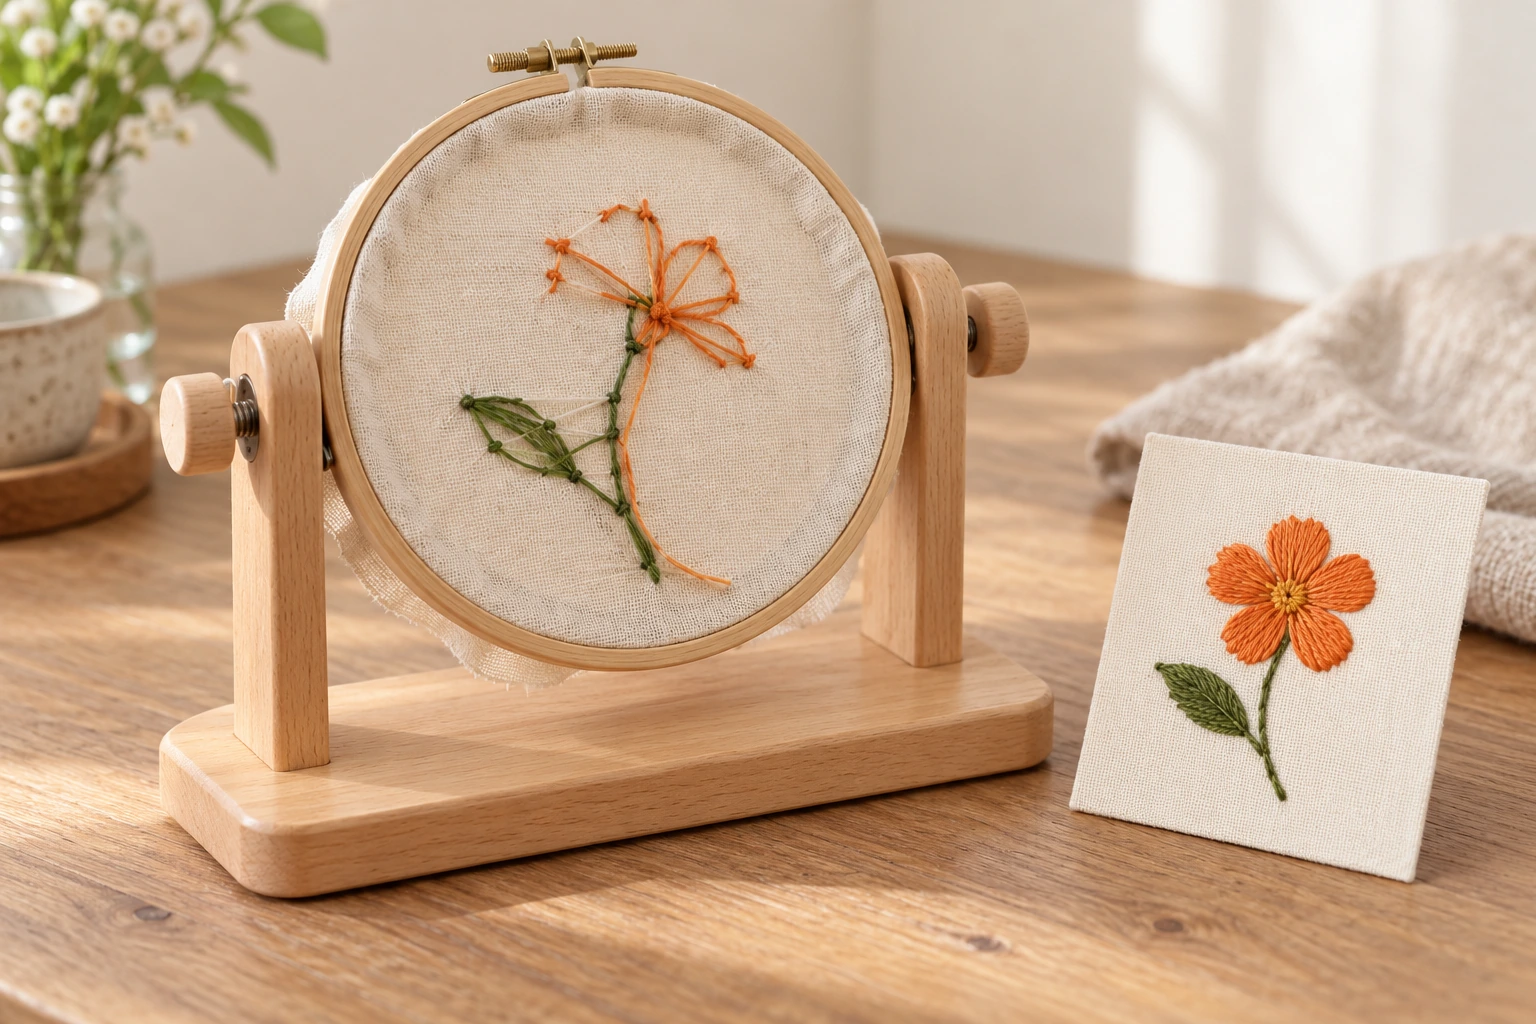
Embroidery back check: choose one small stitched region you can recognize from the front, then examine its reverse using your hoop holder's actual operating instructions. Record a specific observation about that region and a question for any decision you cannot settle. You do not have to correct a stitch simply because you have looked behind it.
This routine begins with an already mounted piece of hand embroidery. It does not explain how to put fabric into a hoop, assemble a stand or release its joints. Keep the instructions for your own holder and embroidery method beside the work. If those instructions do not establish how to obtain the view you need, leave access unresolved before trying a different fastener.
Choose the region before changing your view
Start at the front of the work and name the area you want to compare. A particular petal beside a stem is easier to find again than a broad instruction to inspect everything. Choose a boundary you can point to on the actual piece. You might use the tip of the petal and the place where the stem changes direction, provided both are recognizable.
Write the question in ordinary language. For example: what is visible behind this petal before I begin the neighboring leaf? That question keeps the check connected to your next intended action. A vague aim such as making the whole back neat can pull you into decisions about stitches, thread ends and finishing that belong to the method you are following.
Keep the front in view long enough to identify what already exists. Distinguish a completed stitched shape from an outline or an area still waiting for stitches. Your note should describe your actual stage. If you cannot identify the region confidently from the front, settle that identification with the pattern or instructor before turning the work around.
Read the two working-holder offers separately
The wooden embroidery holder bundle describes a rotating hoop stand with four hoops, a tool kit and a pair of thimbles. Keep those supplied components in the offer inventory. The listing does not give a model-bound joint-release procedure for the back check described here.
The Unbranded articulated embroidery holder describes tilt and rotation and mentions a phone-holder feature. Its gallery does not independently identify that accessory. A rotation claim does not establish the release sequence or available clearance for your loaded work; obtain the applicable instructions before relying on either.
Neither description is a comparative stitching trial. The photographs help identify the offered working-holder forms, but this article has not tested their grip or movement. Choose a holder using information that applies to your actual hoop and working arrangement. Take an unanswered operating question to the supplier; another stand's photograph cannot fill that gap.
Pause the stitching before obtaining reverse access
Finish the pause required by the embroidery method you are following. Settle the needle and loose thread as that method directs before changing the view. Do not use the needle as a pointer while a hand is reaching around the frame. If you are unsure how to leave the current stitch safely, ask that question before proceeding with this inspection.
Read the holder's instructions for the loaded configuration you actually have. Identify whether they describe access to the reverse without changing the fabric mounting. A familiar-looking screw is not enough to establish its purpose. This routine supplies no tightening order, release direction, load limit or substitute method for a different holder.
When the documented operation is available, use it within its stated limits. Leave unrelated adjustments alone. If the reverse cannot be exposed as the instructions describe, stop and retain the access question. There is no need to dismantle the stand, remove the hoop or stretch the cloth again merely to finish a check that can wait for an appropriate answer.
Give the handling task your attention while you follow those instructions. A shared table can contain objects that have nothing to do with the embroidery. Make the immediate task understandable to anyone helping: you want a view of the existing stitches, and you have not asked them to adjust the holder or decide which thread should be cut.
Find the same stitched region on the reverse
Once you have the permitted view, return to the boundaries you chose at the front. Locate the petal tip and the nearby stem feature on the actual cloth. Do not assume that the part nearest your left hand is the region you meant. Work from recognizable features, particularly if changing the view has changed how the motif appears in front of you.
If several petals look alike, narrow the identification before making a note. You can compare with the pattern's named area or return to the front by the holder's documented operation. Check that you have located the same region on both faces. An observation about one petal will not answer a question about its neighbor simply because their colors match.
Leave the fabric and its support layers as they are during this observation. You are trying to understand a view of the existing work. Removing something that conceals the threads introduces a separate technique decision. If a layer blocks the region, record the limited view and consult the instructions that govern that layer rather than treating it as disposable packaging.
Describe a visible thread path before deciding what it means
Use concrete location words in your note. You might record that an orange thread is visible between the petal's two identified points, or that part of its route disappears behind another stitched area. Those statements describe the view you have. They do not establish why the thread follows that route or whether the method expects it to remain there.
A description such as loose-looking loop also needs a location and a limit. Which region contains it, and what can you actually see? Avoid giving it a cause on appearance alone. This article provides no acceptable loop size, tension test or rule for removing thread. A named embroidery technique may have instructions that answer the question once you identify the relevant passage.
Keep an observation separate from the action you are considering. For example, the note might describe a span across an unstitched area and ask whether the next pattern step should leave it in place. That is a useful question to take to the designer or instructor. Writing cut it away would turn an unresolved interpretation into a repair instruction.
There may be nothing you need to ask after a limited check. You can simply record which region you viewed and return to your applicable instructions. Avoid inventing a problem to justify having turned the work around. The routine does not require a defect, a photograph or a correction before you can consider the observation finished.
Work through a hypothetical petal-and-leaf check
Imagine a practice motif with one orange petal already stitched and a green leaf still outlined. This is a hypothetical example, not a report of testing either holder. The next intended pattern step concerns the leaf. Before beginning it, the stitcher wants to see what is behind the orange petal without changing how the practice cloth is mounted.
The stitcher identifies the petal tip and the point where the stem branches toward the leaf. After pausing the current work and following the actual holder instructions, those same features locate the region on the reverse. Suppose an orange thread is visible crossing part of the area behind the leaf outline. That is the observation available in this example.
The note can now ask a precise question: should this visible span remain while I work the leaf step in this pattern? It identifies the existing thread, the area concerned and the next intended step. It does not claim that the span is a mistake or that the leaf will conceal it. Those answers need the applicable technique information.
If the stem feature is concealed by a support layer, the example ends differently. The stitcher cannot confidently relate the visible span to the intended leaf area. The note should retain that uncertainty. Changing the support or moving threads to obtain a clearer view would go beyond this observation routine and needs its own instructions.
Consider a second possible observation on that same imaginary practice piece. From one permitted view, you can see the orange span; after returning to another view, part of it is hidden. That difference describes your access to the thread. It does not show that the thread moved, disappeared or became secure. Keep the observation tied to the view in which it was actually visible. If the question depends on a hidden section, include that section in the request for guidance rather than completing its route in your imagination.
A reply also needs to concern the same region. Suppose a helper answers a question about the stem while your note concerns the unstitched leaf. Return to the marked pattern area and restate the question before following the advice. You can appreciate a useful explanation about the stem while still needing an answer about the leaf. This is particularly relevant when several nearby stitches use the same color: the color alone may not tell the helper which part of your work you mean.
Keep support questions and project planning in their own place
The embroidery stabilizer guide distinguishes support placement and removal categories. It addresses a different decision from identifying a thread path. Use the instructions for the actual material and technique before changing any layer; a better view alone does not establish a removal method.
The small embroidery corner guide considers planning a project and fitting work into shared space. Those choices can help you decide when to return to a piece. They do not supply the operating instructions for a rotating holder or a correction rule for the particular stitches you are examining.
If you ask someone for help, bring the exact pattern reference and your bounded question. State what you have already done and what remains untouched. A person answering should be able to distinguish an observation from an attempted correction. Keep any answer connected to the technique and region it actually concerns before applying it elsewhere on the piece.
Return to the intended working view
Follow the holder's applicable instructions to restore the view needed for your next activity. Check the region's identity against the front again before choosing that activity. If a handling step remains uncertain, stop with the piece in the state those instructions require and obtain the missing guidance. An unfinished access question does not need an improvised solution.
Embroidery back check notes can remain brief: the identified region, the concrete observation and any unresolved technique question. Keep the note beside the relevant pattern reference so it still means something when you return. Continue stitching only under the instructions that govern the actual work; the inspection itself supplies no permission to cut, unpick or retension it.