Home & Living
cordless roller shade will not stay lowered: what to observe
Observe a shade that rises after release, separate it from uneven-hem symptoms, and give support a precise model-bound account.
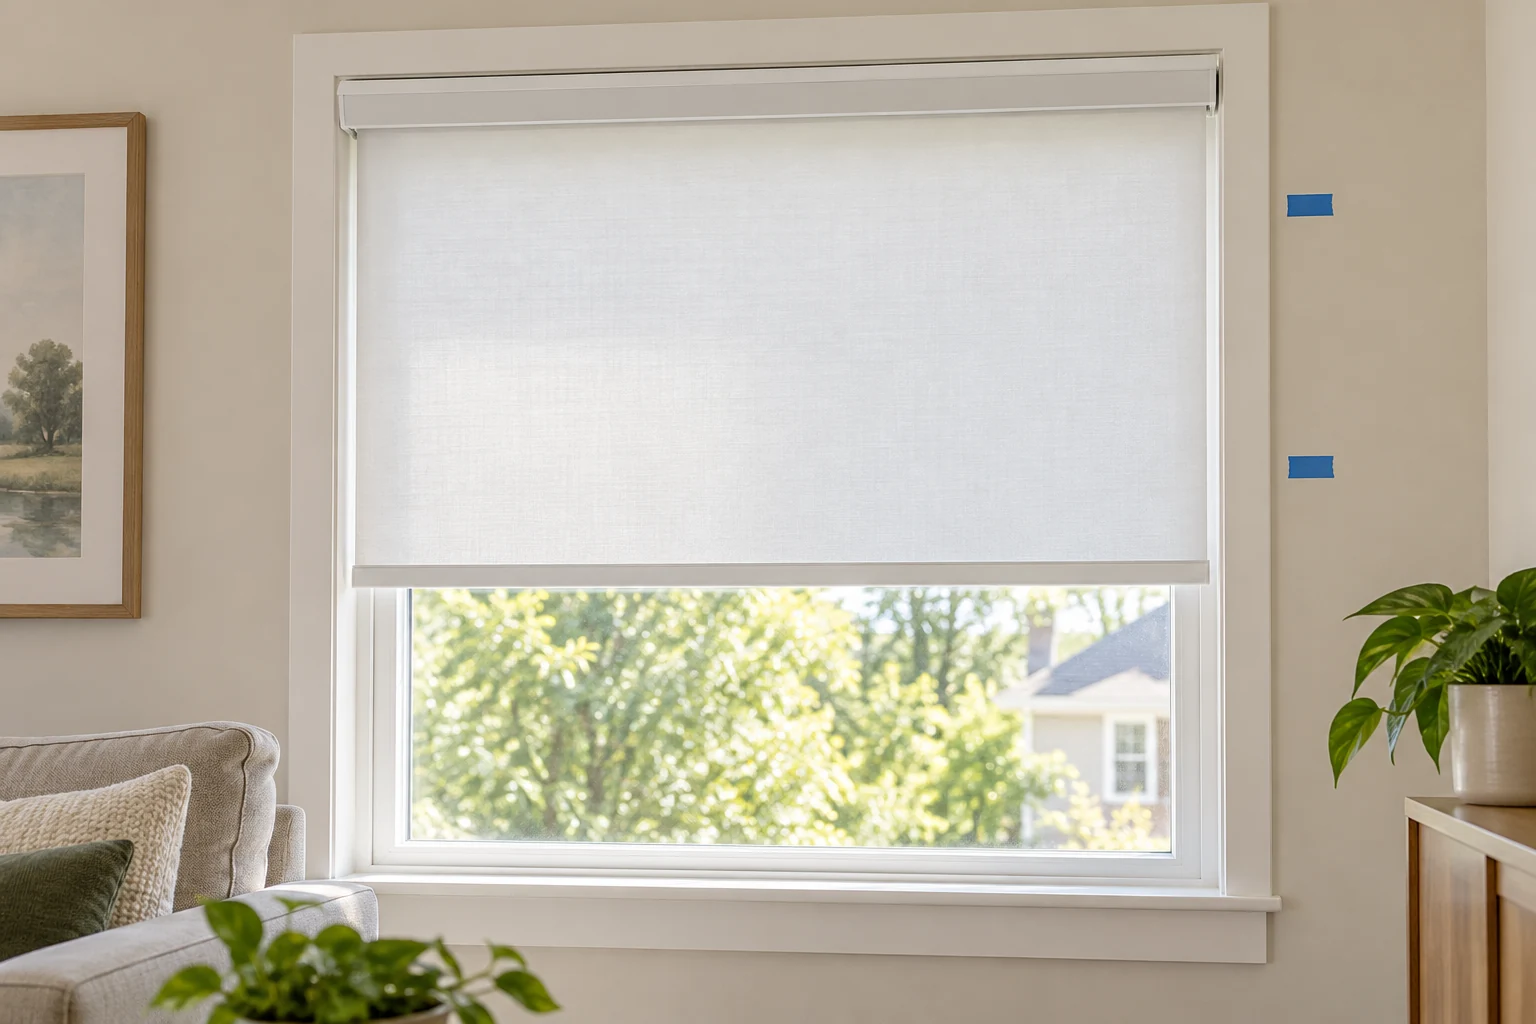
When a cordless roller shade will not stay lowered, the first useful observation is what it does after you let go. Does the bottom edge rise at once, drift upward slowly, stop short before release, or remain at the selected height but look crooked? Those are different reports. This guide helps you describe a shade that rises after release and decide which outside observations belong in a model-specific support request. It does not prescribe an internal tension adjustment or assume that two cordless products share a repair mechanism.
The current Grandekor WM-DW-69454 listing describes a gray manual cordless roller shade with a square aluminum cover and a Free-Stop mechanism. Its stated size is 34.5 by 72 inches. These are listing claims for that model, not a diagnosis of an individual installation.
The Achim Glide n’ Go listing describes a cordless vinyl roller shade with a valance-style headrail and says it stops at a desired height. The captured page displayed a size and color selector, so the exact selected variant should be recorded before asking about parts or instructions.
Both product photographs show complete window-mounted roller-shade assemblies, with headrails above hanging material.
The pictures do not expose the hidden mechanisms well enough to identify a failed component. Observe the outside motion without opening the headrail. If the shade has a damaged exposed part, loose mount or unstable support, stop handling it and use the manufacturer’s instructions or qualified help.
Name the motion before naming a cause
Write down a single attempt in ordinary language: “I lowered the bottom edge to the midpoint and released it. It rose about a handspan over several seconds.” That is more useful than “the spring is broken.” The description includes the starting position, the action, the release and the observed change. It leaves room for a knowledgeable person to distinguish a normal operating feature, a setup issue and a fault. Do not repeatedly pull or force a shade to generate a more dramatic demonstration.
Choose a fixed reference that you can see without placing a hand near the roller: a window-frame line, a strip of painter’s tape on the wall away from the fabric or a photograph taken from the same position. Note the bottom edge at release and after a short interval. The point is to make “creeps upward” observable, not to achieve laboratory precision. A small movement, a full retraction and a shade that slips only when touched should be described separately.
A shade that never reaches the desired position presents another question. It may meet an obstruction or a model-specific travel limit before you let go. Record where the motion stops and what is visible, then consult the instructions for that exact model. Do not call it a failure to hold a lowered position unless it actually reaches that position and then changes after release. The difference matters because a support person may ask for different evidence.
Separate rising from a slanted bottom edge
An uneven hem can create the impression that one side has risen while the middle of the shade remains near the same height. Watch the center of the bottom rail or edge as well as its two ends. If only one end changes its apparent relation to the frame, describe that visible pattern rather than claiming that the whole shade retracts. The existing uneven-hem guide owns the outside checks for a slanted lower edge; this article addresses a change in the overall lowered position after release.
A quick photograph can preserve this distinction. Stand square to the window, include the headrail and bottom edge in one frame and take a second picture from the same place after the observed movement. Avoid measuring against a camera angle that changes between pictures. If the bottom edge looks tilted in both images, report the tilt as a separate observation. A photo does not reveal hidden hardware condition, but it can keep the description of visible motion honest.
Look at the surroundings without opening the shade
With the shade at rest, look for a visible item touching the hanging material or bottom edge: a window handle, plant, shelf, cord from another device or object on the sill. Move only an ordinary loose item that can be moved safely. Do not dismount the shade to “test” a suspected obstruction. If the fabric brushes something during travel, record where and when. Contact with a nearby object can complicate the observation, but its presence alone does not prove an internal fault or explain every upward movement.
Also note whether the window is open, whether a strong draft moves the fabric and whether the shade shifts when untouched. This is a context note, not a claim that airflow caused the issue. Repeat one gentle observation under ordinary room conditions if doing so is safe and the product instructions permit it. If the installation looks unstable, stop at the first observation. A clearly documented single event is better than a long sequence of increasingly forceful attempts.
Check the visible headrail or cover for a gap, skew or movement relative to the mounting surface while the shade rests. Do not put weight on it or reach behind it without a safe setup. A changed gap is worth reporting because the support question may concern installation rather than the shade’s internal operation. It is not a cue to tighten an unknown fastener. Mounting hardware, wall material and manufacturer instructions vary, and an ill-chosen adjustment can damage the assembly or the wall.
Record the exact product and setup
A support request should identify the manufacturer, model or SKU, selected color and size, and whether the shade is mounted inside or outside the window recess. A product-page title may describe one pictured variant while a selector offers another. Look at the order confirmation or package label for the actual purchase. Record any installation guide or warranty document supplied with that unit. Do not rely on a visually similar photograph to decide that a particular instruction applies.
Grandekor’s listing gives different measuring directions for inside and outside mounting, including a minimum depth for the former.
Those directions do not prove how a particular shade was installed or why it moves now. If the symptom started immediately after installation, state the mount location and measured opening when asking the maker for guidance. Keep an installation question separate from a claim about the Free-Stop mechanism.
Achim’s listing uses its own Glide n’ Go wording for stopping at a desired height.
Do not substitute Grandekor terminology when describing an Achim unit. The useful common observation is the visible bottom-edge position before and after release. The repair instructions, parts and operating limits must come from the exact selected product, not from a shared word such as “cordless.”
Do not use a label mismatch as a repair diagnosis
A selected shade size is part of the identity record, but it is not enough to prove that a mechanism failed. A package, order page and installed unit can use different shorthand. The window-covering label guide shows why seemingly conflicting size words need to be tied to the actual item before making a decision. Here, keep the listing variant, purchase record and physical unit together when contacting support. Do not turn a label discrepancy into an unsupported internal-repair claim.
The same discipline applies to age and warranty. If the shade is new, record when it was installed and when the rising motion first appeared. If it previously held position, note the last time it behaved as expected and any visible event since then, without inventing a causal link. A dated description can help the seller or maker choose the right instructions. The current product listing may mention a warranty, but eligibility and remedy depend on the actual purchase terms.
A short observation card for support
One useful record has five lines: exact product identity; where it is mounted; the position selected; what the shade did after release; and whether the bottom edge stayed level. Add one clear photo before and one after, if photos can be taken safely. If a nearby item touched the material, mention it as an observation. Avoid labels such as “broken clutch” unless a qualified diagnosis has actually identified that part. The goal is a reproducible description, not a confident guess.
Here is a fictional example: “White cordless roller shade, label and order number attached. Inside-mounted in the bedroom. Lowered to just above the sill at 09:10; after release, the center of the bottom edge rose roughly 8 cm within 20 seconds. Left and right ends remained level. No visible object touched the fabric.” The numbers are sample observations, not expected product performance. A real report should use the user’s own measurements and omit details they did not observe.
If the maker asks for a video, frame the entire visible shade while someone else operates it only as the instructions allow. Do not stand on an unstable chair, pull harder for the camera or remove a cover to show internal parts. If the mounting area is difficult to reach, say so. A support agent can still work from a written motion description and ordinary photographs. Safety and exact product identity matter more than a dramatic recording.
Choose the next action from the observation
If the bottom edge remains steady and the concern is a tilted appearance, follow the uneven-hem route rather than troubleshooting retraction. If the shade rises as a whole after release, send the exact model record and motion evidence to the manufacturer or retailer for model-specific operating or service guidance. If the mount moves, hardware appears damaged or the shade cannot be handled safely, stop using it and seek appropriate assistance. None of these branches requires opening an unknown headrail or guessing at spring tension.
Keep the chronology as carefully as the photograph. If the shade held position for months and began rising yesterday, that history is different from a unit that has never held since installation. If someone cleaned the window, moved nearby furniture or changed the room arrangement, note the event only if it actually happened. Do not present the coincidence as a proven cause. A short, dated history lets support distinguish a new symptom from an installation question without asking you to repeat a hazardous test. It also helps you avoid forgetting what you observed after several conversations.
If another person uses the same window, ask them to describe what they saw without suggesting a cause first. “It rose after I let go” is useful independent confirmation; “the spring failed” may merely repeat a guess. Compare the position and timing of each account. If they conflict, preserve both descriptions and say so. The aim is to narrow the observable symptom, not to make every witness agree. This is especially helpful where a shade is moved at different times of day and no one has yet watched the entire motion from start to finish.
A cordless roller shade will not stay lowered for reasons a product page and a still photograph cannot determine. What you can establish is the observable pattern: reaches a position, is released, then rises by a recorded amount under stated conditions. That narrow description makes the next conversation more efficient and avoids turning a plausible mechanism into a false diagnosis.