Cooking & Food Prep
Coffee maker early shift routine: prepare the night before
A practical early-start coffee station plan grounded in two exact programmable drip brewer listings.
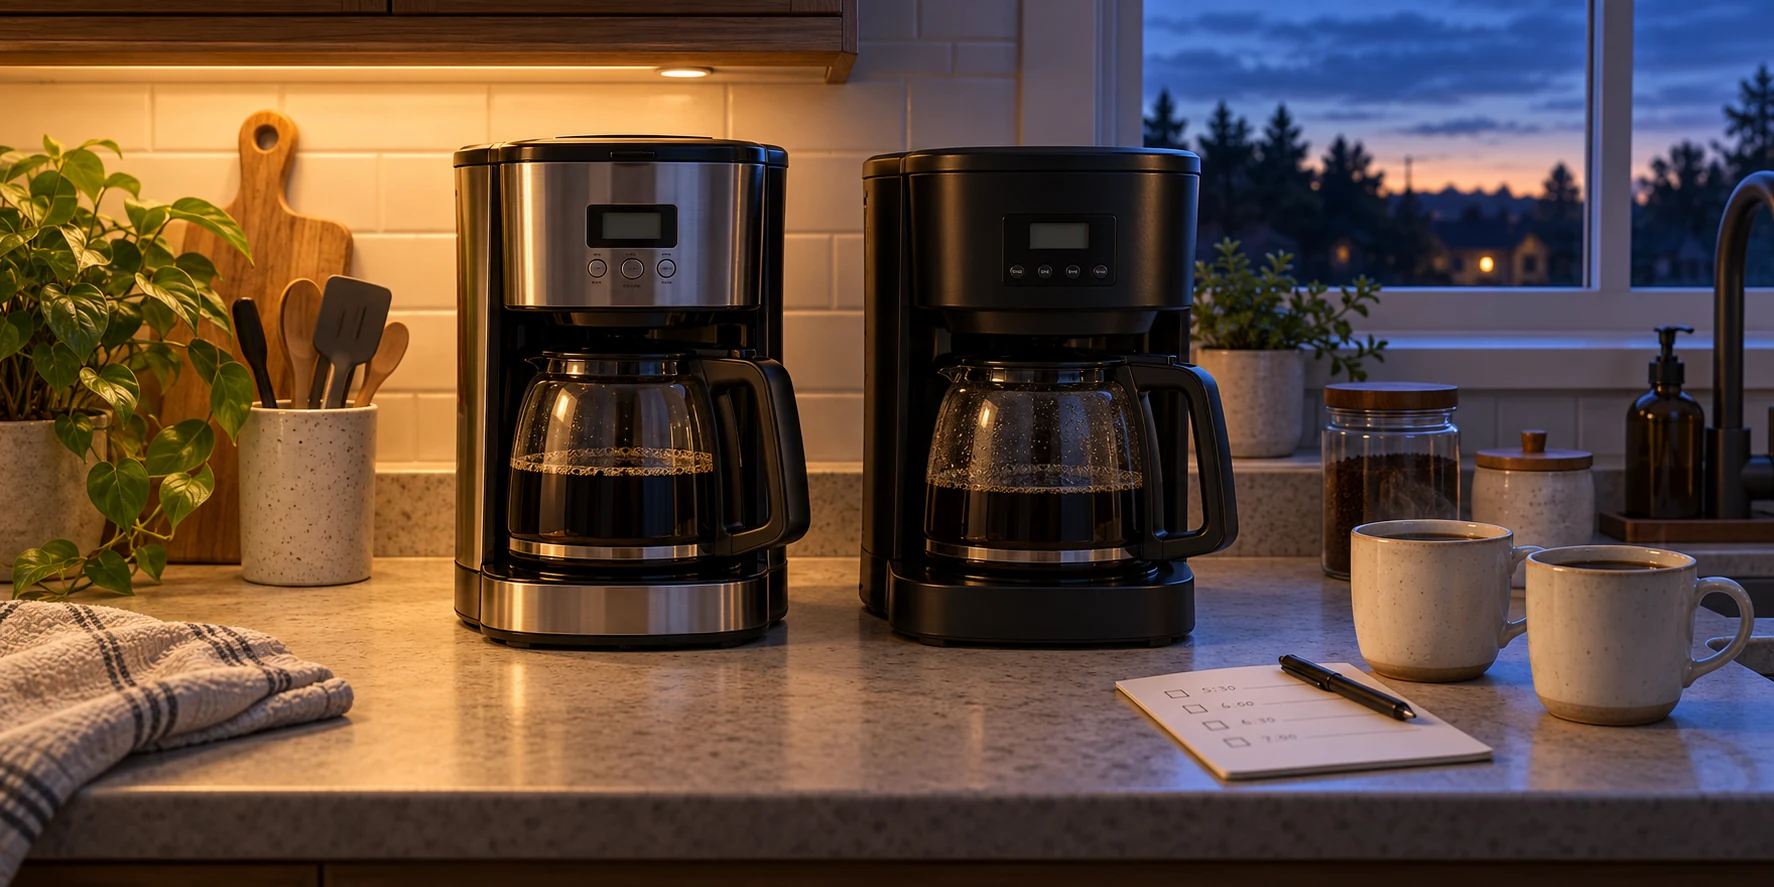
An early shift changes what a useful coffee maker needs to do. The question is less about how many buttons it has and more about which decisions you can settle while you are fully awake. A delayed start can help, provided the brewer is ready for it: water in the reservoir, coffee and filter in the right place, a clean carafe seated below the basket, and a time you have actually checked. Those details are easy to overlook when the alarm sounds. A Coffee maker early shift routine puts them in a short evening sequence so the morning begins with a quick inspection rather than a scramble through the manual.
Begin with the first cup, then work backward
Pick the time you expect to pour coffee and work backward to the time brewing needs to begin. Leave room for the machine to finish its cycle and for you to handle a hot carafe without rushing. If several people leave at different times, decide whether one pot serves everyone or whether the first person should make a smaller batch. The useful schedule is the one that fits the actual household, not a clock setting chosen because it sounds convenient. Make that decision before you fill the reservoir; it determines how much water and coffee you prepare.
Write the planned brew time where the people who use the kitchen can see it. A scrap of paper beside the machine is enough. The KRUPS coffee maker scheduling guide offers a related weekly-planning example. This matters when somebody else turns the brewer off to clear the counter or changes the time after a late shift. You do not need an elaborate chart. You need one agreed plan that can be checked at a glance. If the next morning is unusual, such as an earlier departure or a guest staying over, review the plan before loading the machine. Treat a saved timer setting as a setting to confirm, not proof that tomorrow's coffee is arranged.
Give the brewer enough counter space
Put the machine where you can lift or open the reservoir lid, reach the filter basket, and remove the carafe without moving other appliances. Measure the usable space under cabinets with the lid open, not merely the footprint shown on a product page. That distinction matters on a crowded counter: a machine can fit neatly while closed and still be awkward to fill. Keep a clear place for the hot carafe and the cups you will actually use. Moving a full pot around a stack of breakfast dishes is a poor way to save a minute.
Think about the path from sink to reservoir. If you normally carry water in a jug, leave room to set that jug down. If you use the carafe to fill the reservoir, keep the route clear and make sure the carafe goes back under the basket afterward. Put the filter and coffee close enough to reach but away from a spot where they might be splashed. These are small choices, yet they determine whether night-before preparation remains a repeatable habit after the first enthusiastic week.
What the T-fal Element listing actually offers
The T-fal Element drip coffee maker listing describes programmable brewing up to 24 hours ahead, a 12-cup or 1.8-liter capacity, a small-batch option for up to four cups, a bold setting, and a two-hour keep-warm function. Its native gallery shows a glass carafe and front controls. Those are the supported reasons to consider it for an early departure. The small-batch option is relevant when only one or two people need coffee; the larger stated capacity is relevant when several people will pour from the same pot. Neither listing language nor a cup count tells you how a particular household's mugs will fill. Use the markings and instructions for the machine you receive.
If you choose the T-fal, learn the sequence for setting and confirming its timer on an unhurried day. The product page establishes that the feature exists; it does not replace the instructions for loading the filter, setting the clock, or checking that delayed brewing is armed. Keep the control panel visible so an evening check takes a second. A bold option is a preference control, not evidence that the machine produces a measured strength advantage over another brewer. Try the setting with your usual coffee and adjust the grounds according to the machine's instructions and your taste.
What the Vinci Elite RDT listing actually offers
The Vinci Housewares Elite RDT native listing identifies model E23033 as a silver 12-cup coffee maker. It describes a wake-to-brew timer, a rotating seven-port spray head, a bloom setting that pre-soaks grounds, and a programmable keep-warm period of up to four hours. The listing gives dimensions of 9 inches long, 6.5 inches wide, and 14.5 inches high, and says the reservoir lid opens 180 degrees. Those dimensions provide a starting point for a counter-space check. Leave extra room for your hands, the water container, and the lid's opening movement before treating the measured footprint as sufficient.
The Vinci description also gives a brewing-water temperature range and uses language about balanced flavor and avoiding bitterness. Those statements describe the seller's product, not a comparative taste test against the T-fal. The rotating head and bloom control may interest someone who likes to adjust the brewing process, while a person who wants only a predictable morning pot may spend more time with the timer and carafe. The useful distinction is how you will operate the machine at home. Do not infer that either design will make your preferred beans taste better without trying it.
Build an evening setup you can inspect
Clear the work area first. Check that the carafe is clean and seated, then prepare the filter and coffee using the instructions for your brewer. Add the amount of water that matches the batch you decided to make. If you are learning a new machine, follow its manual for the order of these steps and for any parts that must be in place before a delayed cycle. Set the clock and delayed start, then pause long enough to read the display or indicator back. A visible confirmation is more useful than remembering that you pressed a button. Leave the carafe under the basket after filling the reservoir.
Set out the cup or travel mug you plan to use, but keep it clear of the brewer's controls and the carafe's path. If you add milk or another ingredient, arrange that part of the routine separately so it does not hold up the brew setup. Put a spoon where you can find it. These details can sound fussy until you are searching drawers at dawn. Keep the evening sequence short enough to repeat: clean carafe, correct batch, coffee and filter, water, timer confirmation, clear pouring space. You can revise the order after a few mornings if another sequence fits your kitchen better.
Choose a batch for the people who will drink it
A stated 12-cup capacity is not an instruction to brew a full pot every day. Decide how many people will drink from the carafe and when. If only one person leaves early, a smaller batch may mean less coffee sitting while the rest of the household sleeps. The T-fal listing specifically names a small-batch option for up to four cups. The Vinci listing names a 12-cup capacity but does not, in the preserved native description, promise an equivalent small-batch mode. Do not assign a feature to one machine because the other has it. Check the actual controls and instructions before treating a different batch size as a programmed mode.
For another carafe-size decision, the Braun MultiServe Plus and KFFKFF comparison examines a separate pair of coffee makers. Use the brewer's own water marks rather than equating its cup count with your largest mug. On a first trial, pour the finished coffee into the cups normally used in your home and note how much remains. That one observation will make the next evening's water and grounds decision easier. If another person wants coffee later, agree on who will handle the carafe and whether a second brew is preferable. A timer can start the first batch, but it cannot decide how long the household wants the coffee to remain available.
Plan around the keep-warm period
Both listings mention keep-warm controls, with different stated upper periods: two hours for the T-fal and up to four hours for the Vinci. The numbers do not mean that a pot must sit for that entire time, nor do they establish identical taste at the end of each period. Use them to plan when someone will be around to pour and when the machine should be turned off according to its instructions. If departures are far apart, consider whether one large scheduled pot fits the household's actual timing. The decision concerns the people using the kitchen as much as the appliance specification.
Do not use the keep-warm feature as a substitute for a morning check. Before pouring, look at the carafe, the controls, and the counter around the brewer. If the timer did not run, find out why on a day when you can investigate safely; do not repeatedly press settings while half awake. If you notice a spill or a part out of place, address it before handling the pot. These checks take less time when the work area is clear and the machine's normal display is familiar.
Give the first morning a practice run
Set up the brewer on a day when you do not have to leave immediately. Learn how the lid opens, where the reservoir is filled, how the filter basket closes, and how the carafe fits beneath it. Set and cancel the timer once using the manual. Then make a normal batch and watch what the display or indicator does when brewing begins and ends. This rehearsal gives you a reference for the later early shift. It also shows whether your chosen counter position gives enough room to fill and pour without moving the machine.
After the trial, write down only the steps you actually forgot. A short reminder beside the machine might say which control confirms delayed brewing or which cup mark serves two people in your home. Avoid copying the entire manual onto a note. If the household shares the brewer, ask another user to walk through the setup while you watch. A routine that depends on one person's memory tends to fail on the morning that person sleeps in.
Make the morning check brief and deliberate
When you reach the kitchen, confirm that brewing completed or is proceeding as expected before you pour. Check that the carafe is seated and that the counter is clear. Handle the hot vessel according to the manufacturer's directions, especially if you are using a travel mug that must be placed elsewhere to fill. If coffee is still brewing, give the cycle time to finish rather than pulling the carafe repeatedly while getting ready to leave. The exact behavior of pause-and-serve mechanisms is not established by these two saved product descriptions, so consult the instructions for the machine you own.
If the schedule changed overnight, keep a simple fallback. You may have time for a fresh brew, or you may choose a different morning drink. What matters is knowing how to turn off or change the programmed cycle before leaving the house. A machine set for yesterday's departure time can start at an inconvenient hour if nobody checks it. Treat the morning glance at the controls as part of the routine, even after the evening preparation feels automatic.
Leave the station ready for the next shift
After the carafe has cooled enough for handling under the machine's instructions, clean it and the parts the manual identifies for routine washing. Return the filter supplies and cups to their places and wipe up grounds or drips. A tidy reset shortens the next evening's preparation because you can see what still needs doing. Keep cleaning directions specific to the appliance in its manual; the preserved product descriptions do not establish that every part of either brewer has the same washing method or dishwasher status.
Review the plan after several early mornings. If you often leave half the pot, prepare less. If the timer is rarely used because somebody is awake first, a simpler manual start may fit better. If filling beneath the cabinets remains awkward, move the station or choose a different spot before changing machines. The best version of this routine is not a fixed checklist for every household. It is a small set of steps that you can complete, verify, and repeat while keeping the product's actual controls and limitations in view.
Set out the cups and review the timer before an early start.