Kitchen & Appliances
Coffee grinder cleaning: Capresso 570.01 and Ode Gen 2
Follow model-specific Capresso 570.01 and Ode Gen 2 routine care: dry coffee paths, permitted container cleaning, part alignment and maintenance boundaries.
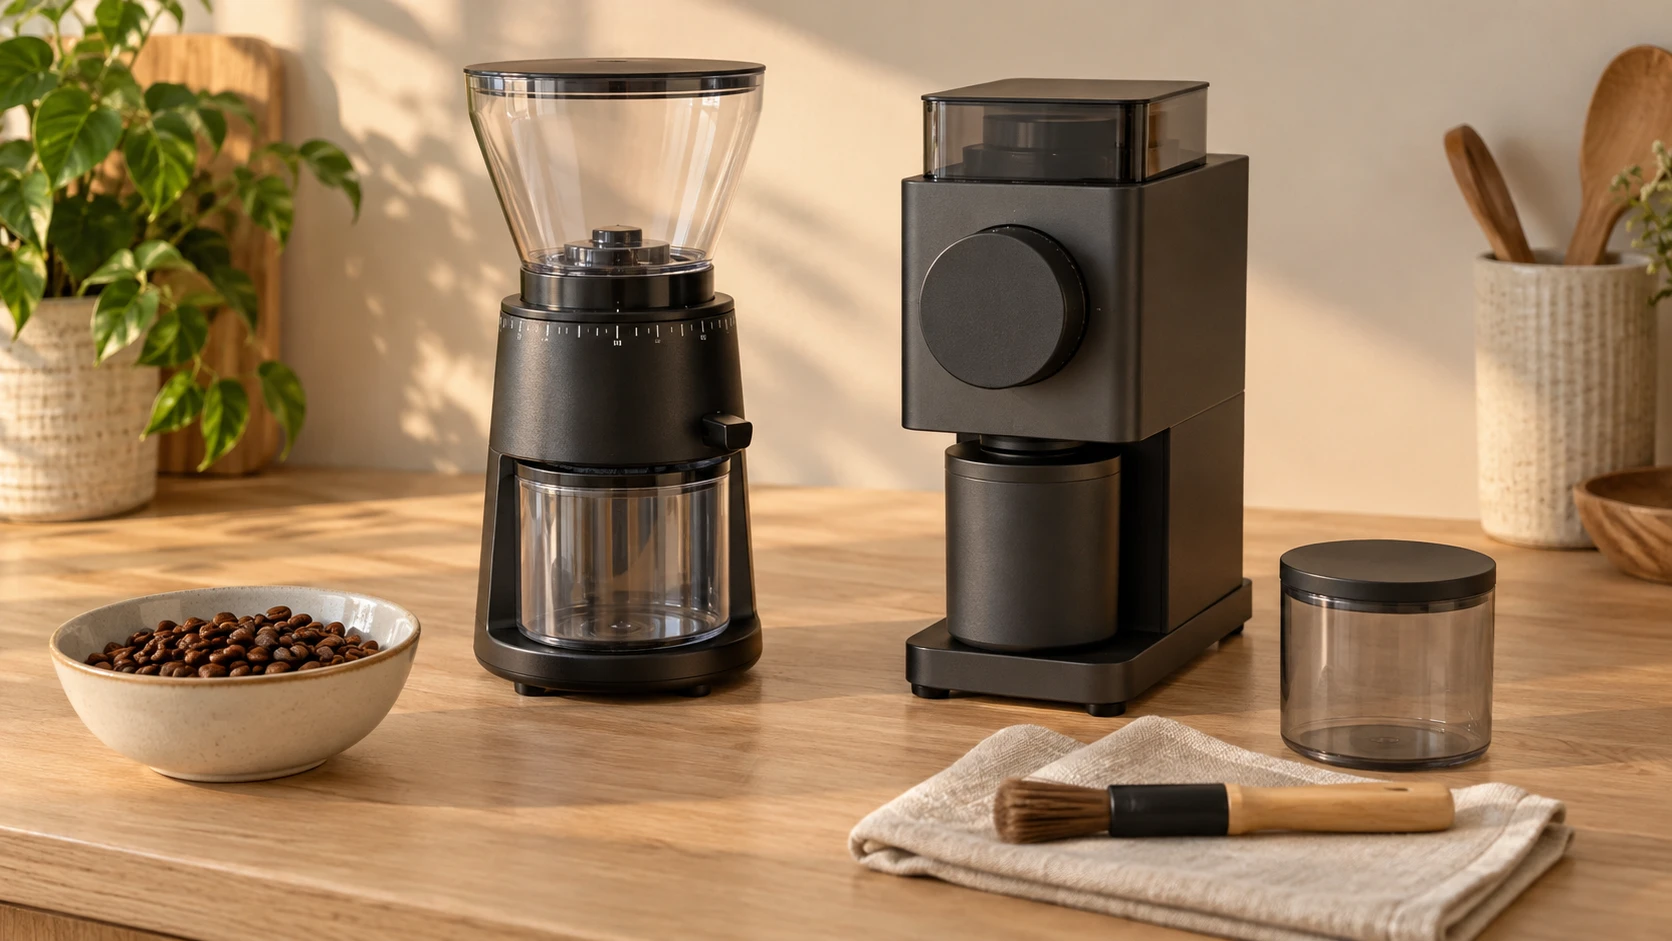
Coffee grinder cleaning involves several different parts: the vessel that collects grounds, the passage that carries them out and the burr chamber that does the grinding. A removable container's washing permission does not apply to the motor body or burrs. The Capresso Infinity Plus 570.01 and Ode Gen 2 have different access arrangements and care instructions. This routine follows their manufacturer documents for ordinary cleaning, including Capresso's empty-hopper alignment and Ode's exit-chute and anti-static-pin brushing. Keep the model's care instructions beside the parts you remove.
The Capresso 570.01 Infinity Plus grinder is the black model described with a bean container, grounds container and removable upper conical burr. Capresso's official model page identifies 570.01, and its support table links the Infinity Plus 575/570 instruction book used here. The Ode Gen 2 Black brew grinder describes Gen 2 Brew Burrs, a magnetically aligned catch and a grinds knocker. Fellow's Gen 2 gear guide links its Safety and Maintenance manual and specific chute-cleaning guidance. This is routine care for those identified configurations, rather than a burr-replacement or jam-recovery walkthrough.
Conceptual editorial illustration of coffee grinder cleaning with generic complete grinders, a brush and collection vessels; it does not depict exact retail models, supplied accessories or a demonstrated cleaning procedure.
Prepare the grinder and separate the parts
Begin with the relevant manufacturer's instructions open and the grinder turned off. Unplug it before cleaning or removing parts, and allow moving parts to stop. Capresso also says to allow the appliance to cool before putting on or taking off parts and cleaning. Set the removed items where you can identify them throughout the job. This keeps the bean container, collection container and burr components from being treated as one washable group. Have the manufacturer's cleaning brush available for the dry coffee paths and a soft cloth for the permitted exterior and container care.
Capresso's bean container must be empty before it is removed. Its manual warns that beans can scatter if the container is taken off while loaded. For this routine, keep the hopper's remaining beans separate from the used grounds in the collection container. If beans remain in the grinder, follow Capresso's documented emptying method before removing the hopper. Do not force a loaded container off in an attempt to reach the burrs. The empty-container requirement is part of preparing the specific machine for access, not an optional detail about tidying the counter.
For Ode Gen 2, distinguish routine chute access from opening the front of the grinder. The catch sits beneath the exit chute; removing it provides access for the manufacturer-described brushing of the chute and adjacent anti-static pins. The burr assembly is behind the front dial assembly and requires a separate procedure. Leave that assembly intact for the chute task described here. Fellow's manual requires power isolation before cleaning and says never to put fingers into the chute while the product is plugged in. A catch that lifts away does not change that requirement.
Dry grinder burr and chute care on Capresso 570.01
With the Capresso unplugged and its bean container empty, align the red line on the bean container with the corresponding red dot on the machine before lifting the container upward. The instruction book illustrates the matching marks. Capresso warns that attempting to insert the container without alignment can break part of its plastic rim and make the grinder inoperable. Use those same marks again when returning the empty container. If the container does not move as the instructions describe, stop and consult Capresso rather than forcing it or guessing a new direction.
Lift the upper burr as shown in Capresso's figure and keep its soft collar with it. The manufacturer's illustration distinguishes that removable upper burr from the lower burr remaining in the grinding chamber. Use the brush to clean the upper and lower burrs. This is the dry part of dry grinder burr and chute care: do not pour water or another liquid into the grinder. A burr that can be lifted out still has its own care restriction. Keep the brush work separate from any permitted washing of plastic containers.
Inspect the feeder channel for accumulated coffee. Capresso's cleaning instructions say to use the small brush to move buildup through that channel into the grounds container. Its diagram shows the feeder channel at the grinding chamber; this is different from merely wiping loose grounds around the outside of the appliance. Collect the displaced coffee and empty the grounds container afterward. Match the feeder-channel position with the manufacturer's diagram before brushing. The manual supplies a brush method, not permission to use a sharp implement or liquid to clear the passage.
When the dry cleaning is finished, replace the upper burr and check that its soft plastic collar is in place. Return the bean container with the red line and red dot aligned, push down gently and turn the container clockwise to engage, as Capresso directs. Keep this sequence with the 570.01 rather than substituting a hopper-removal routine from another brand. Confirm that the grounds container is fully inserted before any later grinding. Capresso's manual warns that operating without it properly in place can blow grounds out onto the counter.
Clean the Ode Gen 2 exit path without opening the burr assembly
Ode Gen 2's current manufacturer care page describes coffee becoming retained in the exit chute and identifies the anti-static pins beside it. With the grinder off, unplugged and stopped, remove the catch cup. Use the provided brush to sweep gently around the inside of the exit chute and the adjacent pins, following that Gen 2 guidance. The task is to remove accumulated coffee from those identified areas. Do not tamper with the chute's finger guard, which the Safety and Maintenance manual specifically says to leave in place.
The care page connects that brushing with keeping the anti-static mechanism working. It reports a manufacturer observation of about sixty light- or medium-roast cycles before cleaning is needed for best performance. It also names roast level, processing, varietal and growing elevation as factors affecting cleaning frequency. Treat that observation as context for inspecting the actual coffee path, not a promise that every grinder will stay clear for sixty cycles. Darker roasts and natural-process coffees are specifically discussed as producing more microfines that can require more frequent cleaning.
Keep the brush routine distinct from the grinds knocker used during normal operation. Fellow's quick-start guide shows the knocker being used before retrieving the catch to eject excess grounds from the chute. That ordinary operating step does not establish that the chute and pins need no cleaning. The retail description also presents anti-static technology and the knocker as ways to reduce mess and retained grounds. Neither feature is a measured guarantee that no coffee remains inside. Follow the specific brush guidance when carrying out this cleaning task.
Grinder washable parts have model-specific permissions
Capresso's instruction book permits the bean container, lid and grounds container in the dishwasher's top rack, away from the heating element. It explicitly excludes the removable upper burr and its soft collar from dishwasher cleaning. Keep that list with the exact 570/575 manual. A container can share the same appliance with a component that needs dry brushing, so appearance or removability should not decide the washing method. Make sure all parts are completely dry before the grinder is used again, as Capresso's cleaning instructions require.
For Ode Gen 2, the Safety and Maintenance manual says not to put any part of the grinder in the dishwasher. Its general-cleaning section describes cleaning the catch gently with a soft cloth and warm soapy water, then drying it with a dry cloth. The exterior and load bin are wiped with a soft, damp cloth. Keep water away from the burrs and do not immerse the grinder. These permissions are separate from Capresso's top-rack list; having two removable collection vessels does not give them the same care table.
Before washing anything, sort the removed items into their permitted care groups. On Capresso, that means keeping the upper burr and soft collar out of the plastic-container dishwasher group. On Ode, keep the hand-cleaned catch and the wiped exterior separate from the dry burr and chute paths. Keep the grinder washable parts list beside each model if both are used in the kitchen. Put each model's own parts back with that model. Neither manufacturer document establishes cross-model compatibility merely because two pieces collect coffee.
The Cuisinart DBM-8WM and OXO 8717000 guide makes the same purchase distinction between a removable collection item and a grinder's interior, using different equipment. Its OXO dry-interior wording and Cuisinart brush inventory belong to those offers. Here, the actual Capresso and Ode manufacturer documents provide the applicable washing and dry-brushing permissions. Use the related comparison to think about the parts handled each day, then keep the procedure attached to the grinder being cleaned.
Separate routine coffee-path care from periodic burr maintenance
Capresso's instruction book calls for daily cleaning of the grinding chamber and notes that dark, oily beans require more frequent chamber cleaning than medium-roasted, non-oily beans. This applies to the Capresso method with its removable upper burr and feeder channel. It does not establish an interval for Ode. Keep track of the parts actually cleaned rather than treating a wiped container as evidence that the chamber is clear. Grounds in the feeder path and coffee oils inside the grinding chamber are different from a few loose particles on the counter.
Fellow's manual says that, for daily use, the burrs should be cleaned at least every three months using its documented tablet method or stiff-brush method. That is separate from the current Gen 2 chute-and-pin guidance. Brushing the accessible exit path does not complete the manual's periodic burr task. The burr section involves sharp parts, removal of the front faceplate and dial assembly, and careful handling of an auger key and spring. If undertaking that work, use the complete applicable section and its diagrams rather than extending this routine brush method into improvised disassembly.
Burr replacement, calibration, tablet cleaning and clearing a jam are also separate sections of the Ode manual. This routine does not prescribe them or shorten their steps. In particular, the manual distinguishes removing the burr assembly for cleaning from disassembling the burrs further for replacement. Leave the grinder's base closed; Fellow states that repair inside the base belongs to authorized service personnel. If ordinary cleaning exposes damage, a persistent operating problem or a part that will not return as shown, contact the manufacturer with the exact model and the observed issue before proceeding.
The KitchenAid KCG8433 and Eureka Filtro Silent guide connects bean changes, collection arrangements and upkeep with the brewing routine. Those grinders have their own hopper, dosing and accessory descriptions. Their controls or part-removal methods do not fill a gap in the Capresso or Ode instructions. A household changing beans often should retain the applicable cleaning guidance with its own grinder, so the next user knows which chamber, vessel or chute was handled and which task still needs attention.
Return dry parts and retain the correct instructions
Finish by checking the components against the procedure you carried out. For Capresso, the upper burr's soft collar, correctly aligned bean container and fully inserted grounds container deserve separate attention. For Ode's routine chute task, the front burr assembly has remained intact, and the cleaned catch and any wiped parts need to be dry before reuse. Return the catch to its intended position beneath the chute for the next grinding session. Do not start the appliance merely to see whether a wet, missing or uncertain part will work.
Keep the manufacturer document with the exact delivered configuration. Capresso's 570.01 model page and the Infinity Plus 570/575 support-table entry identify the document used here; the manual contains some electrical instructions specifically for model 575 that do not transfer to 570.01. Fellow's document identifies Ode Brew Grinder Gen 2 and has its own regional rating information. Follow the instructions supplied for the actual unit if its identity or configuration differs. This article's routine cleaning steps should not become instructions for another generation, different burr package or unrelated grinder.
With coffee grinder cleaning completed, record which task was done: Capresso chamber and feeder-channel brushing, permitted container washing, or Ode exit-path and catch care. In a shared kitchen, mark the completed task so another user can see what still needs cleaning. Keep periodic burr work separate in the record. The manufacturer intervals and component restrictions then remain visible without turning an anti-static feature or a freshly washed container into a promise that all maintenance is finished.
A crypto purchase of a grinder should still identify the machine and parts that the household intends to maintain. On republeq.com, check the selected offer before choosing a payment option. Keep the exact product with the order while assessing the final transaction details. A cryptocurrency payment method shown in a product description does not determine the available assets or networks at checkout. When USDT is offered, read the network requirement displayed for that particular order and compare it with the sending wallet. Do not assume that a token with the same name on another network will satisfy those instructions. Review any stated transfer deadline and confirmation requirement before authorizing the transaction. The wallet may display a separate transfer charge, so account for that alongside the merchant total. Use the payment destination presented through the checkout and inspect the address before sending. An unsolicited message should not replace the destination attached to the order. Retain the merchant confirmation and the wallet transaction reference together, keeping private credentials and recovery information out of shared records. If a payment remains uncertain, check its status with those records before considering another transfer. Ask how the current return terms handle the original payment method and what order information is needed for an inquiry. A return arrangement from an earlier purchase does not establish the outcome for this one. Cleaning instructions also remain model specific regardless of how the grinder is paid for. Save the applicable manual and confirmed package inventory with the order, particularly when replacement parts may later be needed. Once the selected configuration and payment instructions agree, follow the actual checkout route for that transaction. Resolve an unclear asset, network or destination detail before moving funds. This keeps the payment record tied to the grinder that was selected and the components delivered.