Office Supplies & Stationery
Binder pocket compatibility: check rings, sheets, and closure access
Test a letter-size pocket in the actual three-ring binder with real documents before choosing a resealable or zipper closure.
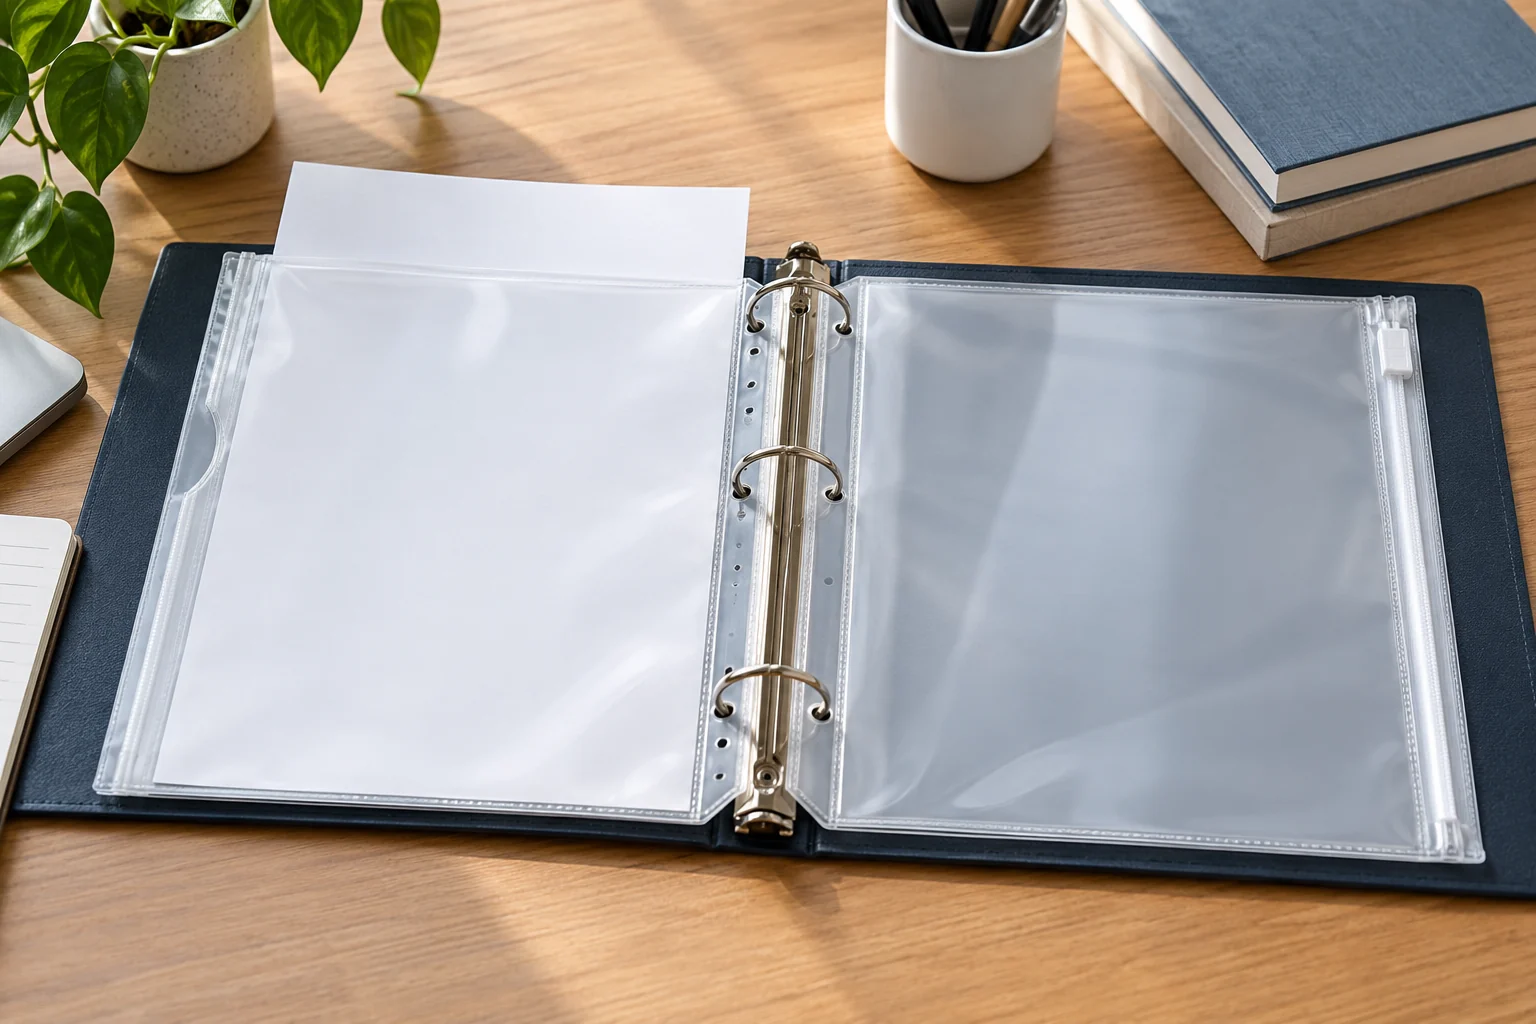
Binder pocket compatibility needs more than an “8.5 × 11” label. A letter-size pocket may catch on the rings, open in an inconvenient direction, or crowd adjacent pages after it is filled. Start with the binder and the material you want to enclose. Then check the pocket's outside size, ring placement, insertion path, and closure while the binder is open and closed.
This guide compares a resealable pocket listing with a zipper pocket listing. Both native pages describe translucent three-hole pockets for letter-size paper, but the listings do not establish fit in every binder, capacity for a thick packet, protection for valuable records, or a guaranteed seal. Treat each as a candidate for a simple physical trial. The reader decision is which pocket lets your actual sheets go in, remain accessible, and turn inside the binder without catching.
Start with the binder you will use
Open the binder flat and look at the ring pattern. Count the rings, note their shape, and measure the usable space from the ring line to the cover edge. A listing that says “standard three-ring binder” narrows the field, yet binder covers vary in width and how closely they lie against a filled pocket. Check whether the pocket's punched strip can sit on the rings and still leave room for its outer edge when the binder closes.
Look at what else is in the binder. Dividers, sheet protectors, tabs, and loose packets take space. A new pocket may fit on empty rings but rub a projecting tab after several sections are added. Slide an ordinary sheet through the current sections and notice where it catches. Keep the pocket trial close to the place it will live, not at the front of an empty binder if the intended location is behind a thick stack.
Note how often you remove the contents. A project binder opened once a month asks less of a closure than a working binder from which receipts are taken each day. Choose an insertion path that fits the routine. If you need to add a document quickly, a pocket you must remove from the rings every time may be irritating even if its dimensions technically fit.
Read the two pocket listings literally
The resealable letter-size binder pockets are described as three-hole-punched, translucent pockets for standard 8.5 × 11-inch pages. The native description gives an outside measure of 9.4 by 11.4 inches and says the closure is resealable. Its first gallery calls the design side-loading. Those details support a fit trial; they do not prove that the closure is watertight or that the pocket fits every ring shape and binder cover.
The zipper letter-size binder pockets are described as three-hole-punched pockets for 8.5 × 11-inch paper, measuring 11.4 by 9.8 inches outside. The native description names a zipper and a side-loading opening. Its first gallery shows the closure edge and a punched strip. The two listings give outside dimensions in different orders, so verify orientation on the actual pocket instead of treating the first number as height in both.
Both products are complete binder pockets in the native school-supply category. Both mention other small contents such as receipts or photos. That does not establish that a thick object will fit comfortably or that a valuable paper gets archival protection. The product descriptions make broad resistance claims; this guide uses the measurable format and closure claims and asks you to test the received item for your own documents.
Check the paper fit before the ring fit
Take one representative sheet and slide it into a sample pocket without bending a corner. A page that fits a listed “letter-size” pocket may have little room if it is inside another sleeve, folded, or clipped to more pages. If your actual material is a packet, measure its thickness as well as its paper edges. An outside pocket dimension does not reveal its usable interior thickness.
Try the insertion in the direction you will use at your desk. If the opening is on the side, can you reach it without turning the entire binder or brushing a divider? Does a sheet slide past the closure without snagging? A zipper can add a physical edge near the paper path. A resealable strip can require you to separate two surfaces first. The product photos suggest those forms, but only a sample in your binder answers which movement is comfortable.
Do not overload the first test. Put in one sheet, close the pocket, then add a small representative group if that is the intended use. Watch for bowed seams, bent paper, or a closure that will not lie flat. If the contents cannot sit without strain, assign fewer items per pocket or choose another size. Neither native description gives a verified maximum page count.
For documents you frequently replace, test removal as carefully as insertion. Can you take out the page without pulling another one with it? Can you open and close the pocket while it stays on the rings? An arrangement that passes one static measurement but makes every update cumbersome is a poor fit for an active file.
Place the pocket on the rings
After the paper fits, put the pocket on the intended three-ring binder. Align all three holes without pulling the strip sideways. Turn it forward and backward over the rings. Then close the binder slowly. Check whether the filled pocket sits within the cover, clears the ring hardware, and leaves the closure accessible. Stop if a ring or cover edge presses hard against the contents.
If the holes do not align, the solution is not to force a pocket over the rings. The listing's “three-hole” description does not supply every binder's precise ring spacing or margin. The hole punch binder fit guide owns the ring-pattern test for papers you plan to punch. Here the accessory already has punched holes; verify the actual received pocket against the actual binder before filling a batch.
Check how the pockets interact with dividers. A side-loading pocket near a divider tab might block a label or make the tab harder to grab. The binder divider tabs guide covers page-size and tab-visibility choices. Use it for the divider layout; use this article for the storage pocket's paper, closure, and turning space. The two accessories can coexist only if both remain usable in the assembled binder.
Repeat the test at the back of the binder, where the ring curve and cover may feel different as the binder fills. Some pockets will turn smoothly with one sheet but drag with a thicker packet. You can move a pocket to another section, reduce its contents, or use a different container. A binder is a system of parts; a satisfactory product-page match is only the start of the check.
Compare closure access in the real filing routine
Make two small trials with the same type of document. In the resealable pocket, insert a sheet, close the seal as its product instructions allow, place it on rings, then retrieve the sheet. In the zipper pocket, repeat the same sequence. Record how many movements each takes and whether you can read the document's label through the translucent material. That experience matters more than an abstract claim that one closure is always better.
For loose receipts or small cards, check whether they shift toward the opening when the binder is carried. A pocket with a closure can help group them, but the listings do not prove leakproof or lossproof performance. Use a different storage method for anything that cannot tolerate a closure opening or a seam failure. Test ordinary replaceable items first and keep originals in the protection appropriate to their value.
For documents you mainly read in place, ask whether a closure is needed at all. You may still prefer a pocket to keep related sheets together. If you must handle the paper each time, opening and closing it repeatedly can add work. Label the pocket clearly enough to identify the contents before you open it. The two pages describe translucent material, so a front-facing title sheet may help in either version.
Orientation is easy to miss. The first listing's gallery says side-loading, and the second description also calls its zipper opening side-loading. Inspect the actual edges: which side carries the ring strip, which carries the closure, and where does the paper slide? This is especially important if your binder opens in a way that puts the closure against the cover or another section. Do not infer a usable opening direction from the order of outside dimensions alone.
Plan a small batch after one complete test
Both listings are sold in multi-packs. Count the distinct groups of material that need pockets, not the total number of individual sheets. A binder with five project sections might need one pocket per section, or none if the existing filing method already works. Do a complete test with the filled binder before turning a pack of pockets into a filing plan for every drawer.
Make a short list of pocket jobs: active receipts, a packet of current forms, photos being moved between rooms, or a small set of craft templates. Next to each job, note whether contents will be inserted often, how thick they are, and whether the binder must travel. The same closure choice may not suit all jobs. You can use one style in a stationary reference binder and another in a working binder if each passes its own trial.
Leave room for changes. A project packet can grow during a season, and an almost-full pocket may become frustrating. If the intended contents are likely to expand, try a few more representative sheets during the trial rather than filling to the edge. The safe count is the number that sits flat, closes, and turns in your binder, not a universal number from either listing.
Keep the pocket label independent of the closure. A small title sheet facing outward can tell you which documents belong inside. If the opening faces the wrong way or the pocket is translucent only in some light, a physical label on the section divider may serve better. Do not cover the punched holes or interfere with the zipper or resealable edge just to place a label.
Use a simple pass-or-pause record
For each candidate, write down the binder model or ring pattern you actually tested, the page or packet used, and the section where it sat. Mark four outcomes: paper slides in and out; holes align; filled pocket turns and binder closes; closure remains reachable. If any outcome fails, describe the failure. “Too thick at zipper” is more useful than “doesn't fit,” because it tells you which dimension or motion needs a different accessory.
If the first pocket passes, test a few positions before ordering for several binders. A narrow binder and a wide binder may have the same number of rings but different cover clearance. A pocket can clear one arrangement and rub in another. Keep the passed result tied to the actual binder, not the phrase “standard three-ring” in a listing.
If neither candidate passes, do not choose on pack count. Look for a pocket with verified hole spacing, a different outside size, or a closure that faces the direction you need. If your problem is really slipping punched pages, revisit the ring-pattern guide. If your problem is finding sections, revisit the divider guide. A storage pocket solves an enclosure problem when its physical fit and access are established.
Check the order and the received pockets
Before checkout, reread the current native pages for the exact pocket dimensions, opening language, count, and availability. Product descriptions can be edited. Avoid turning broad words such as “waterproof” or “archival-safe” into a guarantee for records that require certified protection. Ask the seller for a specific applicable standard if that property matters. This guide does not verify those performance claims.
When the order arrives, measure and test one pocket before distributing the pack. Check its outer size, hole strip, closure location, and paper fit against the same binder used for the plan. If it differs from the listing you evaluated, preserve the packaging and contact the seller rather than modifying a whole batch. Use the measured sample as the pattern for the remaining matching files.
Choose the resealable style when its actual opening and repeated access suit the documents, or choose the zipper style when that closure is easier for the same job. Both choices depend on the binder and packet you tested. A pocket is compatible when the paper fits, rings align, closure remains usable, and the filled binder closes without forcing its contents.