Problem-Solving Articles
Bike pump not inflating: check the valve and hose arrangement
Check the Pocket Drive valve and hose sequence, distinguish its separate CO₂ head, and identify when air loss needs a tyre repair investigation.
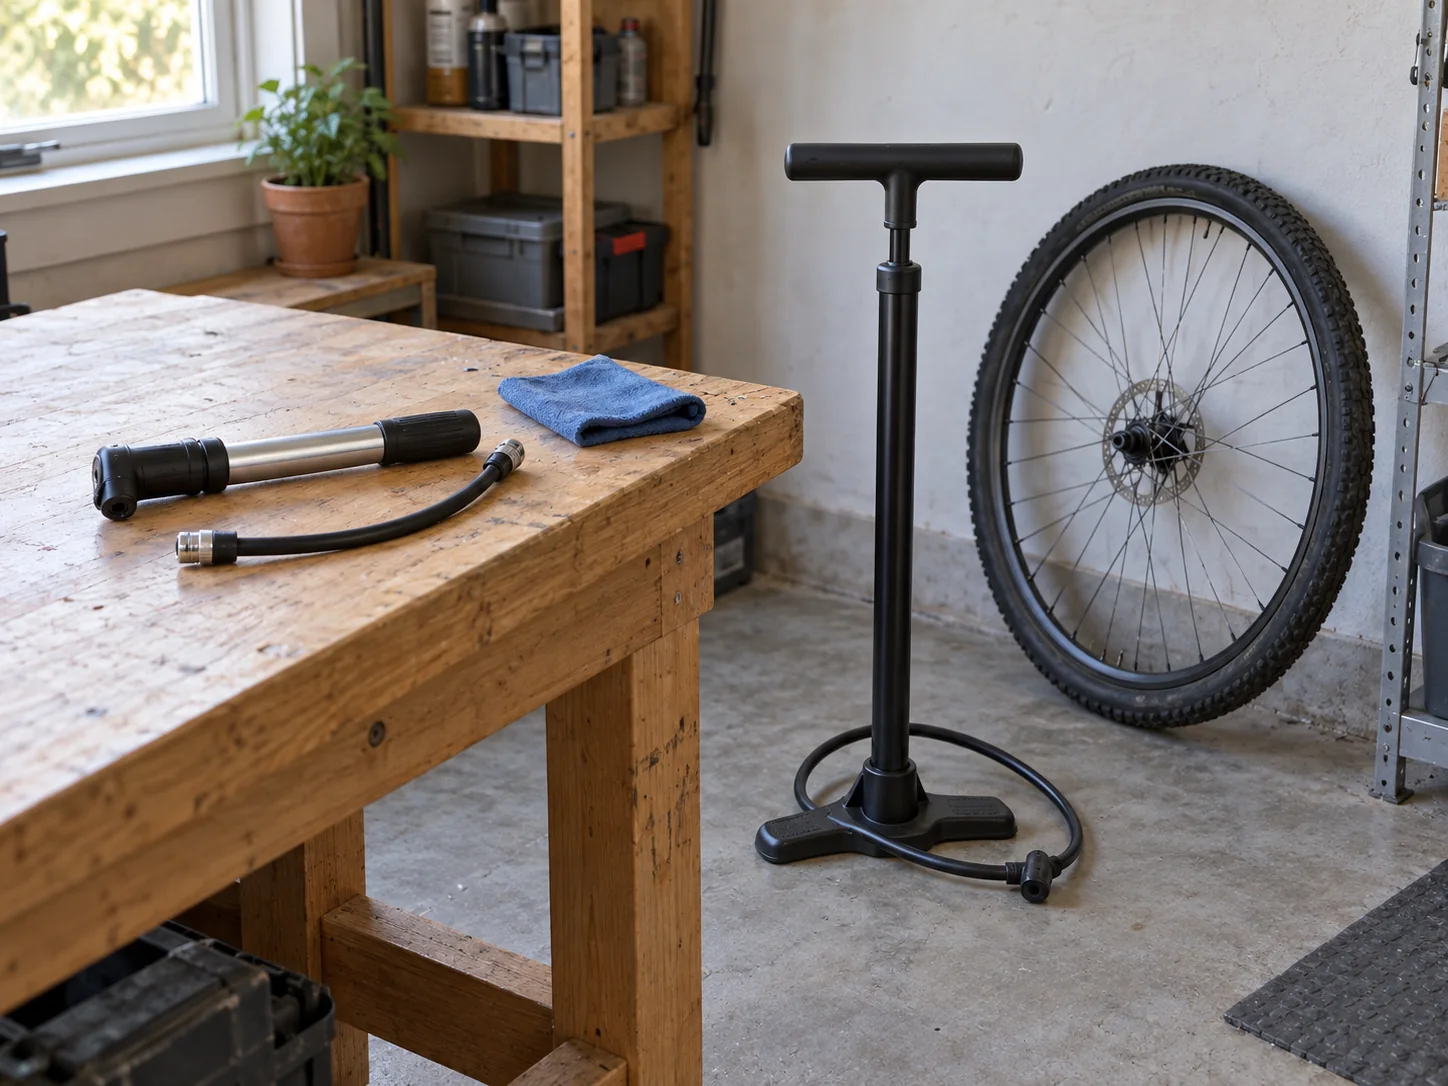
A bike pump not inflating a tyre can leave you staring at several possible connections: the valve, a reversible hose, perhaps a second inflator packed beside the pump. Start by establishing which device you are holding. In the Lezyne Pocket Drive loaded kit, the hand pump and separate CO₂ head use different connections. Their presence in one package does not make them interchangeable parts of a single operating sequence.
This guide follows the Pocket Drive's actual hose instructions, then separates connection problems from a tyre that loses air afterward. It also considers a Revere floor-pump alternative. It does not report a workshop test or diagnose your equipment from a description. A damaged valve, damaged tyre or unexplained failure after the supported setup needs appropriate bicycle service.
Start with the device on the bench
The selected Lezyne Pocket Drive pump kit lists a compact hand pump, a Twin Speed head, a CO₂ inflator with a 20g cartridge, a lever kit and a strap. Lezyne's own Pocket Drive page identifies its loaded kit as the pump plus a Lever Kit, Twin Speed Drive CO₂ and a Velcro strap. The manufacturer's pump specification names an ABS Flex Hose.
The package contains two inflation systems. The reversible hose belongs to the manual pump's air path. The separate Twin Speed Drive head belongs to the cartridge inflator. If you have laid everything out together, put those two systems in separate groups before following either guide. The cartridge head's openings do not tell you which end of the manual pump's hose should meet the tyre.
For example, imagine unpacking the kit at home and finding a short metal pump, a small separate head and a cartridge. Your immediate task is to inflate with the hand pump. Set the cartridge equipment aside, retrieve the hose from the pump handle and follow the manual-pump instructions below. You have reduced the number of parts involved without opening, activating or experimenting with a compressed-gas cartridge.
Presta valve opening before pumping
Presta valve opening before pumping is a separate action from choosing a hose end. Park Tool describes the Presta valve as having a small locknut at its tip. That nut must be loosened before air can enter; its instructions also say to tap the valve to ensure it is not stuck. The Schrader type instead has an internal spring-loaded plunger. The compatible pump connection operates that plunger.
Look at the actual valve on the wheel. For a Presta valve, identify the small tip nut rather than the larger nut that may sit against the rim. These have different positions and purposes. The operation at the tip opens the valve for inflation. Removing a rim nut, changing the valve core or turning some other visible threaded part is not a substitute.
If the tip is visibly bent, broken or otherwise damaged, stop the setup and have that damage assessed. Avoid using the pump connection as a tool to straighten it. If you cannot confidently identify the valve, establish its type before attempting the connection. A pump's Presta/Schrader compatibility statement gives two supported interfaces; it cannot identify which one is fitted to your bicycle.
Matching the pump hose to the valve
Lezyne's Pocket Drive quick guide starts with unscrewing the hose and removing it from the handle. Choose the hose end matching the wheel's Presta or Schrader valve, then screw the opposite end onto the pump. Screw the matching end onto the open valve and inflate. Both hose connections therefore have a role: one meets the pump and the other meets the valve.
When considering matching the pump hose to the valve, follow that complete path. Looking only at the loose end nearest the tyre can obscure how the hose was installed at the pump. Before beginning, you should be able to trace the arrangement in order: pump, attached hose, correct valve end, open valve. This is a setup check using the manufacturer's sequence, rather than an internal pump repair.
Consider a household with a Presta-equipped bicycle and a second bicycle using Schrader. The same reversible hose has to be arranged for the wheel currently in front of you. A configuration left from the other bicycle is a reason to check both ends again. Keep the selected valve name in view while arranging the hose; remembering that the pump worked on another wheel leaves this particular connection undecided.
The earlier bicycle pump valve compatibility guide discusses another Lezyne pump and a JoeBlow Sport III. Its purchase question concerns the interfaces those particular offers disclose. The Pocket Drive steps here come from the separate manufacturer quick guide that explicitly includes Pocket Drive. They should stay attached to that pump and hose arrangement.
Know what the ABS button does on each valve
The same Lezyne quick guide gives different ABS-button functions for the two valve types. With Presta, ABS releases pressure in the hose to make chuck removal easier. With Schrader, it adjusts tyre pressure. A familiar button can therefore have a different effect depending on the connected valve. Read the applicable line before using it.
When describing an apparent loss of air, include the stage. State whether you were pumping, operating ABS or removing the connection, and which valve was connected. “Air came out” omits the stage needed to interpret the event. A short account such as “Presta wheel, hose attached, ABS used before removal” retains the relevant sequence without claiming how much air left the tyre.
Do not turn that distinction into a pressure measurement. Hearing a release does not provide a numerical tyre-pressure result. Conversely, a pump making a sound does not establish that the tyre reached its required pressure. Lezyne lists the Pocket Drive as having no gauge. Completing the connection sequence and checking pressure are therefore separate parts of the job.
Keep the pressure target with the wheel
The Pocket Drive offer names a maximum of 160 psi, while the selected Revere offer also advertises up to 160 psi. Those pump figures are equipment specifications. Choose a permitted inflation pressure from the applicable tyre and wheel instructions, including their limits, rather than adopting a pump's maximum as a target. Stop if you cannot establish the requirements of the actual combination.
Park Tool's tyre-installation instructions include inspecting both sides for correct bead seating, initially using low pressure and checking again. This matters especially after a tyre or tube has been replaced. If the tyre is visibly misseated or a tube is protruding, continuing to pump is not an answer to the installation problem. Have the installation corrected before proceeding.
For a home inflation task, have the relevant wheel requirements and an appropriate pressure gauge available before starting. The hand pump's portability does not supply its missing gauge. If the job requires a measurement you cannot make with the equipment at hand, obtain the appropriate measuring equipment or bicycle-shop help instead of estimating the result from handle movement.
Separate air delivery from air retention
A tyre that never gains air and one that becomes soft after the pump is removed are different observations. First note what actually happened under the applicable instructions. Did the tyre appear to change during pumping? Was the problem noticed at removal, later in the room or on the next outing? Those times help describe the symptom for the person investigating the air loss.
Suppose the connection is completed correctly and the tyre gains air, but later becomes soft again. Replacing the pump immediately would leave the loss of air unexplained. Park Tool's repair guidance calls for examining the tyre and tube to find the cause of a flat. A replacement tube can suffer the same problem if a damaging object or rim problem remains.
That inspection is a separate repair task. The presence of tyre levers in the Lezyne kit, or a patch kit with the Revere pump, does not make every damaged tube repairable. Do not begin dismantling a wheel merely because those accessories are available. If you lack the relevant tyre, tube and wheel-service knowledge, take the bicycle to a competent service provider with your account of when the air loss occurred.
What changes with the Revere floor pump
The Revere xlAIRator 5 floor pump names a UNIVALVE connection for Presta and Schrader, an extra-large gauge, a 41-inch hose, steel barrel and base, and an included patch kit. Revere's own product page corroborates the two-valve head and hose length. This is a different arrangement from retrieving and reversing the Pocket Drive's hose.
For a buyer who wants a floor pump with a gauge, those disclosed features answer a different practical requirement from carrying a compact ungauged hand pump. They do not establish that the Revere head is a drop-in replacement for the Lezyne assembly. Keep each pump complete and use the operating instructions supplied for its actual head. No UNIVALVE locking or release sequence is inferred here from the Pocket Drive guide.
The published bike pump gauge mismatch guide addresses printed ranges and units on other floor pumps. That becomes relevant if the remaining question concerns an indication rather than air delivery. It does not provide a pressure target, calibration result or repair sequence for either pump selected here.
Describe the point where the task stops
A short record gives a service conversation a specific starting point. Begin with the pump name and wheel's valve type, then describe the last step you completed. “I removed the hose from the handle but cannot identify its valve ends” asks for connection identification. “The correct end is attached to the open Presta valve, but the tyre does not gain air” gives support a different starting point. Neither account requires an assumed failed component.
Keep any photograph directed at the unresolved point. For a connection question, include the actual hose end, valve and enough of the pump to identify the assembly. For visible damage, show the damage in context. If a second person has already changed a part, include that detail with the photograph. These are records of the equipment being discussed. A retailer's stock image may help name the product, but a picture of your actual arrangement lets the person helping you see what is present now.
Finish with the next action identified
After checking the actual device, valve opening and supported hose sequence, describe the remaining problem precisely. An unidentified valve calls for identification; visible damage calls for assessment; an unexplained failure with the correct setup calls for model-specific support. A tyre losing air afterward needs its own repair investigation. Keeping that next action specific helps you avoid buying a replacement pump before establishing which part of the task remains unresolved.