Home Decor & Table Settings
Artificial garland mantel placement: dry-fit before fastening
Lay out an unlit garland before fastening it, check normal room use, and secure the chosen path gradually.
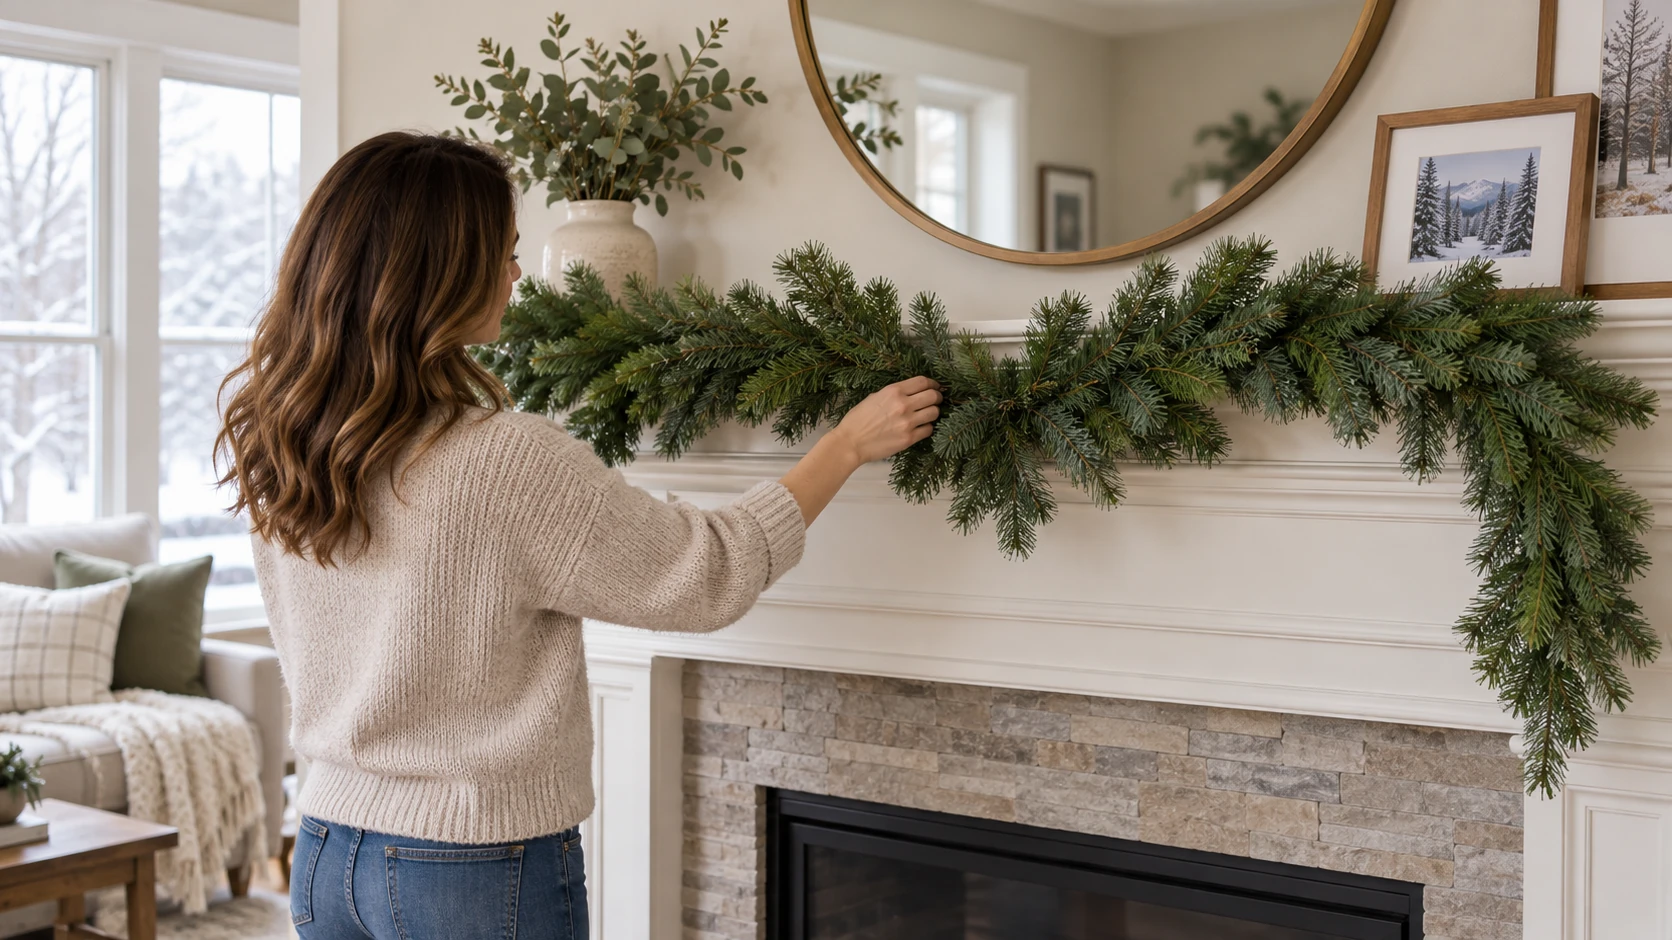
Artificial garland mantel placement starts before the first clip, hook, or piece of tape touches the room. A garland can look generous in a product picture and still leave too little room for a clock, framed photograph, candle, or the edge of a television. Set the greenery on the mantel while it is still loose. That first rehearsal lets you decide where the ends should stop, whether the center should dip, and what needs to remain reachable. It also gives you a chance to notice an outlet, heat source, or fragile object before a display makes it harder to reach.
Step 1: Clear a working strip, then mark what must stay usable
Move small breakable objects away from the working area. You do not need to strip the entire room; you need enough space to lay out the garland and see the mantel edge. Decide which objects must stay in place throughout the season and which can move. A picture that gets straightened every week, for example, needs a hand path. A fireplace control needs to remain visible and accessible. If the mantel is above a working fireplace or another hot surface, check the appliance instructions and the garland's exact label before placing decorations there. A listing's general “indoor” or “outdoor” language does not establish safe clearance from heat.
Take a quick photograph of the bare mantel if you tend to change decorations during the season. The photograph can help you restore the arrangement after guests, cleaning, or a display change. Mark the actual width you can use with removable notes placed away from a finished surface, or write the two end points on paper. Include any wall trim or door swing that narrows the space. The purpose is to identify the usable path, not to force the garland into a number printed on a package.
Step 2: Lay out the complete garland without fastening it
Unpack the full length and loosen its branches according to the instructions for that exact item. Do not pull on a decorative tip as if it were a structural handle. Place the greenery along the mantel in the position you first imagined, leaving its ends free. Step back to the place from which people normally see the room. A close-up can hide an awkward drop at one end or a center dip that covers another object. Then look from the side. The side view shows whether the greenery projects into a walking path or hangs where someone regularly reaches.
Two current Republeq listings show why this rehearsal matters. The HYTHU Norfolk pine garland is described as a flexible, unlit artificial garland intended for mantel, table, or rail display. The PlushNook soft-touch pine garland is described for several indoor and outdoor decorative settings. Those descriptions tell you the type of greenery being offered; they do not tell you how either one will drape over your exact mantel or which fastener suits your wall finish. Use the actual item and its delivered instructions for that decision.
If a package says the branches can be shaped, spread them gently into a few likely positions before judging fullness. Do not assume the photographed arrangement arrives pre-shaped. An irregular or flexible strand may need more depth on one side to look balanced from the main viewing spot. Make one change at a time: move an end, adjust a small section, and look again. Trying to fluff, shorten, and fasten in one motion makes it difficult to tell which change improved the view.
Step 3: Choose a path that keeps the room functional
Try a straight run along the shelf, a shallow center swag, and a design that descends only at one end. You are comparing paths, not inventing a rule that every mantel should follow. A straight run may leave nearby framed pieces easier to see. A shallow dip can emphasize the center but may cover a fireplace surround detail or another decoration. One descending end can work where the other side meets a doorway, shelf, or traffic route. Keep the loose garland supported as you compare; a strand falling to the floor is not a useful preview of its secured position.
Check the places people touch. Can someone open the fireplace screen or reach a light switch without brushing through the greenery? Can you dust the shelf without pulling a branch? If a television is above the mantel, does the display obscure its controls, vents, or cables? Leave the manufacturer's required clearances for every nearby appliance. Where you cannot determine a safe clearance from actual instructions, stop that placement idea and choose another surface. Decorative photos cannot answer appliance or material safety questions.
Do not use a doorway arrangement as the model for a mantel without checking the different constraints. The public guide to holiday wreath changeover is about keeping an entrance usable while changing a wreath. A mantel has its own shelf, heat, reach, and object-clearance questions. The shared habit is to protect normal room use while decorating; the placement decision here belongs to the actual mantel.
Step 4: Plan support points for the chosen arrangement
Once the loose arrangement looks right, identify where its weight would need support. Mark those spots on a sketch or photograph before choosing any mounting product. A long piece can sag between supports even if its end points hold. A dense ornament cluster may need an additional support point. Do not infer a load rating from a photo of a hook or a product category label. Match any fastener to the garland's actual weight, the finished surface, and the fastener maker's instructions. If you cannot establish those facts, use a freestanding arrangement or a different location rather than guessing.
Look at the mantel surface itself. Painted wood, stone, tile, and a narrow metal shelf do not accept the same attachment methods. Consider whether a clamp would grip without crushing an edge, whether an adhesive is permitted on that finish, and whether a hook would leave a mark you cannot accept. Rehearse where the supporting hand and fastening hand will go. A support that is impossible to install without reaching over fragile objects is a signal to change the layout first. Keep the garland away from open flame and follow the actual fireplace and decoration instructions.
For an unlit garland, you can focus on shape and support. If you later add a separate light strand, that is a new setup requiring the light manufacturer's power, placement, and use instructions. Do not treat the artificial garland's weather-resistant description as a rating for another electrical product. Likewise, an item described for outdoor decoration still needs its own attachment method and location check. “Outdoor” on a product page does not prove a particular adhesive, railing, or powered accessory is suitable outdoors.
Step 5: Fasten gradually and check the view again
Secure one support point using the attachment maker's instructions, then hold or temporarily support the remainder. Work along the intended path instead of pulling one end tight and hoping the center settles. After each support, step back and compare the display with your loose rehearsal. If the greenery twists, covers a needed object, or starts to sag, correct the path before adding the next support. Do not keep adding force to a failing attachment. Stop and reassess its rated use, the surface, and the load.
Fluff the visible branches only after the main path is stable. Small changes are easier to judge when the support points are already set. Keep any branch away from a hot appliance surface, candle flame, or ventilation opening. If the garland sheds, smells unusual, or arrives damaged, follow its specific care and seller guidance rather than masking the issue with fragrance or lighting. A good-looking arrangement is not a reason to leave a questionable item installed.
Make a final walk-through from the doorway and from the main seating area. Check that you can still reach the objects you planned to keep usable. Look below the mantel for a dangling end that could be pulled by a child, pet, or passing person. If those paths cannot be kept clear, shorten the display path by folding or re-routing the strand only when its construction permits it, or use it on a wider surface. Do not cut a strand or remove a built-in component unless the manufacturer's instructions explicitly allow that change.
Step 6: Keep a simple record for the next display
Take one photograph that shows the whole arrangement and another that shows the support points. Note which fastener matched the actual surface and what had to move off the mantel. Next season, this record gives you a starting point, not a promise that the same adhesive or hook can be reused. Recheck the attachment and surface before every new installation. If you switch to heavier ornaments or add lights, treat it as a new load and power arrangement.
When the season ends, reverse the installation without yanking the greenery from its supports. Follow each fastener's removal instructions so you do not damage the finish. Count the sections and any separate decorations before storing them. The guide to a wreath storage container addresses a different shape and packing decision, but it makes the useful point that storage should fit the actual decorated item. For a flexible garland, preserve the manufacturer's folding or storage guidance and avoid packing it under objects that will crush its branches.
The finished display should look intentional from the room and still allow the room to work. If the first loose layout did not meet that test, moving the garland to a table, rail, or other permitted location is a successful outcome. Dry-fitting made that choice early, before you committed to holes, adhesive, or a blocked control. The method is simple: clear, rehearse, check reach and heat, identify support, secure gradually, and record what worked for the exact items you own.
There is a useful difference between a length on a product page and the visible length in your room. A loop, return, or branch tucked behind an object consumes some of the strand. That does not mean the label is wrong; it means your display path uses material in three dimensions. The earlier garland length discussion belongs to the separate length-and-density buying decision. Here, keep the item you already have loose until you see its actual path. A short dry run can show that a straight line looks sparse while a smaller section with a shallow curve looks deliberate. Make the choice from the room, not from a ruler alone.
Before you leave the display installed, write down any question you could not settle. Perhaps you still need the fireplace's clearance instructions, the garland's care label, or a rated attachment for the shelf. Remove the garland from that spot until the missing fact is resolved. This is not an invitation to buy a stronger hook at random; the surface and load both matter. A display that must be repeatedly pushed back into place is also asking for a different support plan. Correct the physical cause while it is easy to reach, and keep the decorative arrangement secondary to normal use of the room.