Seasonal & Holiday Content
Halloween pumpkin design plan: choose a face before cutting
Plan a Halloween pumpkin face on paper, agree adult carving roles and read two actual Unbranded kit inventories before choosing seasonal supplies.
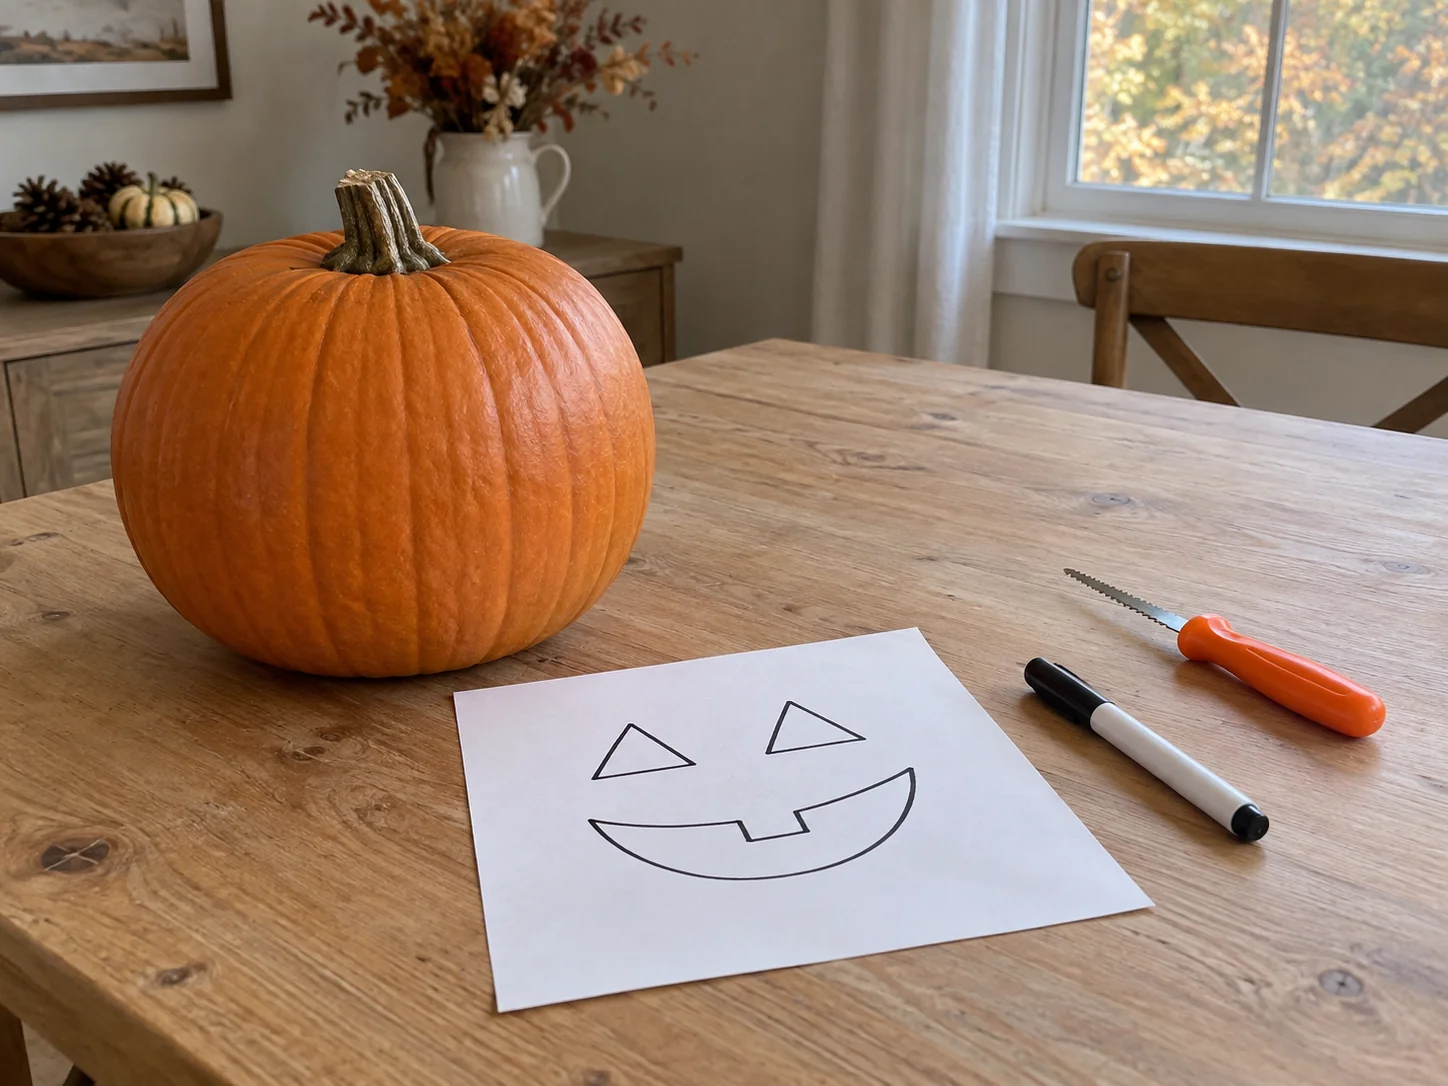
A Halloween pumpkin design plan can begin with a face on paper while the pumpkin is still whole. Before anyone opens a kit, decide what you want the finished decoration to show and what kind of afternoon the people joining you actually want. Ask whether everyone wants to discuss an elaborate picture or spend the time choosing one simple face.
This is a seasonal planning guide, with an original household example. It does not demonstrate carving cuts or test either retail kit below. You can leave the planning with a chosen design and an agreed occasion for making it. Actual tool instructions, the adult doing the carving and the pumpkin in front of them still govern whether a proposed design can proceed.
Give the pumpkin a particular job this Halloween
Start with the occasion you have in mind. Perhaps you want one smiling face to welcome a visiting friend, a pumpkin for an indoor gathering or a picture to share with a relative. Naming that purpose helps you decide which details matter. You can enjoy a simple face without giving it every feature you have seen in other decorations.
Think about who will see the result and when. A design intended for your own afternoon at home can be different from one chosen for a gathering later in the week. Put the occasion on the calendar before promising that everyone will carve a separate pumpkin. The number of finished objects should follow the people and plans you actually have.
A shared project also needs an answer to a modest question: whose design is this? One person might be choosing a face for their own pumpkin, or several people might be making suggestions for a single one. Agreeing on that early avoids asking a person to defend every choice while they are trying to draw.
Try a pumpkin pattern on paper before choosing tools
For a pumpkin pattern on paper, start with the features you want to recognize. Draw the eyes and mouth as an ordinary sketch. You do not need to present the first version as a finished template. Its purpose is to let you see whether you prefer a broad smile, a surprised expression or a different simple arrangement.
Draw a second version alongside it if you are undecided. Changing the mouth on paper lets everyone discuss the difference without altering the pumpkin. Say what you like about each version: perhaps the first face seems cheerful, while the second has the expression you wanted for this year's gathering. Choose one reason that matters to you.
Keep drawing and cutting decisions separate. A line that looks attractive on paper is a proposal for the adult carver to consider, rather than evidence that a particular tool can reproduce it. Nothing in the two retail descriptions below establishes a minimum detail size, an approved cutting technique or suitability for your particular pumpkin.
You can also choose a design that stays a drawing. If the shared pleasure is inventing expressions and comparing them, that part of the occasion already exists before any carving takes place. Leave the cutting decision open until the person responsible has considered the actual tools and their instructions. A plan can end with a decorated whole pumpkin if that is what you agree.
Read the two kit descriptions as actual inventories
The actual Unbranded six-piece pumpkin-carving kit offer lists six carving knives, twelve stencils, one marking pen and one storage bag. The six-piece description does not mean that there are only six objects in the entire listed package. Its catalogue identity is sku-17360971081, with UPC 046407154274.
The actual Unbranded 31 PCS pumpkin kit offer lists one kit with stencils and thirty-one pieces of carving tools. Its catalogue identity is sku-17504473319, with UPC 672068494437. The description does not provide an itemized breakdown of those thirty-one pieces. Do not turn that number into thirty-one knives or thirty-one complete participant sets.
Use those descriptions to frame questions about the actual package, rather than to rank the kits by their largest number. Which listed contents address something you need? Which details remain unresolved? Check the identified tools you already own before deciding whether you need a kit. Neither offer has been handled or compared in a carving trial here.
Both actual offers identify their brand as Unbranded. A generic cover photograph cannot establish which tool belongs to either package. The image accompanying this guide illustrates a whole pumpkin, a paper face and separate inactive generic supplies. It does not document the retail inventories, prove a tool's performance or show the chosen pattern successfully carved.
Make the roles clear before the afternoon begins
Oklahoma State University Extension's guidance on decorating pumpkins says adults should do the carving. It describes drawing patterns and other non-cutting decoration as ways younger children can participate. Its lighting suggestions include flashlights, battery-operated flameless candles and glow sticks. Those general suggestions do not certify the contents of either kit, override an item's instructions or make a retail age claim a safety assessment.
For your plan, name the adult who will decide whether to carve and who will do that work. Ask the other participants which non-cutting parts they would enjoy. Someone may want to draw faces; someone else may prefer to choose among the sketches or suggest a name for the finished pumpkin. Give each person time to choose the part they want to join.
Discuss the roles while the supplies are still put away. That leaves room for someone to change their mind without interrupting a task already under way. A guest who expected to make their own picture can say so. A person who only wants to watch the drawing can join for that part and leave the rest to others.
The kit's quantity is not a plan for supervision or simultaneous activity. Decide how many people are joining before deciding what to buy, then keep cutting arrangements with the responsible adult and the actual instructions. This guide offers no shared-tool rotation, blade handling sequence or shortcut for completing more pumpkins during the afternoon.
A shared carving afternoon needs room for a change of mind
In an original fictional example, Mara invites her brother Jon to help choose one pumpkin face for a Halloween visit. Jon expects to draw several elaborate versions. Mara mainly wants a wide, friendly expression that their visiting friend will recognize in a photograph. They describe those wishes before looking at either kit.
Jon draws two faces. The first has small details around the eyes; the second uses the same broad mouth Mara liked from the start. They choose the second drawing as the proposal. The adult responsible for carving has not yet assessed it against the actual pumpkin or instructions, so they keep the paper decision provisional.
Mara asks Jon to put the two drawings beside each other and explain which expression he likes. He points to one eye that is slightly higher than the other. Mara had been looking only at the mouth. They decide that the uneven expression is the part worth keeping in the next sketch, even if the other details change.
They also discuss what their visitor expects. She has been invited for an ordinary catch-up, rather than to judge a competition or join an activity she has not chosen. Mara keeps that invitation as it is. The pumpkin is something they want to show her, and she can say whether she would enjoy joining the design conversation.
Before putting the drawings aside, Jon takes a photograph of the version they chose so he can remember which one they meant. The image records their paper proposal only. If they return to it on another day, they can begin with the same expression and reconsider the remaining decisions together, without relying on a half-remembered description of the first drawing.
For a shared carving afternoon, their agreement is about the occasion: one pumpkin, one proposed face and time together choosing it. They have not promised an intricate finished object or a particular completion time. If the carving decision changes, the drawing and the conversation can still be part of the visit they planned.
This example is invented, without a claim that Mara or Jon bought either kit or achieved a measured result. Their choice illustrates a way to settle competing preferences before the physical work. It cannot establish which design will succeed, how long your activity will take or whether a particular tool is suitable.
Choose when and where the decoration will be seen
After choosing the occasion, decide whether you are planning an indoor view, an outdoor display or a photograph. Keep that decision specific to the place you actually have. A pumpkin pictured beside a doorway elsewhere does not tell you whether your own proposed position is appropriate. Resolve the location with the household before making it part of the invitation.
If weather affects an outdoor plan, use current information appropriate to your location. The separate weather-station readings and forecasts guide distinguishes instrument measurements from forecast questions. A number on a household display does not settle what conditions your event will encounter. Keep an alternative place or occasion available if your first plan needs to change.
Think about the final viewing moment without turning it into another production task. You might want the person who drew the face to choose the photograph, or you might simply enjoy the pumpkin during the visit. You can decide that later. Agreeing on the purpose now is enough to prevent a small decoration from acquiring a list of unrequested obligations.
Keep this seasonal project small enough to enjoy choosing
The small embroidery-project planning guide considers a different craft through its subject, workspace and intended display. The useful connection is choosing the project you actually want to undertake. Its fabric and hoop information supplies no carving instructions or pumpkin-tool compatibility. Each activity keeps its own materials and physical requirements.
Before sending an invitation, describe the activity in the same terms you have agreed: drawing and choosing a pumpkin face, with any carving left to the responsible adult. That description gives guests a useful picture of the occasion. It avoids making a kit purchase or a finished carved object the price of joining in.
Leave yourself permission to keep the plan at one pumpkin. If several people would rather bring separate drawings, those can be part of the conversation without becoming separate carving commitments. The afternoon belongs to the actual participants. A photograph of someone else's collection is an idea you can consider, rather than a quantity you have to reproduce.
Finish the Halloween pumpkin design plan with the chosen paper proposal, the occasion and the person responsible for the carving decision. Check unresolved package questions before buying supplies. When the day arrives, you will have something concrete to discuss while the pumpkin is still whole, with room to change the project before cutting begins.