How-To Guides & Tutorials
Brother XM2701 bobbin winding: follow the winding stages
Follow Brother XM2701 bobbin winding through preparation, the first-turn pause, continued winding and removal, with the actual manual beside the machine.
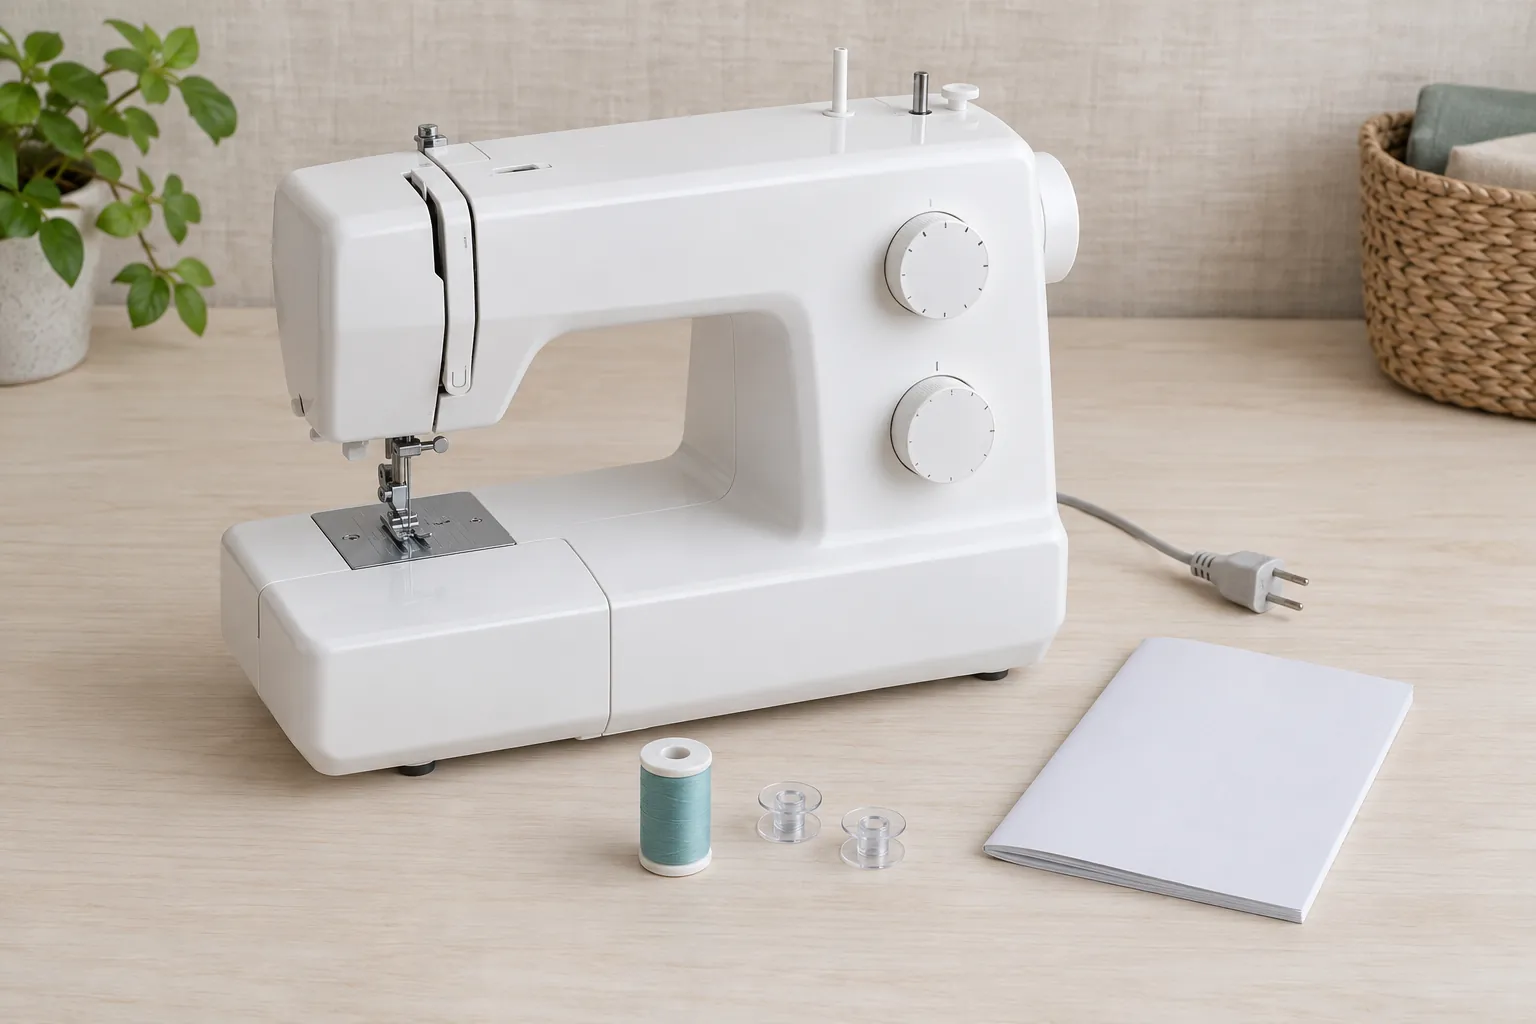
Brother XM2701 bobbin winding prepares the thread carried on the bobbin before the separate lower-thread installation task. Work from the machine's complete winding instructions. Having thread on a bobbin does not by itself show that the winding sequence was completed correctly.
This guide follows the Operation Manual, version 03, linked by Brother's exact XM2701 support page. It assumes an undamaged machine with the correct initial setup and matching foot controller established under the complete instructions. Keep those instructions beside the machine; the conceptual cover is not a thread-routing or bobbin-size diagram.
Separate preparation from powered winding
Switch off and unplug before preparation, adjustments or leaving the machine. Keep fingers clear of moving parts; use no extension cord. Never turn the machine on while pressing its foot controller.
Make the work area suitable for the actual task before handling thread. Do not let another person mistake a stopped machine for one ready to start. If the session is interrupted, explain whether preparation, the initial turns or the main winding stage was underway. Those are different states of an unfinished job.
Choose the bobbin specified for this machine
Use the supplied bobbin or Brother's specified same-type SA156. This requirement does not approve bobbins from other models.
The bobbin and bobbin-case compatibility guide distinguishes a thread-carrying bobbin from its case and keeps each accessory's actual model list intact. That distinction matters here: a case reference or a pack of similar-looking bobbins cannot replace the XM2701 manual's bobbin requirement. Establish the actual part before beginning the winding task.
Keep an unidentified bobbin outside the prepared work. Its location in a sewing box cannot establish the machine it belongs to. If someone else brings the supplies, ask which bobbins have actually been identified for this unit. A clear answer at this stage prevents a familiar-looking accessory from becoming an assumed prerequisite later in the sequence.
Read through the stopping points before the first start
Before the fictional blue-thread session starts, have the person controlling the machine describe the next stopping point in words. The pause during winding the first turns and the later finish should be distinguishable in that explanation. If the plan jumps directly from starting to removing a finished bobbin, revisit the manual together. This read-through is a way to find a missed stage before movement begins, without running an improvised practice cycle.
Arrange the instruction book so it can be consulted without reaching across the operating machine. Read the next stage before starting it; after a stop, consult the next applicable section. This planning habit supplies no extra thread path or operating shortcut. Keep the controller with the person following the sequence, so a helper reading aloud does not independently decide when the machine should start.
Keep an imagined time allowance separate from the completion check. A planned sewing afternoon may contain several tasks, but the winding result is not established by the clock reaching the next activity. Read the actual state against the documented sequence. If the session must end earlier, identify what was completed and what remains rather than describing a partially prepared supply as ready for later use.
Set up the spool-to-winder thread path
Raise the spool pin and place the spool. Hold its thread with your right hand, draw it toward you through the guide groove, around the pre-tension disc and fully in.
For a fictional practice session, imagine one identified empty bobbin and a spool of blue thread already chosen under the applicable material instructions. The color makes the example easy to describe; it supplies no thread-type, fibre or thickness recommendation. The task is to follow the actual winding route with the identified materials, without deriving suitability from the appearance of the spool.
Place the bobbin on the winding shaft
Pass the thread through the bobbin hole from inside. Fit it to the winding shaft, slide right and turn clockwise until spring and notch engage. Leave 7–10 cm of thread, held taut and straight up.
Winding the first turns includes a deliberate stop
With your foot clear, switch on and gently use the controller for a few turns, then stop. Switch off and unplug for trimming excess as illustrated; the figure is labelled “1 cm (1/2 inch).” Restore power with foot clear; resume via the controller. When full and slowing, release it. Switch off/unplug, cut thread, slide the shaft left and remove the bobbin.
Finishing a wound bobbin is its own part of the task
For finishing a wound bobbin, keep the final actions in the plan even when the bobbin looks nearly filled. Stay with the winding instructions through the specified stop and removal. A person who leaves the machine mid-task should identify the unfinished stage instead of simply describing the bobbin as done.
In the fictional blue-thread session, a useful finish note would say that the winding stage was completed and the bobbin removed under the manual's sequence. If the person stopped earlier, describe that earlier state. A supply prepared for later installation and an unfinished bobbin still associated with a winding session should not acquire the same handover description.
Keep the cut thread and completed bobbin associated with the spool identity that was actually used. Color can help distinguish them on the table, but it is not a complete material specification. If a later task needs to know which thread was wound, retain the actual spool information rather than trying to reconstruct it from a shade that several spools share.
Check the winding result before the next operation
Brother warns that poor winding can loosen thread tension or break a needle.
Inspect the result against that actual illustration before proceeding to the separate installation task. If the appearance does not match the expected result, preserve the observation and consult the applicable winding instructions. This article does not invent a correction for every possible winding defect.
Describe what you can see rather than reporting that the bobbin is probably fine. A visible result and a completed sequence are useful observations; neither should be replaced by the amount of time someone spent at the machine. If the winding stopped because something unexpected happened, report that event instead of recording ordinary completion.
Keep lower-thread installation separate
The finished bobbin still needs the machine's applicable lower-thread installation instructions before sewing. This guide stops at winding and removal. It supplies no bobbin-cover opening, thread-slit routing or needle-threading sequence.
That boundary helps when preparing more than one part of a sewing project. You can finish the winding task and leave the bobbin identified for the next properly instructed stage. Do not describe the machine as ready to sew simply because the bobbin now contains thread. The remaining setup deserves its own complete instructions and checks.
Read the XM2701's actual feature account at its scope
The Brother XM2701 sewing-machine offer names 27 built-in stitches, a built-in needle threader, a top drop-in bobbin and an LED-lit work area. It describes an instructional DVD and bilingual manual in the package. Those features do not replace the operation manual's actual winding sequence.
The same offer cautions against use where 120V AC is unsupported, including with a voltage adapter. Keep the actual unit's electrical requirements and full safety instructions with the initial setup. Nothing in this winding task supplies an electrical-conversion method or makes an unverified power arrangement suitable for the machine.
Another bobbin-winder label needs its own instructions
The Janome 311PG mechanical machine description names a push-pull bobbin winder, a vertical oscillating-hook bobbin system and 15 built-in stitches. Its short account supplies no complete winding route. The Brother instructions above do not establish the direction, controls, bobbin type or sequence for this Janome.
If the machine on your table is the 311PG, use its applicable instructions before beginning that separate task. A shared bobbin-winder feature name does not identify every part or step. Keep the actual machine reference in any request for help, particularly if several instruction books and accessory boxes occupy the same work area.
Distinguish preparation from a thread-break investigation
The Janome 2212 upper-thread-break guide examines a different task: a visibly broken upper thread and its documented route. It retains the machine's alternative causes and disconnected inspection requirements. That discussion supplies no XM2701 winding procedure, and winding a new bobbin does not by itself diagnose why another machine's upper thread broke.
When asking for help, say whether you are preparing a bobbin, installing lower thread or investigating a sewing interruption. The specific task gives the next person a useful starting point. A report that simply says thread trouble can obscure the fact that the machine has not reached the sewing stage at all.
A shared project note can name the person taking over and the point where work ended. Keep that note close to the identified supplies. A person returning later should be able to distinguish a planned task from an observed result without guessing what an earlier helper meant.
Keep USDT checkout separate from the machine task
If you choose to pay with USDT for sewing supplies at republeq.com, keep the payment task separate from preparing the machine. In the fictional blue-thread session, the person arranging an order might also be responsible for setting up the sewing table. Finish the checkout decisions with the machine inactive, so a payment notification does not become a reason to leave an unfinished winding stage unattended. Read the payment choices and instructions actually presented for that order. Establish the intended destination, supported network and requested transaction details before authorizing a transfer; a familiar token name does not establish that two network selections are interchangeable. Do not copy a destination from a previous shopping note or assume that an old instruction remains applicable. Keep the order reference and the resulting payment information together, while excluding private recovery words and signing credentials from any shared sewing-project notebook. A transfer reference records a payment event; it does not certify that a bobbin is compatible, that an instruction book is the correct edition or that the machine has completed its winding task. Likewise, an order acknowledgment does not by itself establish delivery, contents or the condition of an arriving accessory. Read those matters against the actual order and applicable merchant information. If the payment state is unclear, check the order through its official channel before deciding on another transfer. Avoid treating a delayed screen update as proof that no payment occurred. Once shopping is settled, return to the identified machine, its complete instructions and the particular winding stage left unfinished. The practical handover can retain both an order reference and a separate task note, with each describing what it actually establishes. That separation helps the next person understand whether supplies are merely ordered, already present or prepared for the next documented sewing operation.
Leave the completed bobbin ready for the next documented stage
Finish Brother XM2701 bobbin winding with the winding sequence completed, the bobbin removed and the actual thread identity retained, or with the unresolved result plainly described. Keep the next installation task separate. The useful outcome is an identified, properly prepared supply for that next stage, without treating an unfinished or uncertain winding as complete.
Brother XM2701 bobbin winding follows the actual manual; conceptual cover shows a generic inactive unplugged machine and loose supplies without a thread-route, exact-model or bobbin-fit claim.