Crypto Commerce
How to photograph handwritten pages with a Sony ZV-1 II
A notebook can look complete in a stack of photographs while a margin, an insert, or an entire page is missing. To make a useful image set, decide which pages belong in it, take a complete view of each, and compare the photographs with the notebook before putting it away. A second view can help with a hard-to-see passage. It cannot settle a word that is unclear on the paper itself.
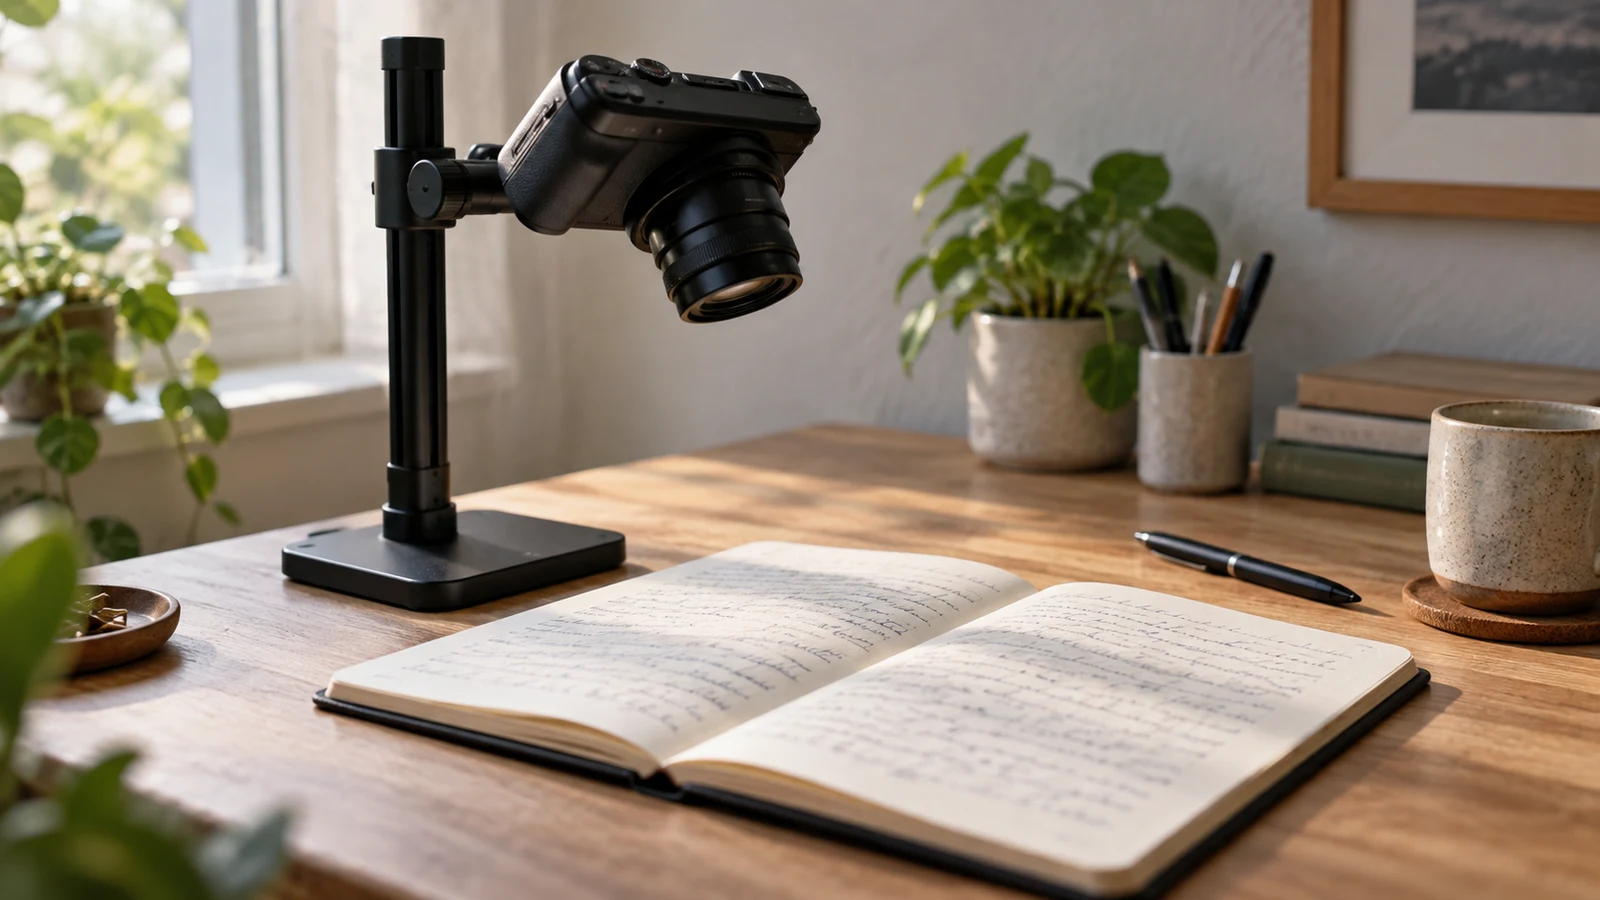
A notebook can look complete in a stack of photographs while a margin, an insert, or an entire page is missing. To make a useful image set, decide which pages belong in it, take a complete view of each, and compare the photographs with the notebook before putting it away. A second view can help with a hard-to-see passage. It cannot settle a word that is unclear on the paper itself.
This guide is for a small notebook you own or have permission to reproduce. The Sony ZV-1 II is the still camera used as an example; its product listing identifies a camera that takes photographs, not a device that promises readable copies of writing. The test is whether the resulting images show the selected pages, in order, with the marks you need to see.
Before You Check Transcription Accuracy, Decide What To Photograph
Start with the physical notebook, not the camera. Choose the first and last pages relevant to your purpose and look between them for loose inserts, writing on the inside covers, and unnumbered pages. If a note continues into a margin, that margin belongs in the image even if it looks empty from a quick glance. A page number printed on the paper may help you orient yourself, but it does not tell you whether an unnumbered sheet was slipped between two pages.
Decide whether blank backs matter for your particular set. You may leave out unrelated material you are not authorized to reproduce, especially someone else's private notes. If you omit a page within an otherwise continuous run, plan to tell the recipient that the gap was intentional rather than letting the image sequence imply the page never existed. Permission to use one passage should not be treated as permission to capture the whole notebook.
It helps to say aloud what the finished set should contain: for example, the cover identification you need, the selected run of pages, and an inserted sheet after the page where you found it. That is a coverage decision, not a complicated filing system. Keep the notebook nearby while reviewing so you can turn back to an uncertain location instead of relying on your memory of which side of a leaf carried the writing.
Use the Sony ZV-1 II to photograph handwritten pages one selected page at a time. Begin with a view that includes the entire page and its written margins. The page boundary gives a later reader a way to see whether the image covers the source, while the handwriting remains the reason to take the picture. If the binding curves a page, do not force it open just to make the photograph look flat; work with the notebook's natural opening and assess the result.
Before you continue through the notebook, inspect that first image against the actual page. Are the top and bottom lines present? Can you see the outer margin and the writing near the binding? A page can appear centered yet lose a small annotation at its edge. Check for a finger or another obstruction over the text. Look at the image itself rather than assuming the camera preview established that every mark is readable.
Glare, a broad shadow, or a soft patch can hide strokes that are obvious on the paper. If you encounter one, change the arrangement gently and take another photograph, then compare both attempts with the original. Do not discard an earlier view merely because the replacement looks brighter at first glance; the useful version is the one that better preserves the relevant writing. If the problem affects only one passage, an additional closer view may help without replacing the full-page photograph.
A full-page view and a supplementary detail answer different questions. The first shows which page was captured and whether its edges are present. The second lets a reader look more closely at a passage that remains too small in the complete view. Keep the two associated while you review them, so a close view of a phrase does not become an orphaned image whose location in the notebook is uncertain. A detail photograph should never stand in for a missing complete page.
For a line that approaches the inner margin, check both what the photograph shows and what the notebook allows you to see comfortably. Another attempt may expose writing that a shadow hid. If the paper itself folds into the binding and you cannot see the marks without risking damage, record that limitation. An apparently incomplete word is not an invitation to fill in letters from the surrounding sentence.
Once the first page works, continue in the intended sequence and compare each turn with the next photograph. A numbered run is useful, but it is not sufficient: a loose sheet can have no number, and two facing pages may be captured in an order different from the one you expected. Pause at any insert and make sure the image set preserves where you encountered it. When you move past a blank or intentionally excluded page, remember that the later reader cannot see the physical gap unless you disclose it.
To photograph handwritten pages consistently, repeat the same simple question after each turn: does this image show the selected writing on this physical page? If you cannot answer yes, stop at that page. Retaking it now is easier than trying to infer later which photograph belongs to a page you have already moved past. You can still review the whole set afterward; the brief check while turning pages catches omissions at their source.
Review Page Photographs On A Dell Inspiron Laptop
You can review images on a larger display if that is convenient. A Dell Inspiron laptop is one possible workspace for comparing page views and looking at particular passages. Confirm separately how you will move the photographs to it and what suitable viewing software you have. The product listing does not establish a transfer method or a special document-reading application, and the laptop screen cannot restore marks the camera never captured.
Open the complete page view before examining any detail views. Compare it with the notebook while it is still at hand: check that the page's top and bottom, both side margins, and the writing near the fold are represented. Then look closely enough at the marks to tell whether a faint line in the photograph corresponds to a visible line on paper. If a passage is legible on the original but indistinct on screen, return to the page for another attempt.
Move through the physical pages and the images together. If the notebook has a written page between two images and you cannot find its photograph, treat it as a gap, even if the surrounding pictures look excellent. Check the relationship between an inserted slip and the page where it was found. Also notice whether two images show the same page while the next page has no image; a tidy-looking run of pictures can hide that mistake.
At this stage, photograph handwritten pages is less a single shutter action than a coverage check against the source. Do the photographs let another person locate the selected writing without guessing which image came first? A close view is useful when it clarifies a particular line and you can place it beside its full-page view. If you cannot tell which page it belongs to, revisit the notebook and resolve the association before passing the set along.
Imagine a small notebook with a penciled note at the outer edge of one page, an unnumbered page after it, and a word farther on that even you cannot make out on the paper. In the first review, the edge note is clipped from the photograph. That calls for a new full-page view that includes the margin; you might also take a detail view if the note remains too small in the complete photograph. The unnumbered page needs its own image and a place in the sequence where it actually occurs.
The unclear word has a different status. Compare the photograph with the original to see whether the image has lost a visible stroke. If it has, another picture may help. If the same uncertainty is present when looking directly at the paper, repeated photographs cannot justify choosing a word. Identify the location as unresolved when you hand over the images. That small admission is more useful than a confident interpretation that the source cannot support.
Review any replacement image in context rather than simply appending it to the end and assuming the problem is solved. Does it cover the margin that was previously clipped? Does the unnumbered page now appear in the intended place? Can you still find the full-page view for each close view? The aim is a set that someone can follow without having been present for the page turns, while leaving genuine uncertainty visible.
Keep a brief account of intentional omissions and any areas that remain unreadable in the photographs or in the original. An omission is about the boundaries of what you chose or were permitted to capture; a missed page is an error to correct. Likewise, a photographic problem invites a retake, while an unclear original calls for a note about uncertainty. Those distinctions prevent the image set from quietly claiming more completeness or legibility than it has.
Check Transcription Accuracy After The Image Set Is Ready
When the selected pages are accounted for, pass along the checked images with their page context and any remaining limits. Someone who later types the handwriting will be doing a separate task. They should know which marks are hard to see in a photograph and which are already unclear in the notebook, so they do not mistake a doubtful reading for a documented word.
If you next make a typed copy, the related guide on how to check transcription accuracy addresses comparison of that copy with its source. Finish the photographic review first: the guide for a typed passage cannot supply a skipped page, recover a clipped margin, or resolve handwriting that was ambiguous before the camera was used.