Crypto Commerce
Plan Sony ZV-1 II product photography with size references
A photograph of a small handmade ornament can show its shape beautifully and still leave a viewer unsure whether it would fit in a palm or fill a shelf. Plan the size information before taking the picture: decide which dimension matters, include a recognizable reference in a separate view, and report any actual measurement in words. The photograph helps a reader imagine the object. It cannot, by itself, establish an exact dimension.
A photograph of a small handmade ornament can show its shape beautifully and still leave a viewer unsure whether it would fit in a palm or fill a shelf. Plan the size information before taking the picture: decide which dimension matters, include a recognizable reference in a separate view, and report any actual measurement in words. The photograph helps a reader imagine the object. It cannot, by itself, establish an exact dimension.
Suppose the ornament in this example has a rounded front, a hanging loop at the top and a deeper back. It is hypothetical; its dimensions are deliberately unspecified. A straight-on photograph might explain the outline while concealing the depth. If a viewer needs to decide whether it will fit into a narrow display space, a front view alone answers the wrong question. The useful plan starts with the space the viewer is trying to picture.
Product Photo Shot List: Name The Dimension First
Ask which part of the ornament someone would actually compare with an available space. Height could include the hanging loop, or it could describe only the rounded body. Width might be the broadest point rather than the width of the flat base. Depth is easy to miss if the front photograph makes the ornament look almost flat. Specify the endpoints when recording a dimension; otherwise a number can sound more definite than its description allows.
For this example, imagine a reader choosing a place to hang the ornament. The distance from its lowest edge to the top of its loop would be the relevant height to record separately. A person placing it inside a shallow box might care more about its greatest depth. These are different questions, so a single reference photograph need not pretend to answer both. Write down the intended question before arranging the object and reference.
A product photo shot list for size can be short: a clear view of the entire ornament, a view that includes a legible reference beside it, and a view from the side if depth matters. Each image has a different job. The first identifies the object without a competing prop; the second gives the eye a size cue; the side view explains a dimension the front view could hide. Add a view only if it resolves a remaining ambiguity.
Product Photo Shot List: Give Each View One Job
In the full-object view, leave the hanging loop and the bottom edge visible. If either endpoint is cut off, a caption about overall height becomes harder to relate to what the reader sees. The separate reference view can keep those same endpoints visible while introducing the reference. You do not need to make the two photographs look identical. They should describe the same object and make clear which aspect each photograph is meant to explain.
If the ornament has a raised center or a thick backing, include an angle that shows that projection. A side view may help the reader understand why the object could occupy more space than the front view suggests. It still does not yield a trustworthy depth measurement from the image alone. State any depth figure only after measuring the physical object independently, and identify exactly what the figure covers.
Product Photo Shot List: Choose A Reference Someone Can Interpret
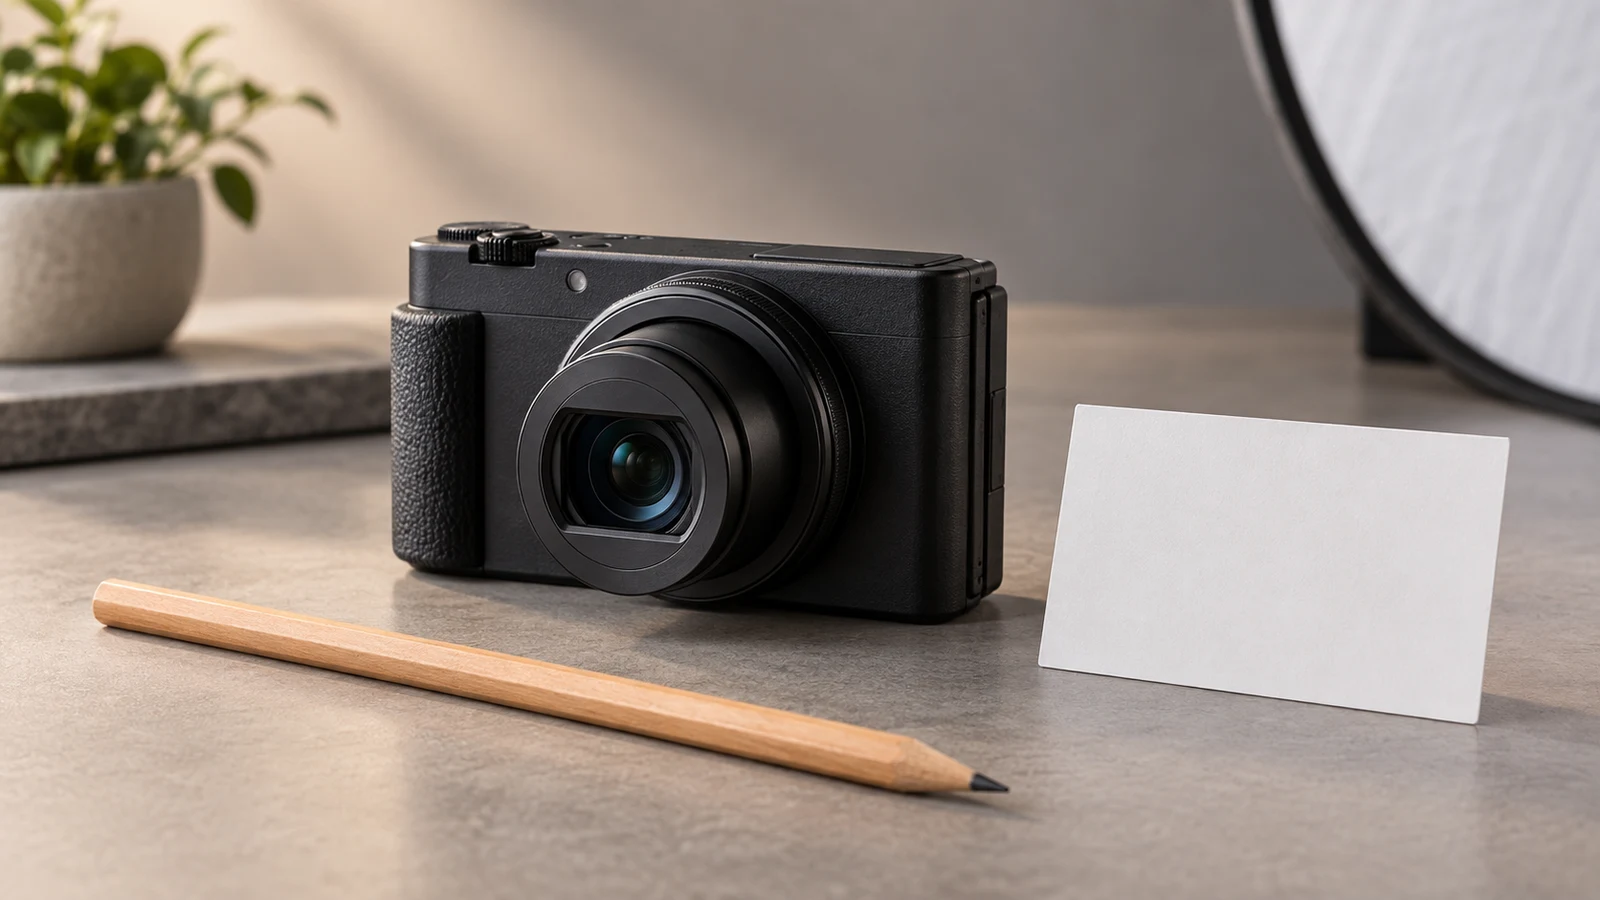
For Sony ZV-1 II product photography, the listed Sony ZV-1 II, model ZV1M2/W, is one possible camera for recording these planned still views. The camera choice does not settle the size question for you. Before shooting, choose a reference whose relevant dimension you can state accurately. A ruler with readable marks is one option; another is an object whose dimensions you have independently checked and will name in the caption. Keep the reference itself identifiable in the photograph.
If you are considering the listed camera for this project, the Sony ZV-1 II product photography product page identifies the model associated with this capture option. Check the actual listing when making a purchase decision. The photographic plan here does not depend on a particular accessory being included or on a promised ability to produce a particular close-up. The question is whether the resulting images communicate the intended size cue clearly.
A familiar prop, such as a key or a drinking cup, can make a photograph feel relatable. Familiarity is not the same as a known dimension: keys and cups come in many sizes. If you use a prop like that, describe it as general context rather than a measuring standard. Do not convert its apparent height in the frame into an asserted dimension for the ornament. A reader may get an impression of scale, but the uncertainty should remain visible in the accompanying words.
When the reference has markings, check that a reader can tell what the marks belong to and which part of the ornament they are meant to illuminate. If a marked edge is hidden behind the object, the reference may look reassuring while conveying little. The photograph can show a nearby ruler and the ornament together; your separate measurement still supplies the reported height. Avoid asking the viewer to count marks through a photograph to recover a figure you could state plainly.
Product Photo Shot List: Keep The Relationship Visible
Place the reference beside the ornament so that both appear in the same view and the viewer can see where they rest. If one is propped well in front of the other, their apparent sizes can be distorted by perspective. Try an arrangement that makes their physical relationship easy to read, without suggesting that a shared photograph is a calibrated measuring instrument. If that relationship remains unclear in the picture, say so rather than presenting a confident size comparison.
Think about the part of the ornament you want the reference to help explain. For overall height, a reference placed beside the object is easier to interpret than one lying partly behind its decorative face. For depth, a separate side view may be more informative than shifting the reference around in a front-facing shot. A reference should help the reader orient their eyes, not force them to reconstruct unseen edges or infer where the back of the object sits.
Review the photograph at the size someone is likely to encounter it on a page. Can you still identify the ornament's complete outline and the reference's markings or known form? If the reference is too small to read, a caption alone may carry the measurement while the picture offers only rough context. That is acceptable if stated honestly. Retake the reference view when the important relationship is obscured, rather than writing a caption that overclaims what the image shows.
Product Photo Shot List: Put The Measurement In The Caption
The ornament's measured dimensions belong in a caption or product description, not in a calculation made from the photograph. Measure the physical item separately and record both the value and its unit. Identify whether a reported height includes the loop. If you have not measured a dimension, leave it unreported; do not estimate it by comparing pixels with the reference. The image is useful context for a reader who wants to picture the item, while the stated figure has a different provenance.
A hypothetical caption could read: "Handmade ornament beside a marked ruler for visual size context. Recorded height, including the hanging loop: [measured value and unit]." Replace the bracketed text only with a measurement you actually took. That wording tells the reader what the reference is, which endpoints the height covers, and where the figure came from. It does not claim the ruler in the photograph verified the caption or that perspective has been eliminated.
If width and depth are also relevant, give each its own clear description instead of a bare string of numbers. For example, distinguish maximum width across the rounded front from maximum depth between its front and back. The viewer can then pair a front view with width and a side view with depth. If the object is irregular, specify the points you measured as plainly as possible, without implying a tolerance or precision that your method cannot support.
Alt text, when an image is eventually added, should describe what is actually visible: the ornament beside a marked reference, perhaps with the hanging loop and full body in frame. It should not state an unverified dimension or pretend a measurement can be read from an image that does not show it clearly. No image is required to use this planning exercise; the important editorial distinction is between a visible arrangement and a separately recorded fact.
Canon G7 X Mark II Product Photography: Use The Same Brief
The listed Canon PowerShot G7 X Mark II international-version bundle is another camera option for photographing the hypothetical ornament. If you are considering that option, the Canon G7 X Mark II product photography listing identifies the catalog item. Apply the same communication brief: an unobstructed full view, an interpretable reference view, and a side view only when depth needs explaining. The brief is about what the reader needs to see, not a claim that two cameras will frame the object in the same way.
For Canon G7 X Mark II product photography, judge the actual photographs you obtain rather than assuming a specification guarantees a successful reference view. Can a reader identify the object and the adjacent reference without guessing which edge is which? If not, change the arrangement or choose a clearer photograph. This guidance does not rank the Canon and Sony options or assert that either has a particular close-up result. A useful size photograph is an outcome to assess, not an automatic feature of a model name.
A purchase choice can be kept separate from the editorial decision. Review the current product listing and checkout for the particulars of anything you intend to buy, and make no inference about present price, availability or terms from the photographic example. The ornament exercise works with a camera already at hand, too. Its hardest question remains what a stranger can understand about the object's dimensions from the combination of image, reference and accurate words.
Product Photo Shot List: Finish The Ornament Sequence
Imagine laying out the three proposed images next to their captions. First comes the unobstructed ornament, with the loop and lower edge visible. Next comes the ornament beside an identifiable marked reference, with both resting in an arrangement whose relationship is clear. Finally, if the intended display space is shallow, a side view shows the raised front and the back. Each caption tells the reader what that image contributes without promising that the photo itself proves a dimension.
Then read the set as someone who has never handled the ornament. Can that person tell whether the stated height includes the loop? Can they distinguish a measured width from a rough impression given by the reference? Do they have enough information about depth for the decision at hand? If a needed answer is missing, obtain the measurement or make a clearer view. If it is irrelevant, resist adding a photograph simply to make the set longer.
Size documentation is narrower than a condition record. If you also need photographs that identify surfaces and locate visible marks, the separate product photo shot list guide addresses that adjacent task. Its condition-focused views do not replace a stated measurement or an interpretable size reference. Keep the size sequence organized around the viewer's dimension question rather than turning the reference photograph into a general inspection of the object's appearance.
For Sony ZV-1 II product photography of this hypothetical ornament, the final test is simple: does the reference view make the object's approximate scale easier to imagine, and do the accompanying words keep exact dimensions tied to independent measurement? Where the placement or view leaves doubt, explain the limit or reshoot. Where a dimension has not been measured, leave it open. The photograph can offer a helpful comparison without being asked to do a measurement's job.